MICROBLADING BEFORE AND AFTER
I had eyebrow microblading done back in 2019 when it was first gaining popularity. At the time, microblading in Halifax was a new service being offered with limited options when it came to microblading eyebrow services. Now, just a couple of years later, if you Google “microblading near me”, you’ll find dozens of results in any city. 2 years ago, I had my eyebrows microbladed for the first time. At the time, I was really happy with the result. In less than 2 years, though, they were completely gone. This time around, I worked with a new brow artist to get this dramatic microblading before and after. Devon, from Brow Justice, uses a different healing method that I did the first time around and WOW – the results speak for themselves.
If you’ve been hanging around this blog for a while, you know that we value efficiency. My schedule is packed with trips, travels and adventures and I don’t like spending a lot of time on things like hair, make-up and aesthetics if I don’t have to. That love of efficiency is where my obsession with life-hacking really started. Services like microblading are one of those life-hacks because it means minutes saved everyday by not having to fill in my brow.
[feature_box style=”23″ only_advanced=”There%20are%20no%20title%20options%20for%20the%20choosen%20style” alignment=”center”]
SIDE NOTE: You’re perfect the way you are! If wearing sweats, no make-up and your hair in a pony makes you feel amazing and unstoppable – keep doing that. This is about ME feeling great on camera and I happen to like looking “effortlessly put together” without spending a ton of time getting ready. You do you, boo!
[/feature_box]
Some of the systems I swear by when it comes to my self-care:
- Hair: I’ve been working closely with my stylist for years and we focus on colors and cuts that are super low maintenance (like Ombre) so that even when it’s “growing out”, my hair looks great.
- Nails: I couldn’t live without shellac and/or gel. I’m not talking about extensions (that’s way too much work for me) but having my nails manicured all the time is key. Shellac and gel both last weeks on my nails which saves me having to worry about painting my nails and then chipping the paint. So yes, I visit the salon every 4-6 weeks for nails. #sorrynotsorry
- Lashes: If you can, I’d highly recommend extensions. I haven’t found a product that doesn’t break my lashes off BUT when I did have them, I LOVED them. You look like you’ve got make-up on all the time! Truth, I’m about to start working with a new lash artist in Halifax to see if we can find lashes that work for me. Stay tuned.
- Capsule Wardrobe: Transitioning to a capsule wardrobe has saved my damn life. I’ll never go back.
- And finally…Brows. This is what we’re here to talk about today.
I’ve never loved my brows and now that “strong brows” are in style, it’s even more of a struggle. I have fair features – blonde hair, fair lashes, and blonde brows. They’re also slow-growing (you’d think that would be a good thing) and patchy thanks to a good-sized scar in my left brow. So, I spend a good amount of time filling them in each day so that I have something to frame my face!
Here is a picture of me before any microblading (more than 2 years ago now):
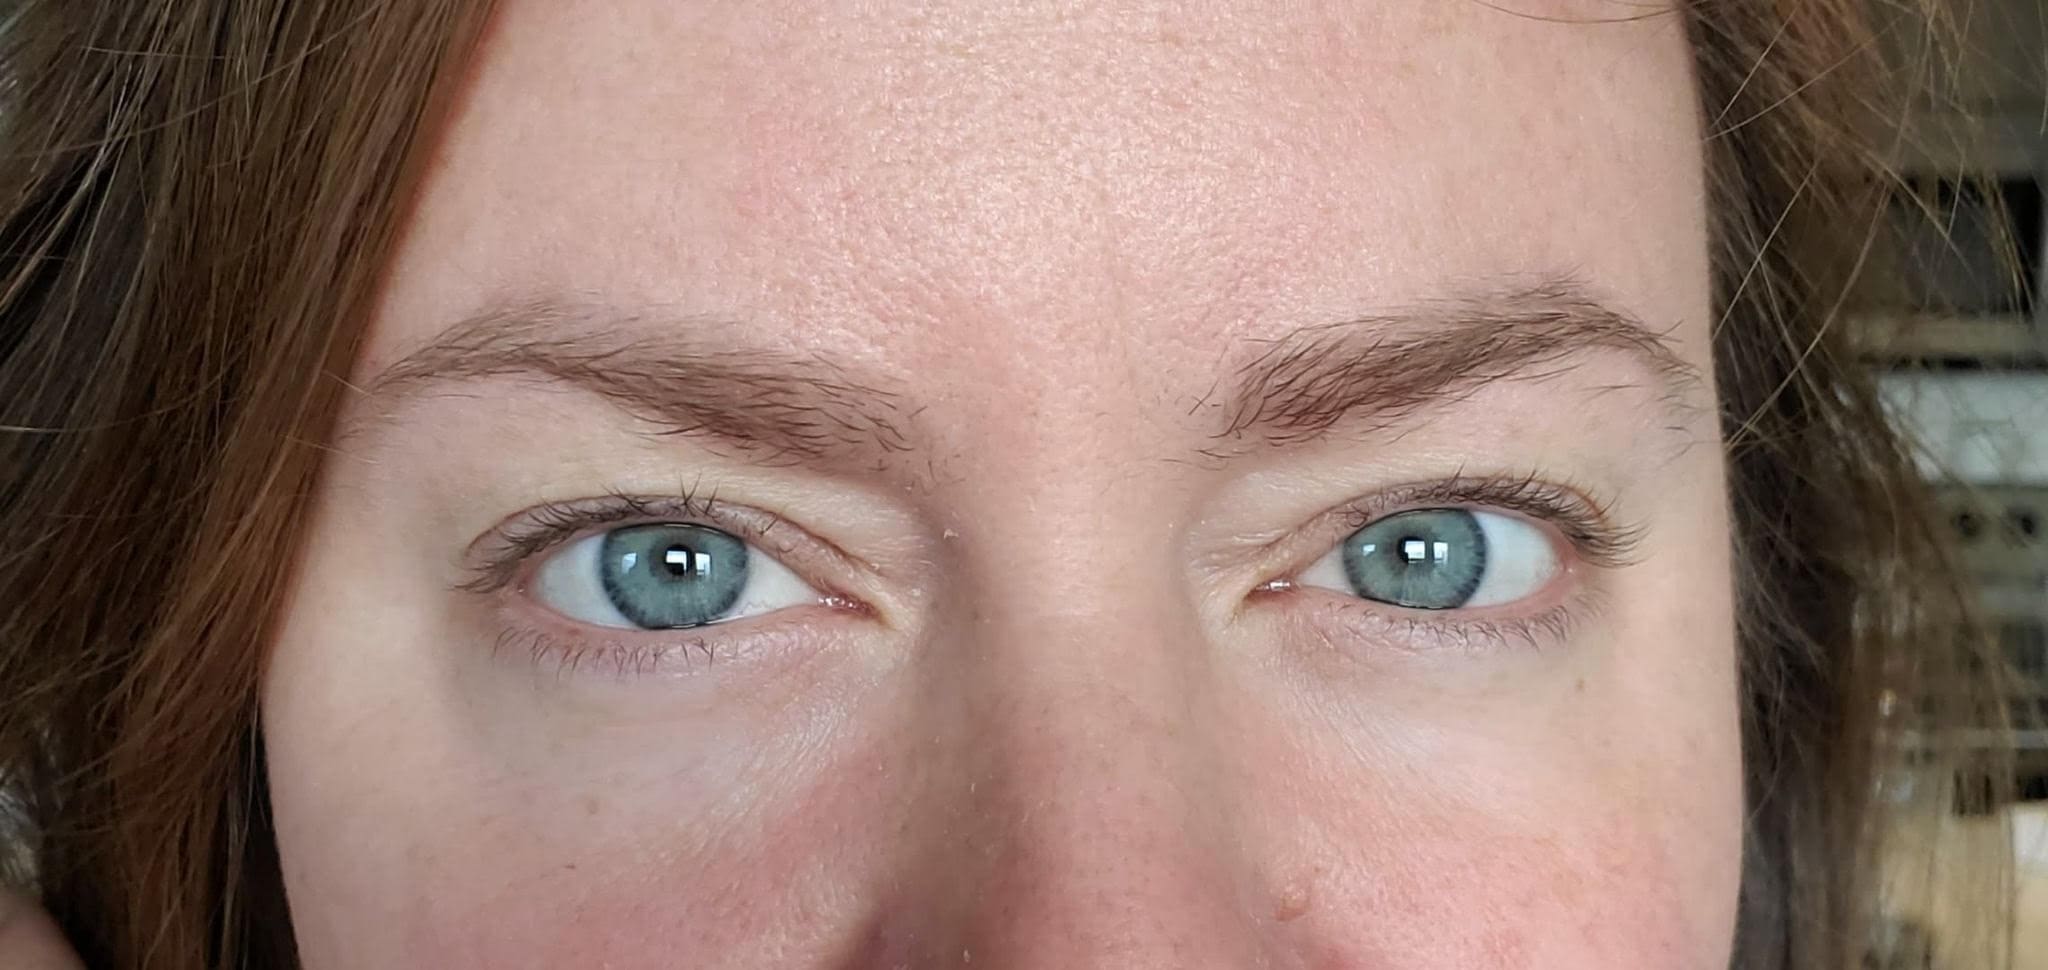
And here is a picture of me before THIS round of microblading with Devon. No make-up, no filters, no brows drawn in. They’re completely gone, as you can see.
WHAT IS MICROBLADING?
Microblading is, in essence, a semi-permanent tattoo of individual hair strokes to create the look of fuller or more shapely brows. A tech uses a small blade-like tool to make tiny incisions that are filled with ink. The ink sits only just below the surface so, unlike permanent tattoos, the microblading will only last 8 months – 2 years (give or take). Basically, it’s architecture for your brows! Each set of brows (if you’re with a pro) is designed specifically for the shape of your face.
I think it’s important for people to know how safe and regulated Microblading is in Nova Scotia. The industry has come a long way and as long as you’re doing your research to find a certified and reputable artist, you’re in good hands. – Devon, Brow Justice
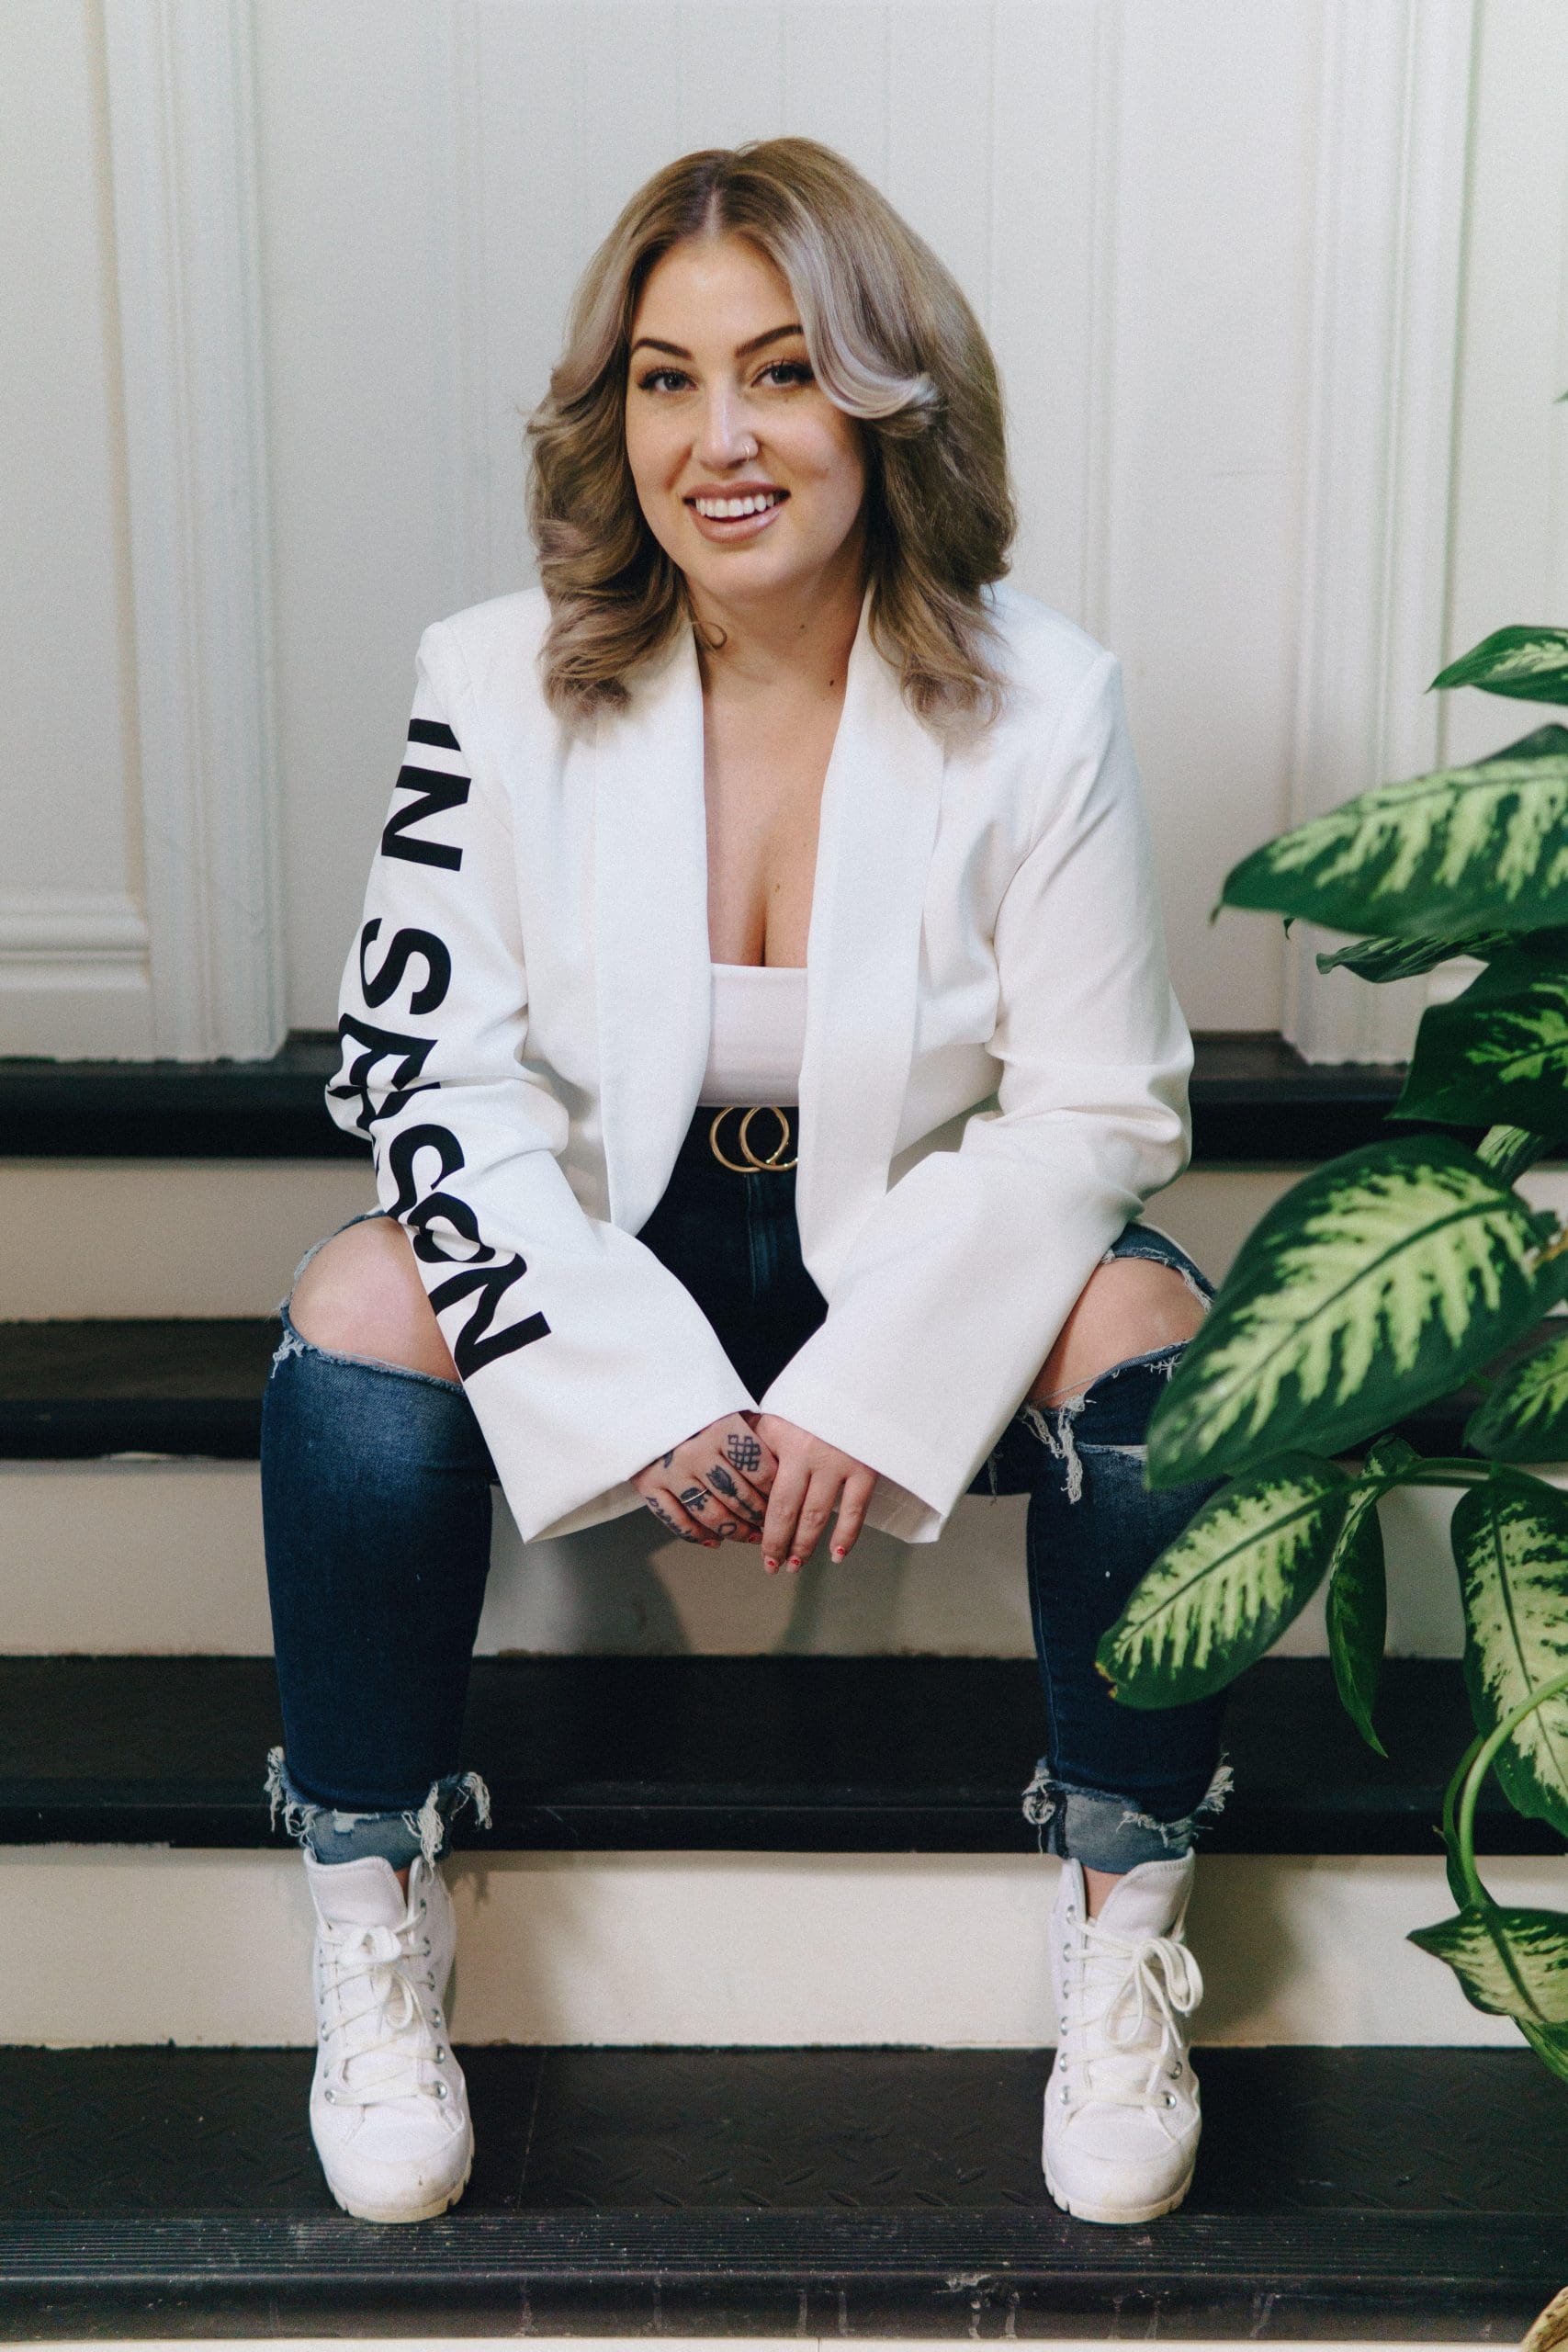
WHO DID MY BROWS?
WHAT TO EXPECT AT YOUR MICROBLADING APPOINTMENT
Microblading is an investment as well as a commitment. As such, it takes two appointments to complete. Be prepared for a minimum of 2 appointments with your tech. If you’ve been wondering how the process works, here’s a step by step of everything you need to know about microblading. Since I’ve had this procedure done by two different professionals, you’ll see a lot of comparisons in this next section.
INITIAL CONSULT & FIRST MICROBLADING SESSION
The first session with Devon was the longest but still only took about 60 minutes. This will always be the longest session because this is when the bulk of the work is completed on your brows. Here’s how it breaks down:
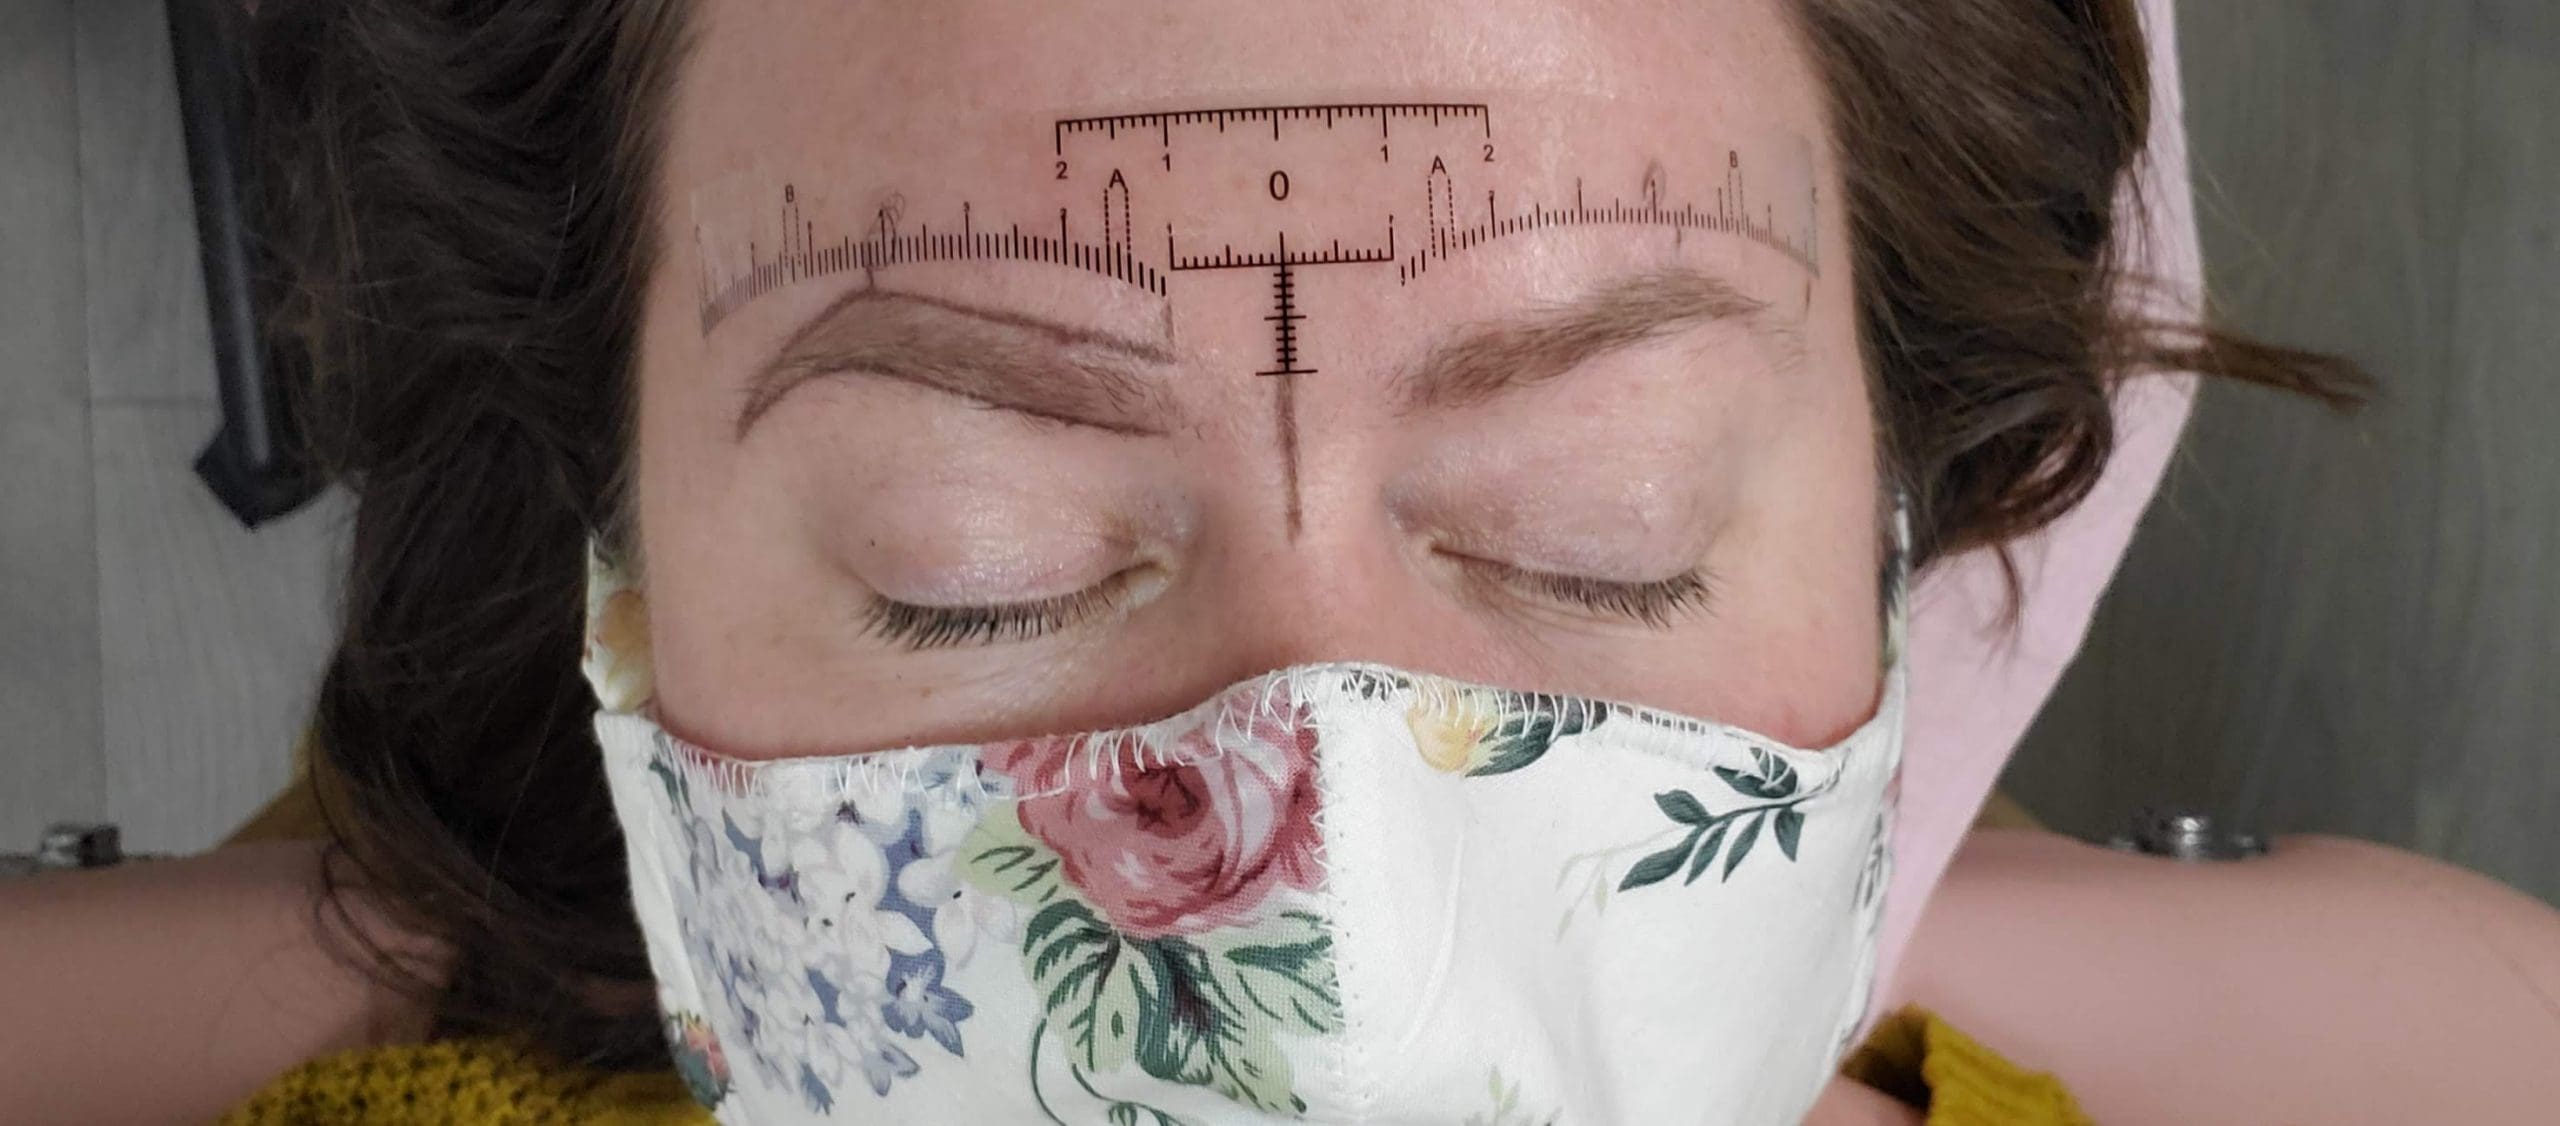
Step One: Design & Mapping
The first step in a microblading session is to map out the size and shape of the brow you’re looking for. There are a few different factors that go into that process:
- Shape and size of your face
- Your features and how they’re situated on your face
- The shape and size of brow you’re looking for
In my case, I still wanted a natural-looking brow that follows my natural shape. I have a good arch, so we stuck with that.
Step Two: Numbing
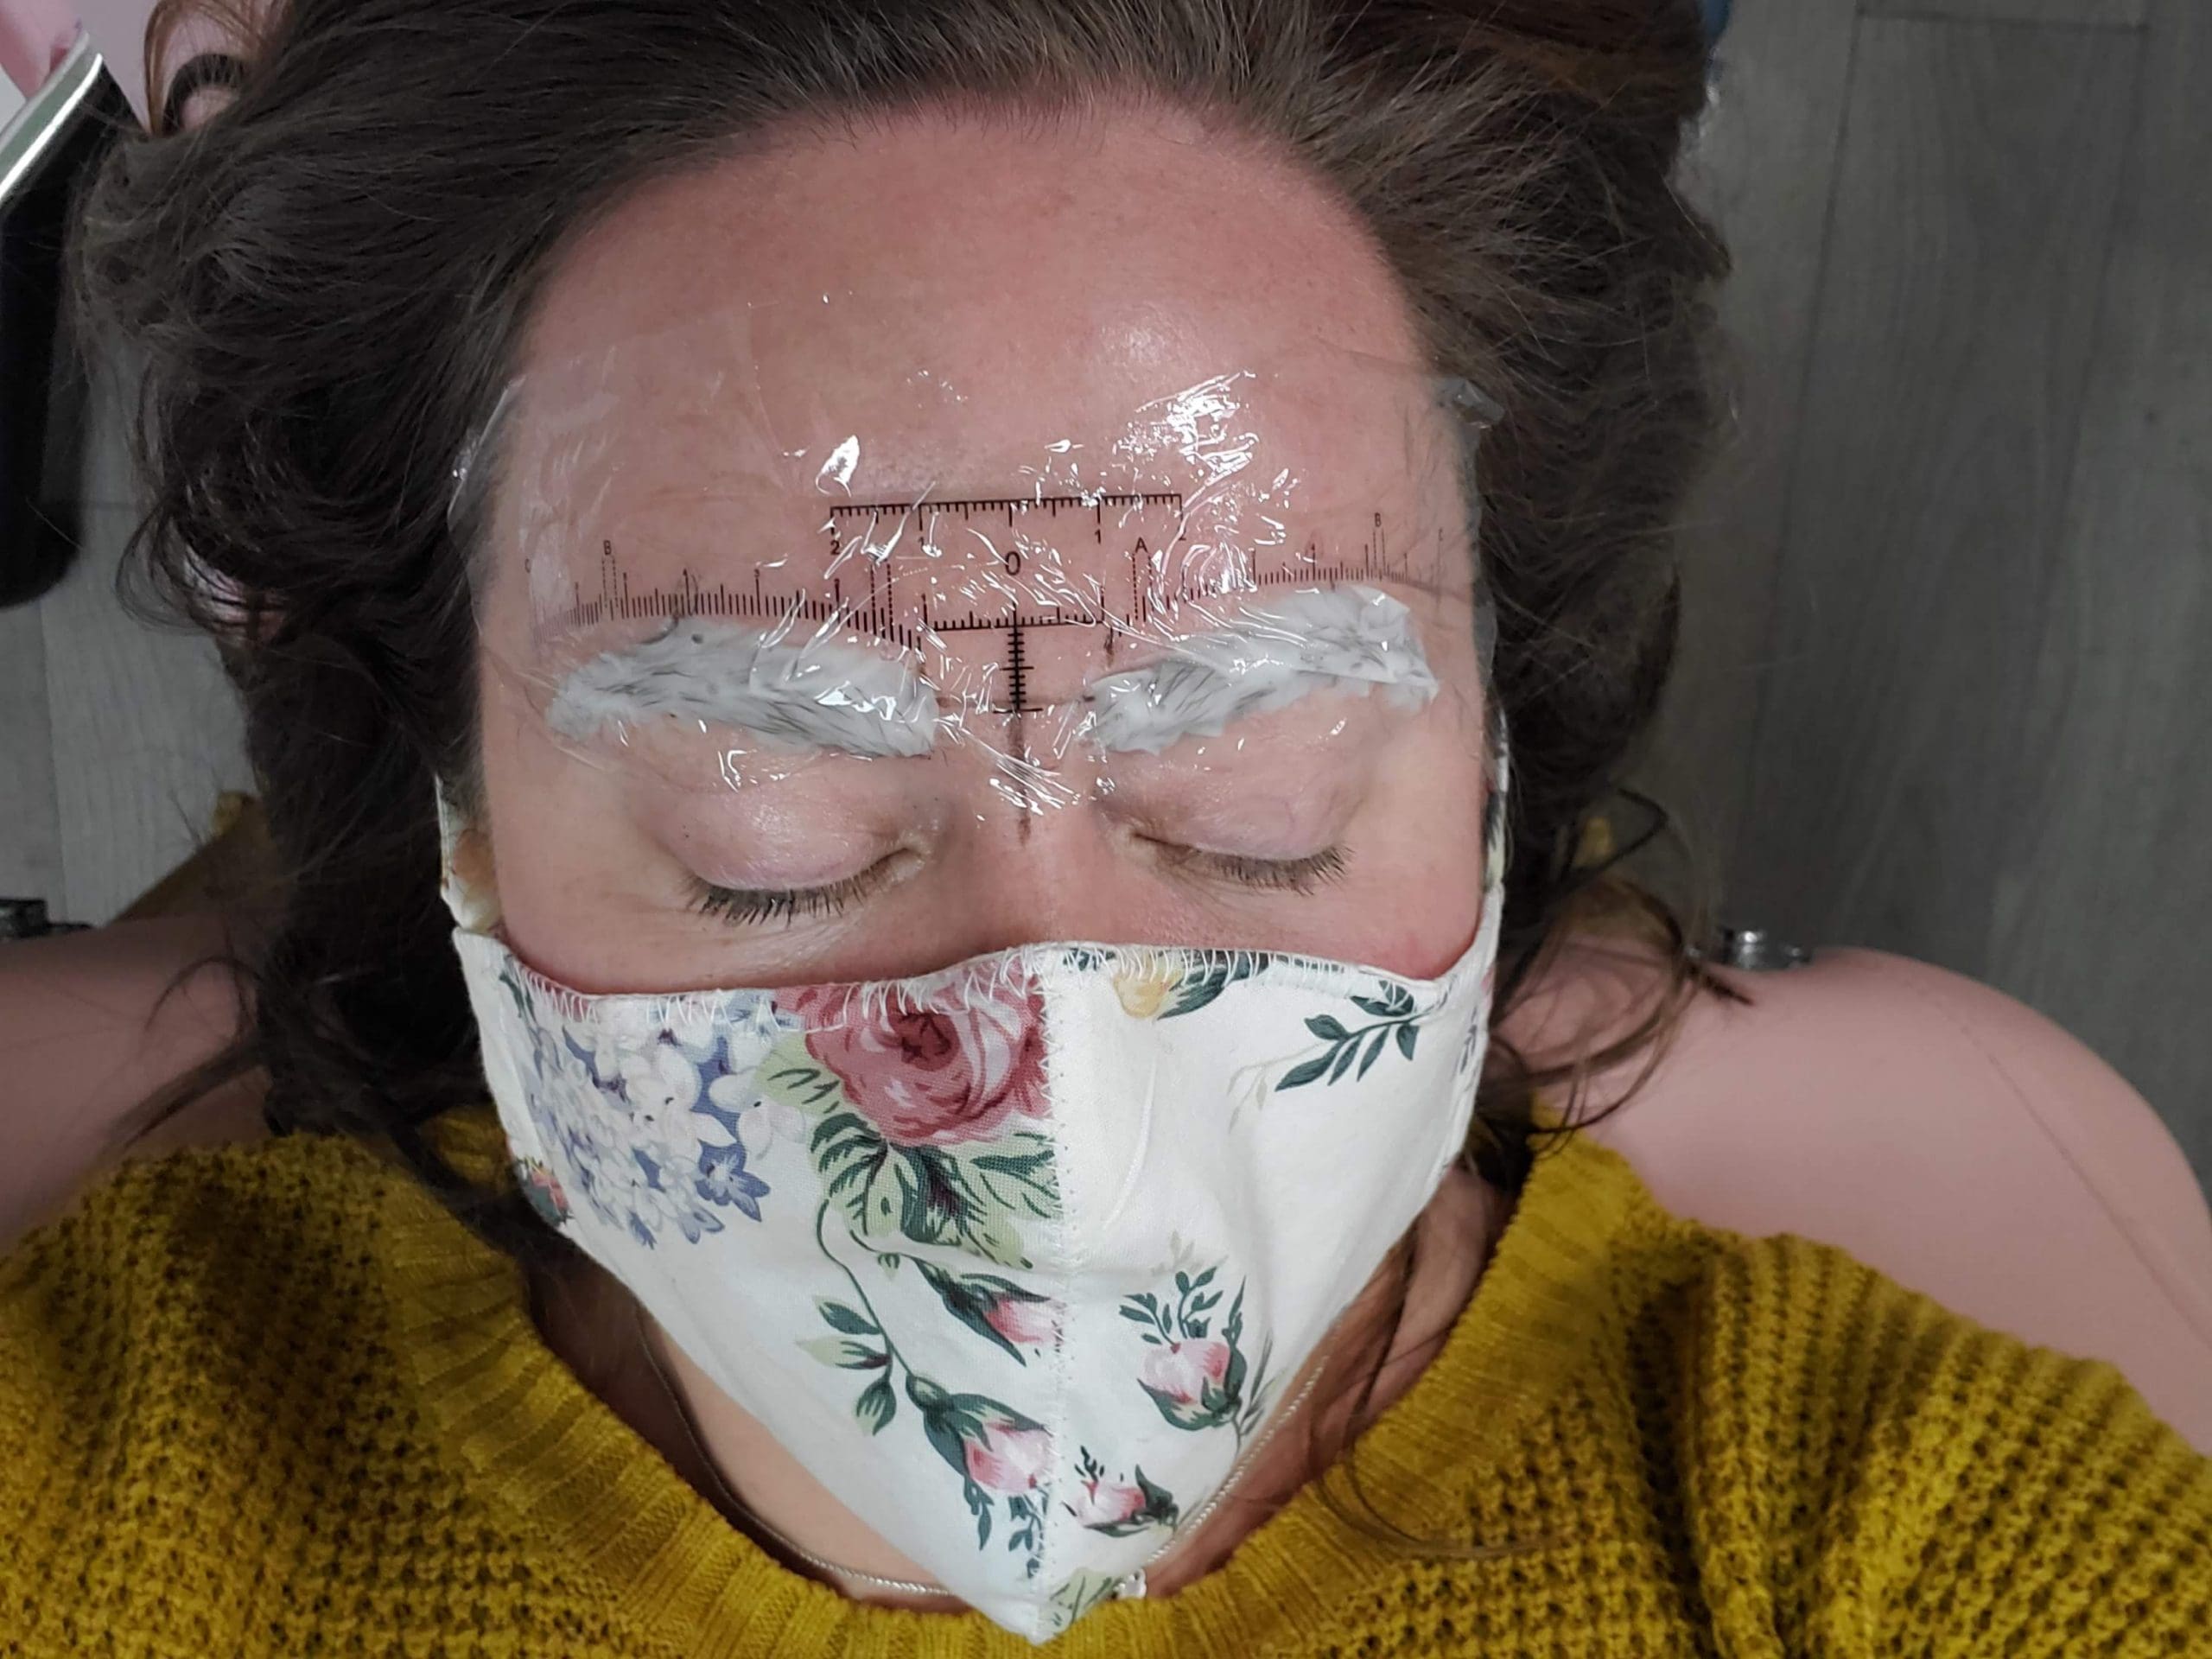
Next, a numbing cream is applied and left on a few minutes to numb the area. Actually, Devon prioritizes client comfort and uses two of the best numbing products on the market today. It doesn’t completely freeze your brows but “takes the edge off” nicely. Honestly, the process isn’t painful. At most, I’d call it mildly uncomfortable and points but very manageable. It feels a bit like scratching a sunburn but I certainly wouldn’t put it on the “pain” scale.
Step Three: Color Matching
The first time I had my eyebrows microbladed I was nervous about going too dark. I wanted a really natural look but once they were healed felt they were a little too “red”. Now I know that’s because of the tone of my skin. So this time, I told Devon I wanted less red, more brown…and she nailed it. I also find myself gravitating towards a stronger brow now that I’ve dipped my toes in. This can be achieved a couple of different ways:
- More microblading
- Additional services like brow tinting & lamination (on my list to try next)
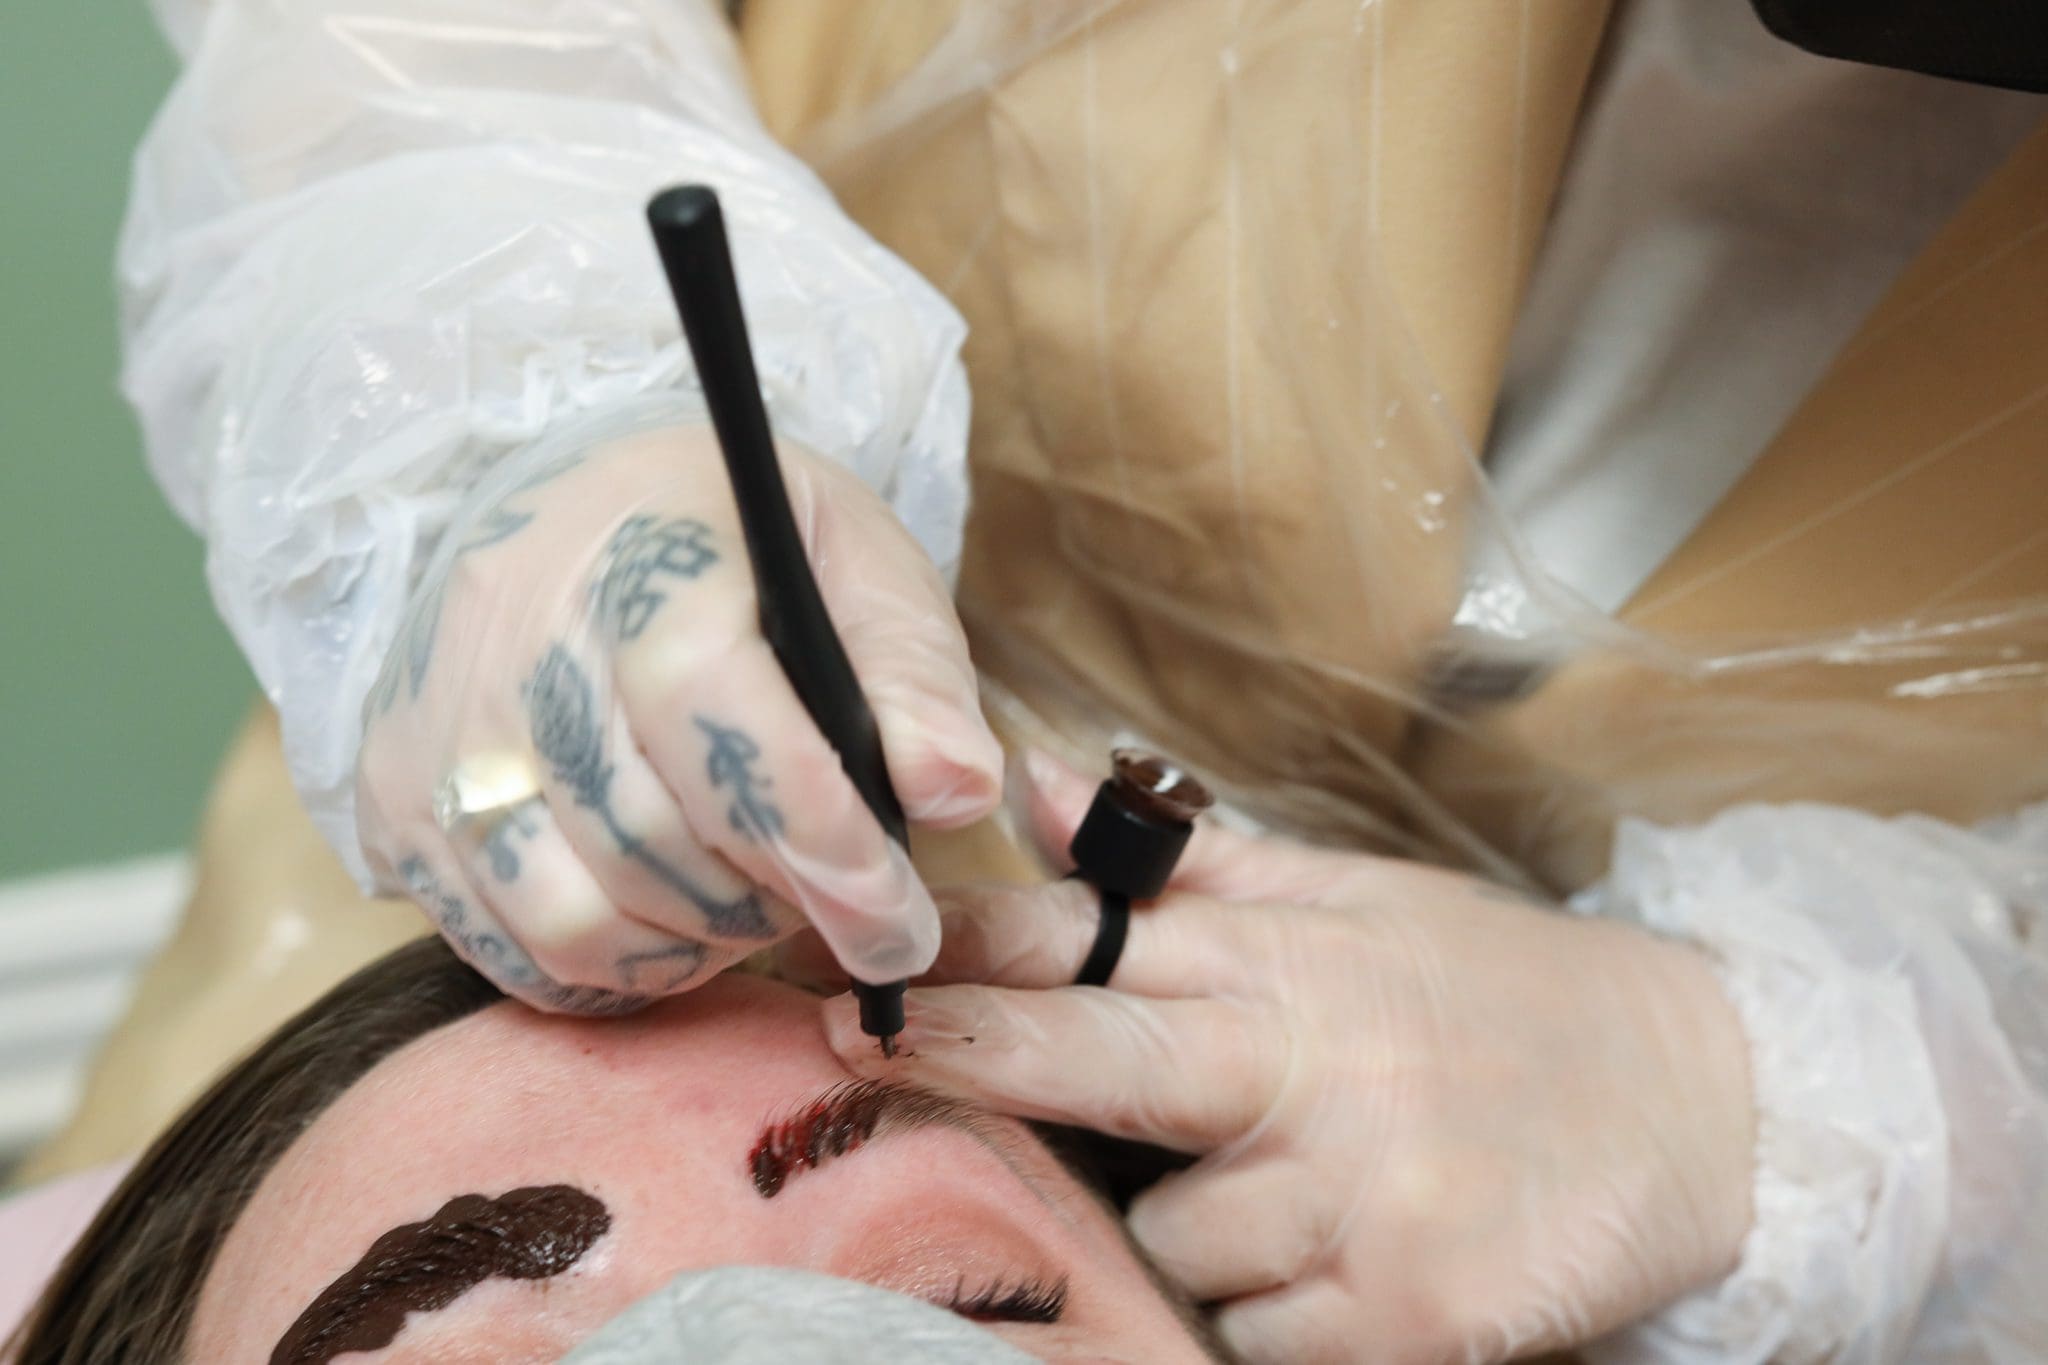
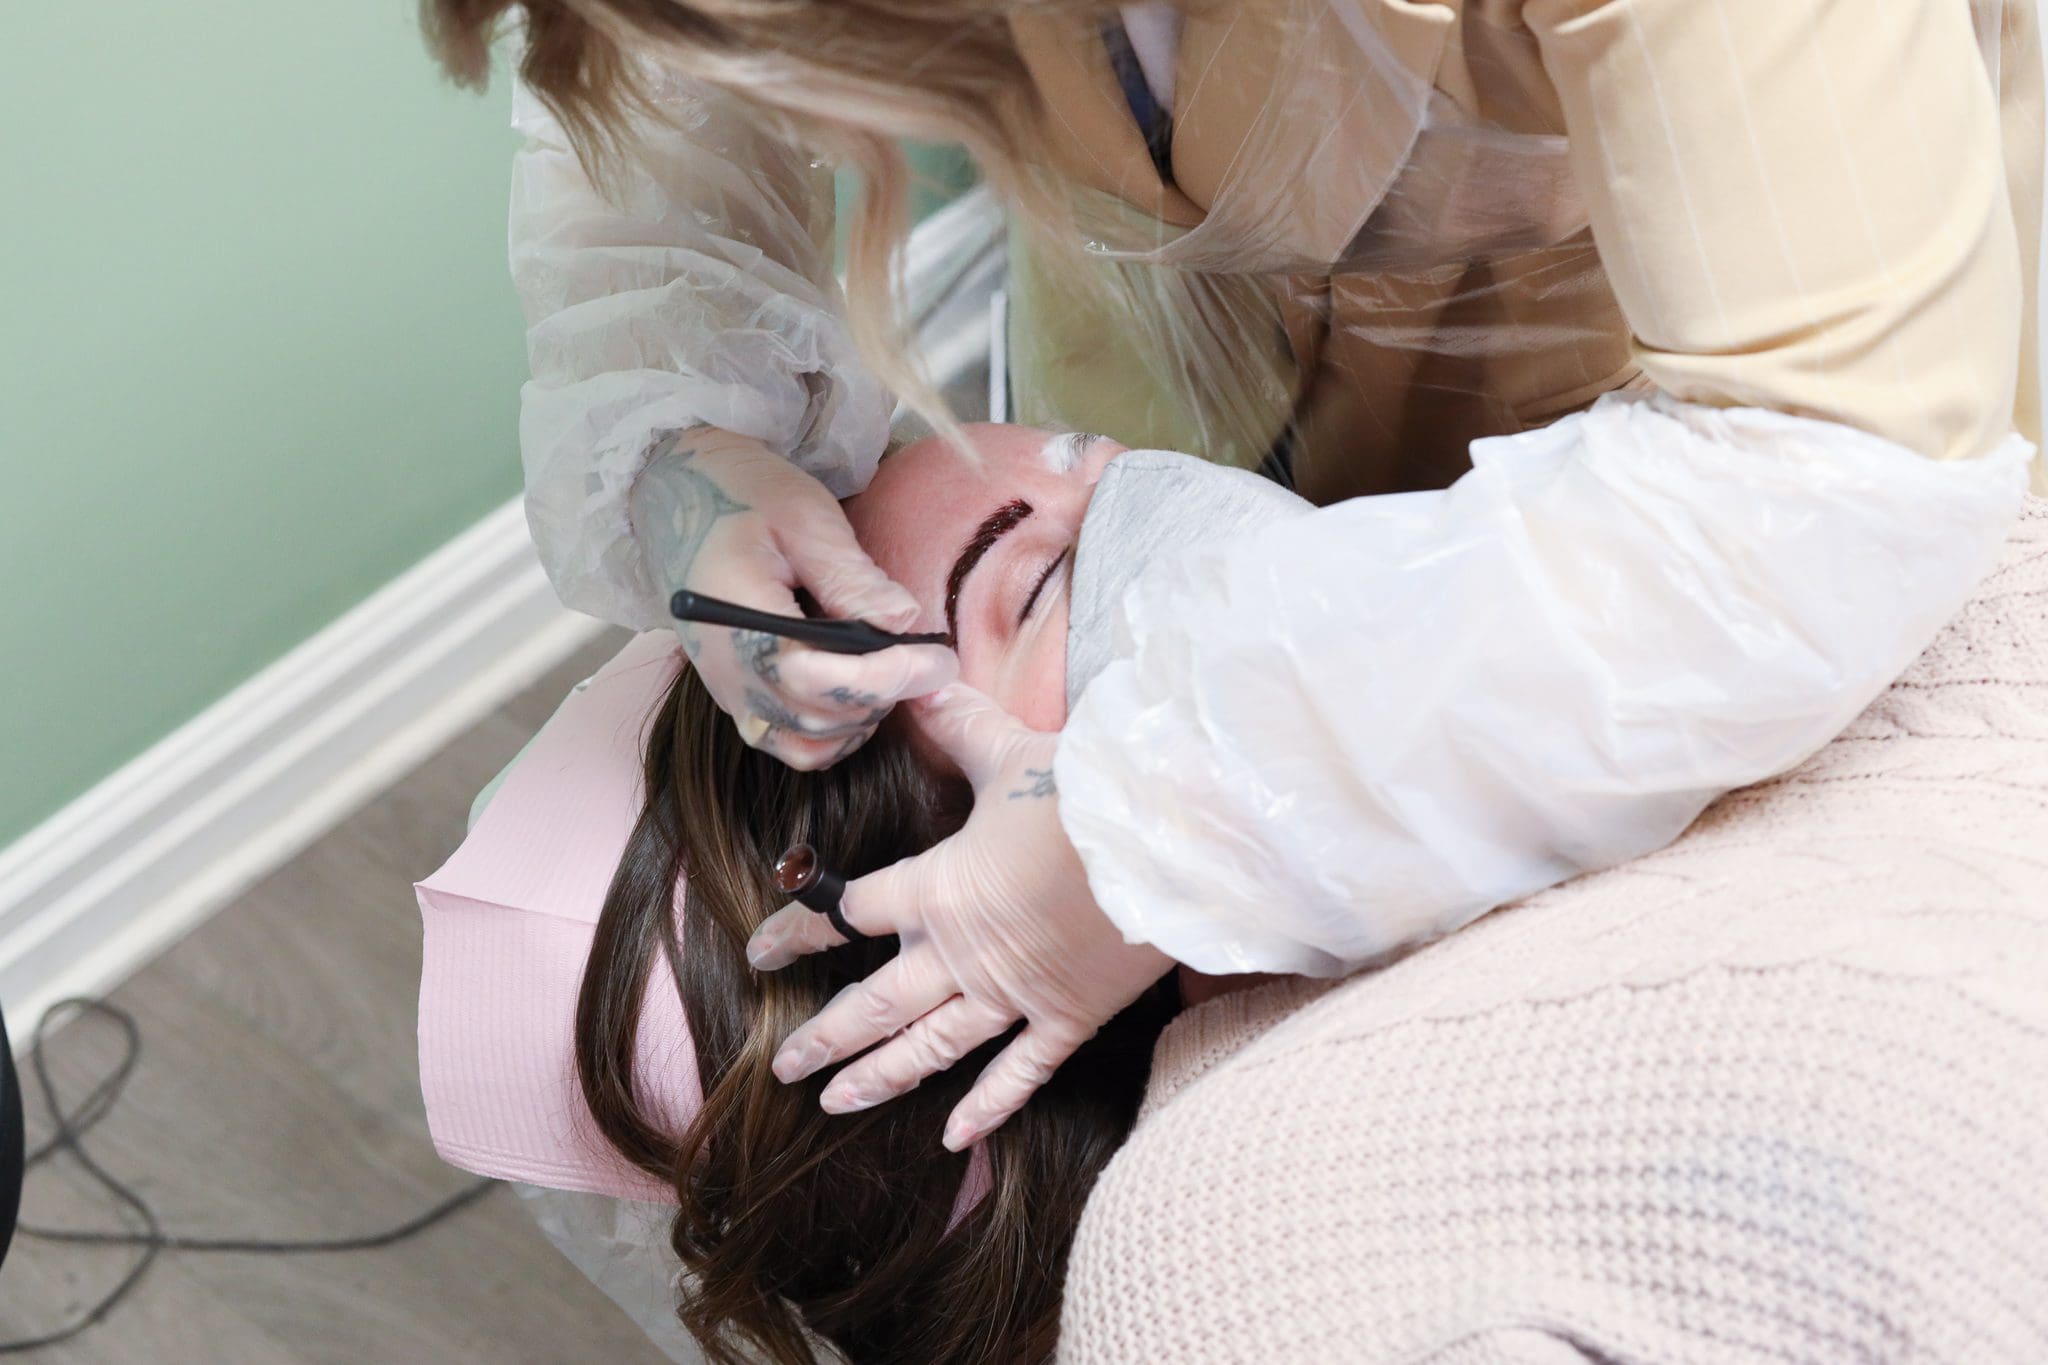
Step Four: The Microblading
Since this wasn’t my fist time with eyebrow microblading, I knew what to expect. Yes, there is a little discomfort (everyone asks that) but it’s not very intense. Interestingly, I found this time less uncomfortable than the first time. That can have to do with lots of factors, including what time of the month it is! One thing (of many) that I loved about working with Devon is that she moved really fast.
She’s a true professional and doesn’t mess around – which I appreciated. Similar to last time, the sound is the worst part. It sounds like an icepick scratching the surface of ice.
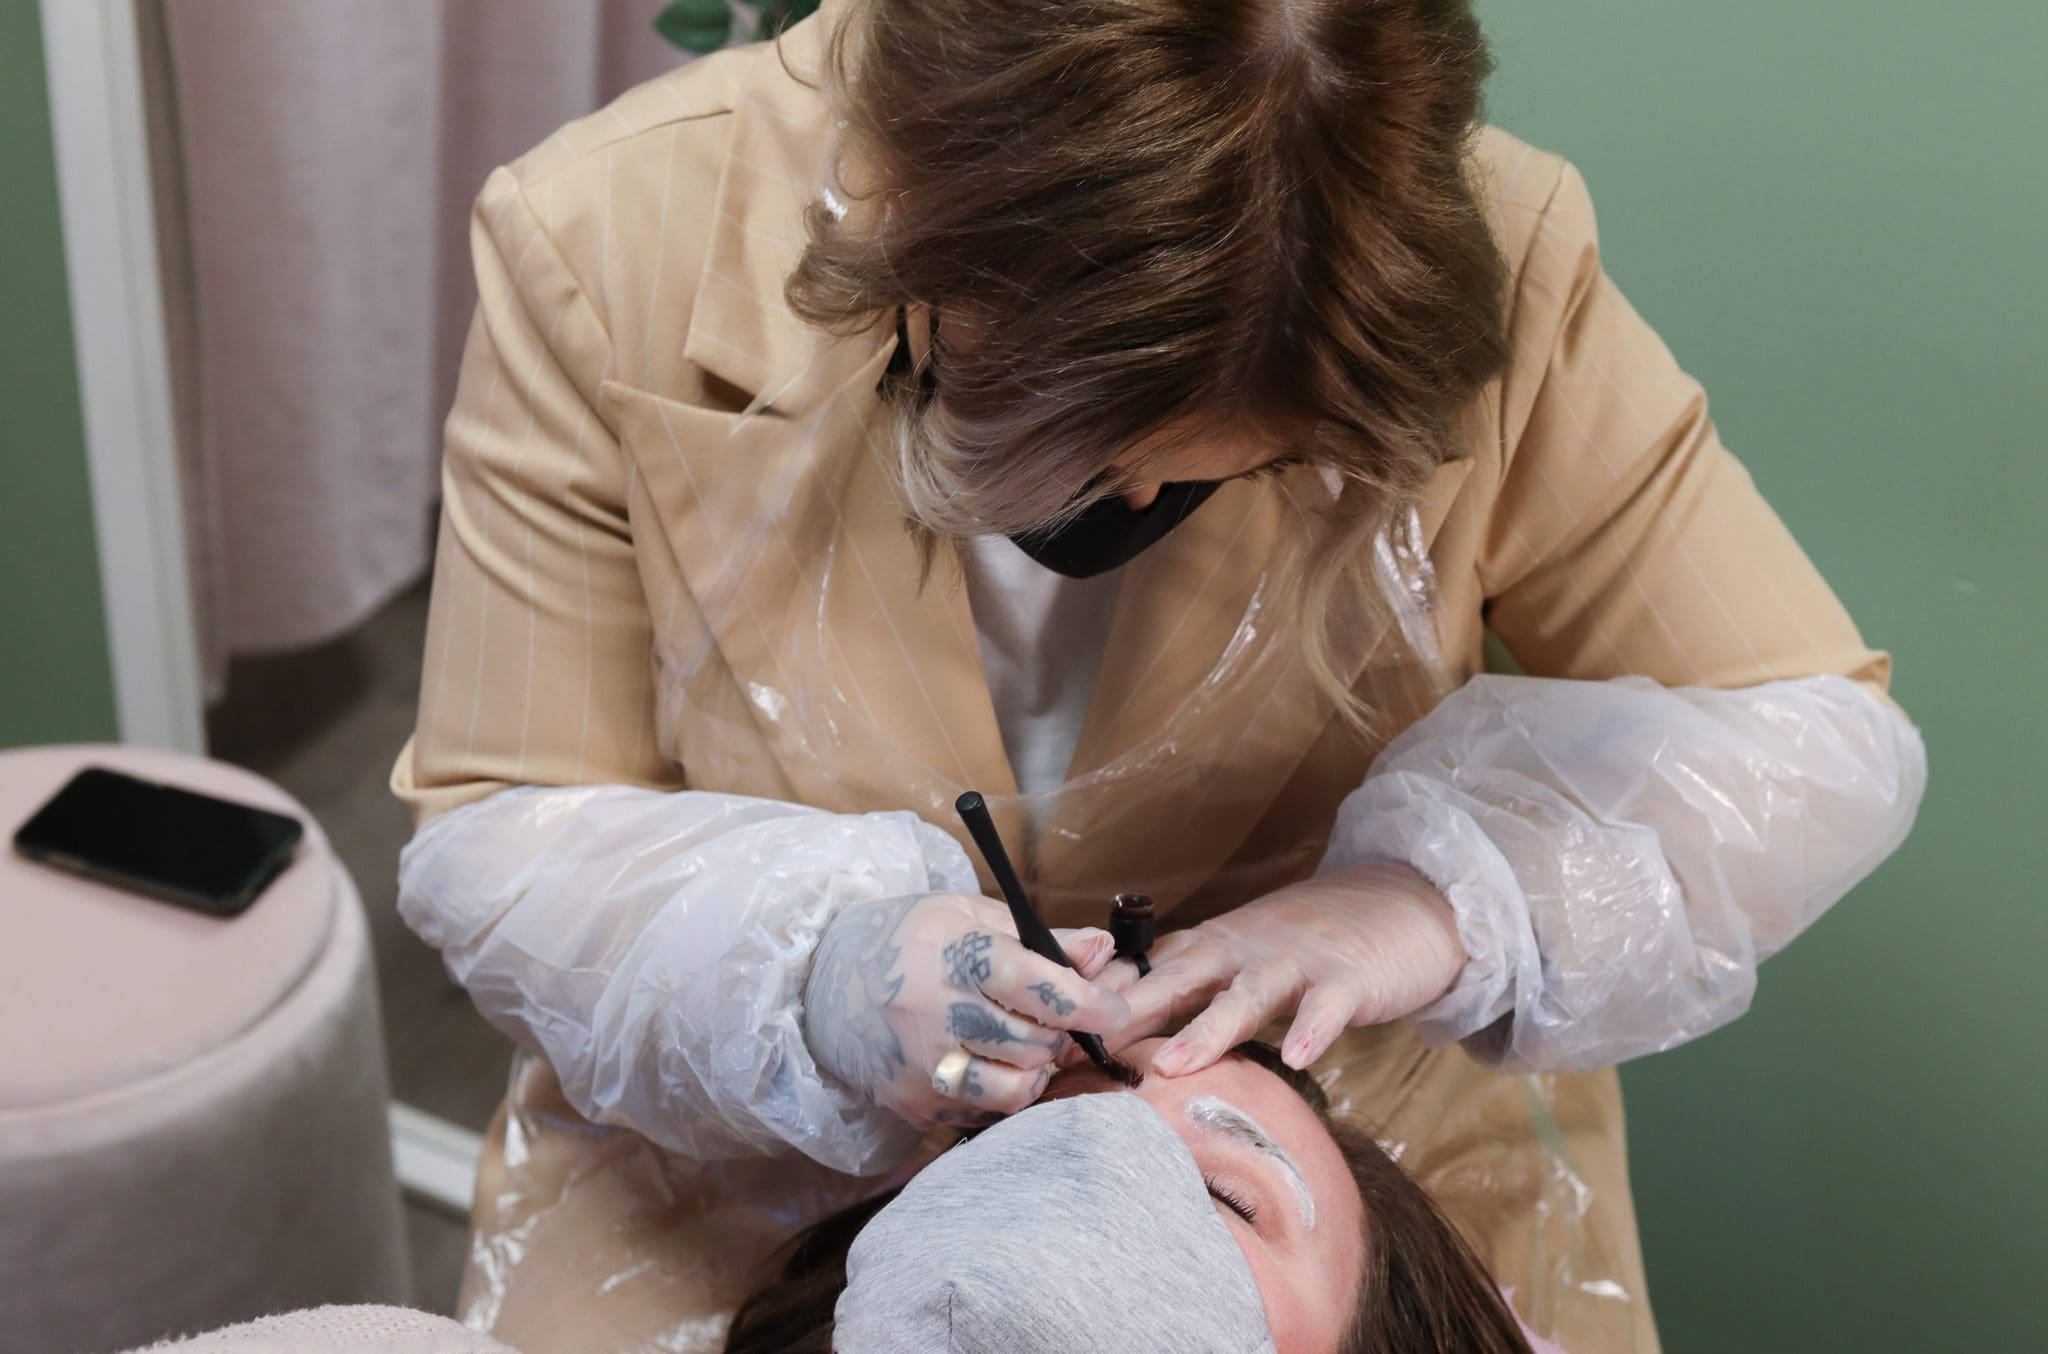
Step Five: Applying Pigment
After the microblading is done, Devon applied a thick layer of pigment to let it sit. This part stings a little, but again, nothing major. Once that’s done, she wiped it off, cleaned the area, applied a cool compress (the best part) and gave me my home care instructions.
HEALING & HOME CARE
There are different methods of healing that vary from technition to technition. The first time I had my eyebrows microbladed the technician used the wet healing method. Devon, however, uses dry healing (which I was nervous about because I had visions of thick scabby eyebrows). Here’s what I learned during MY experience with both healing methods:
Wet Healing (last time)
- Required more daily maintenance (because you had to cleanse the area twice a day) + apply a balm
- Was very convenient for the client (me) because there was no scabbing or dry skin
- Didn’t last as long as I’d hoped (my brows started to fade rather quickly)
Dry Healing (this time)
- Requires no maintenance (because you’re not supposed to touch them or get them wet)
- Was itchier (because I wasn’t allowed to touch them)
- Did flake a little but not nearly as much as I thought they would
- Seemed to heal faster than they did with wet
- I’ll keep you posted on the longevity of this set!
I asked Devon about the differences between the two healing methods (of course I did). She explained that she’s used both but has found that while wet healing is more convenient in the short term, dry healing seems to last longer.
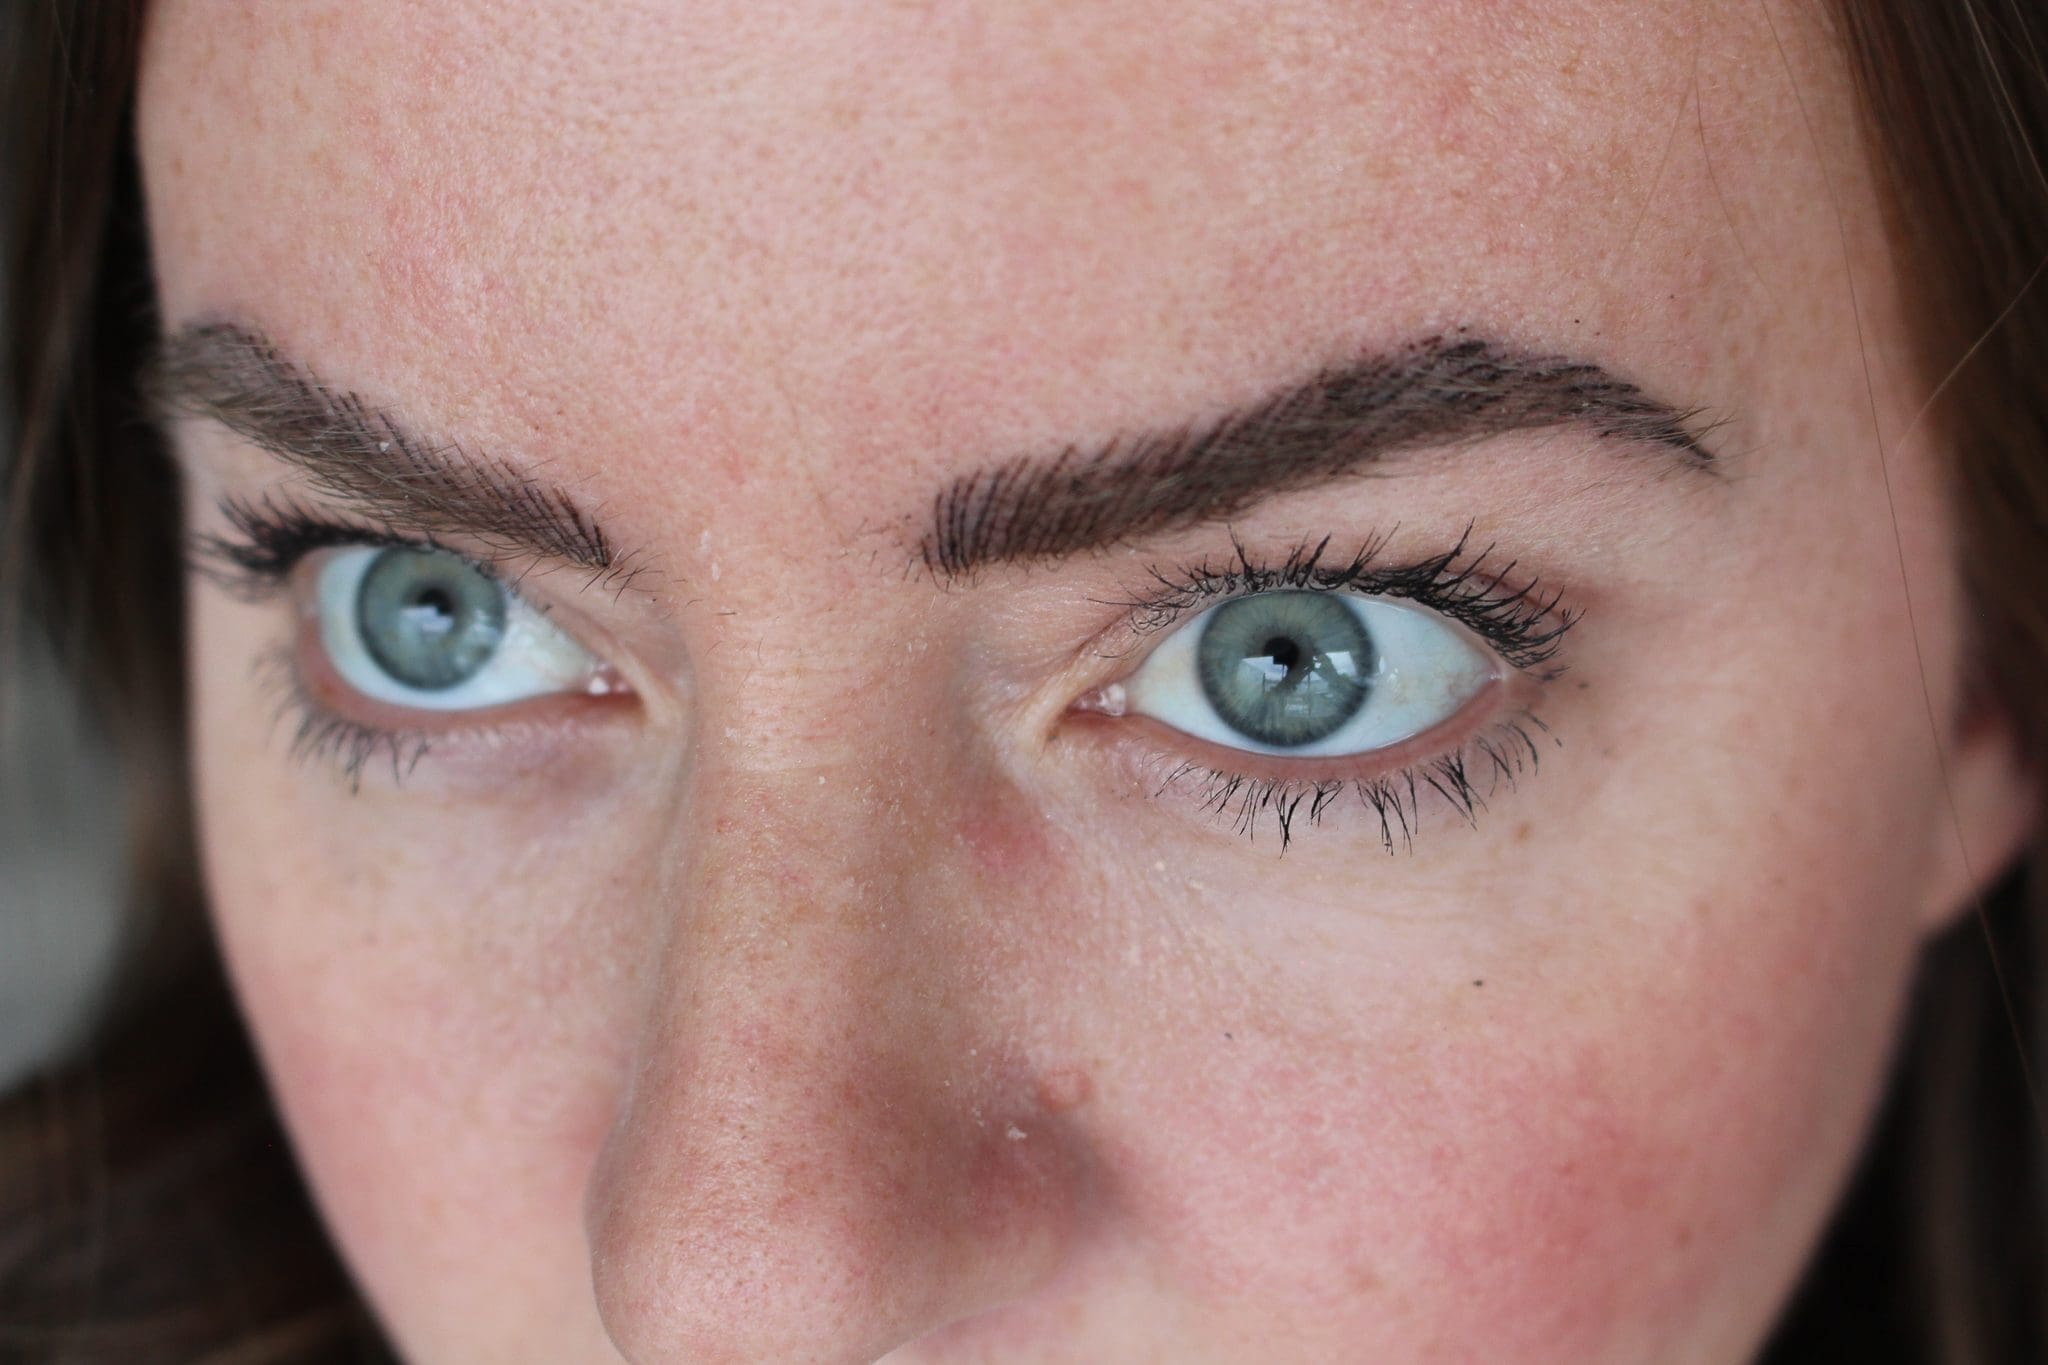
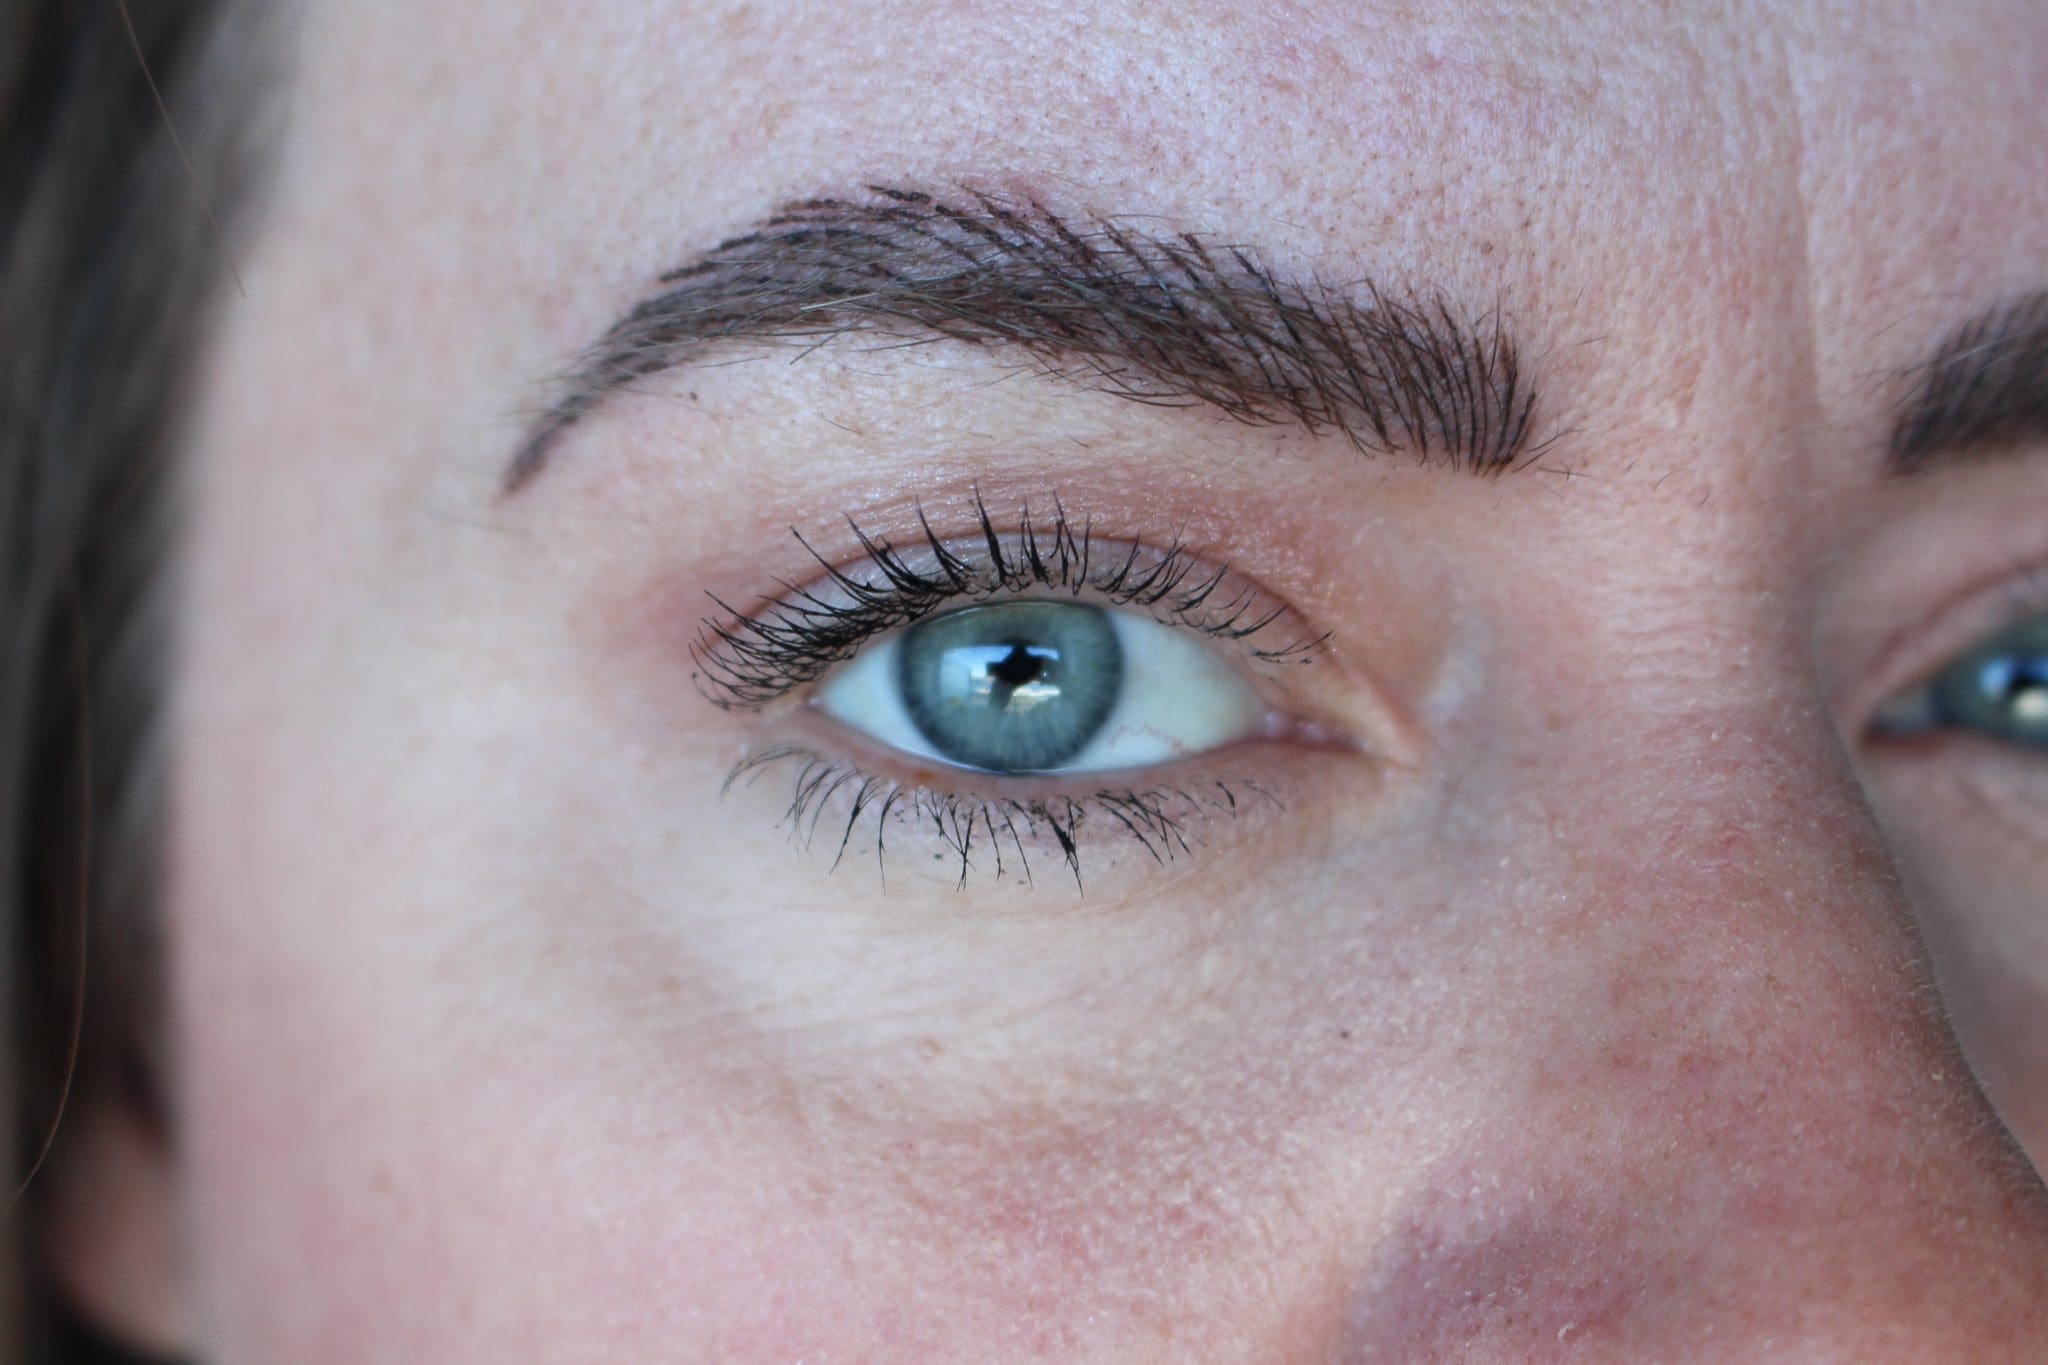
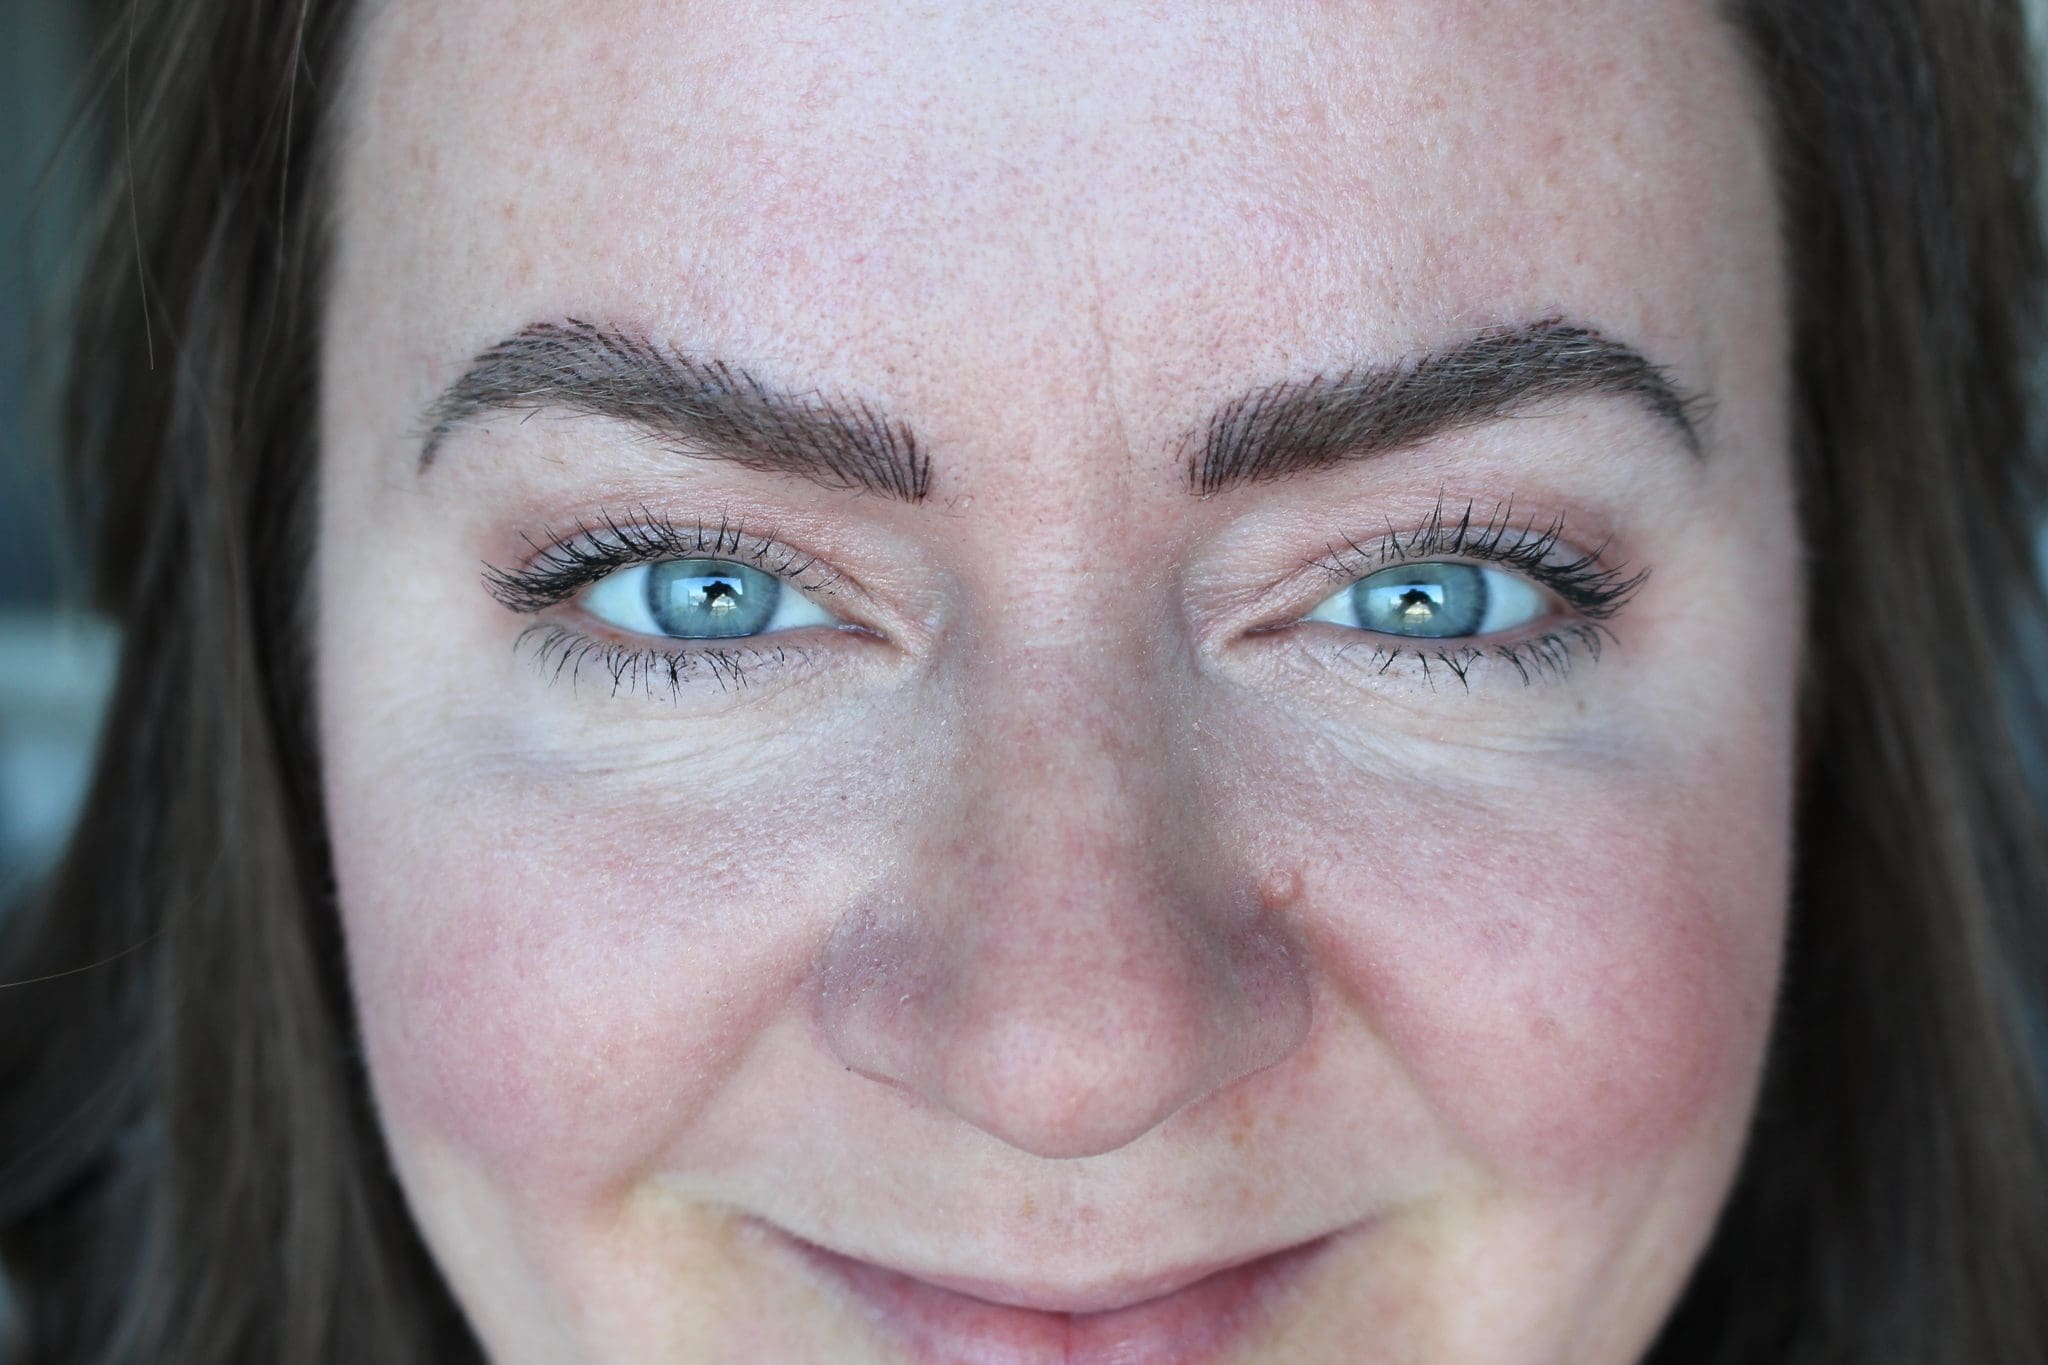
Fair Warning: Your brows look a little crazy for the first few days. They’re dark and obvious but they healed over quickly. To be honest, most people don’t even notice in the first few days but I was focused on them because they “feel big”. Here’s what they look like in the first week:
TOUCH-UP SESSION
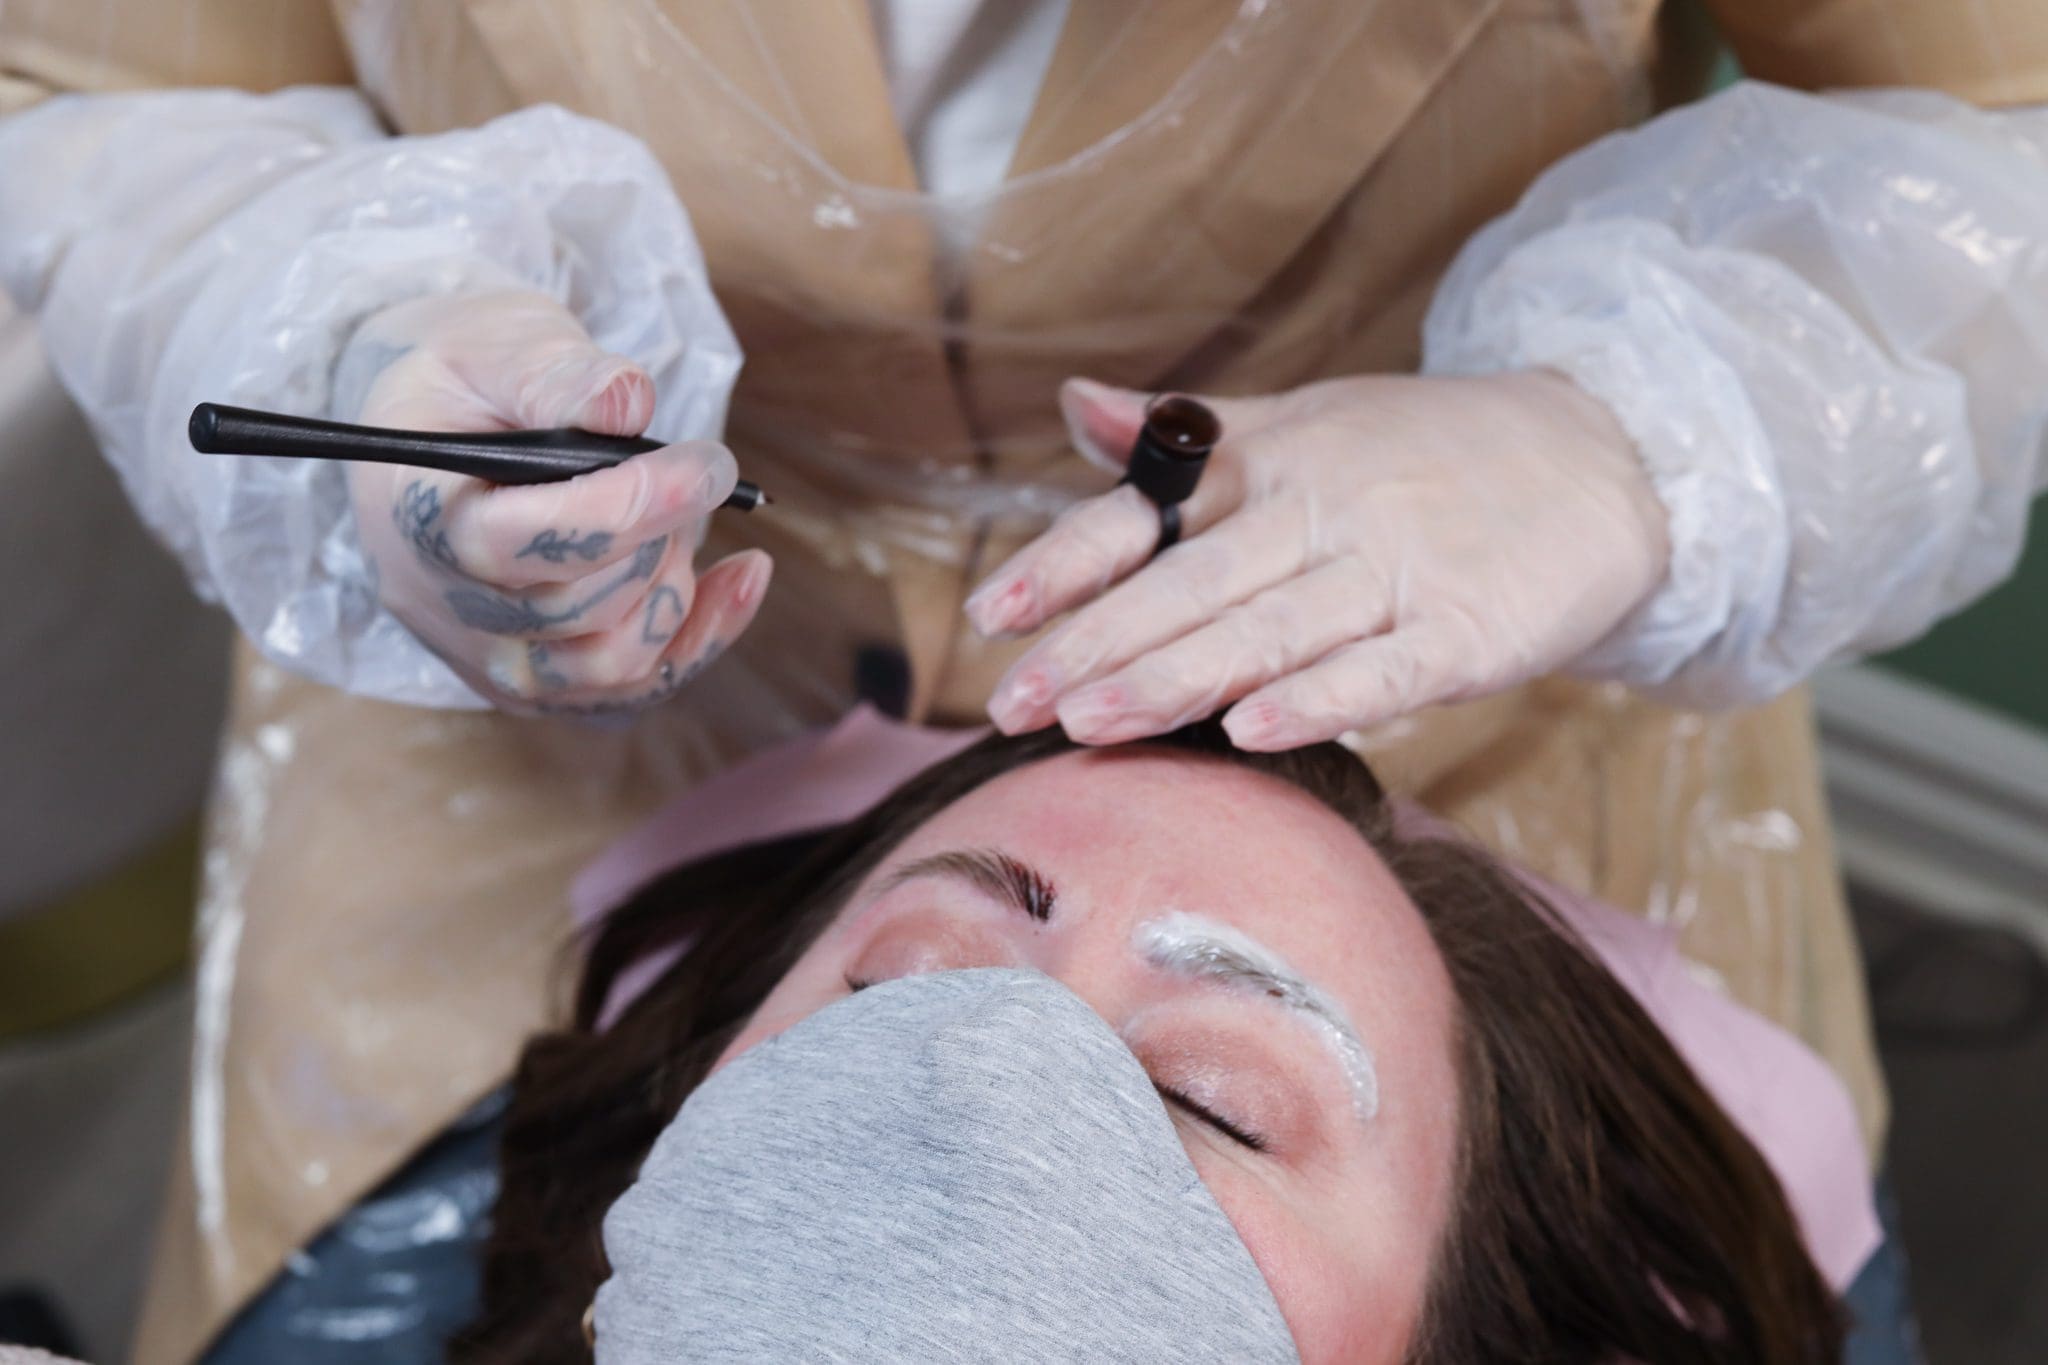
After the initial healing (about 4-6 weeks), I returned for a touch-up. This is when Devon checks the healing and makes any adjustments that are needed. In my case, I was a superstar healer (as in, I did exactly what I was supposed to do). So, my touchup only required one quick pass. It was quick and painless.
Microblading FAQ’s
Y’all had questions, and I took screen shots of every one of them so here are your answers. Please remember, this is based on my experience with microblading and everyone’s will vary. This takes into account my most recent experience with Devon at Brow Justice.
“Does it hurt?”
Easily the most asked question (it was mine too)! So here’s the truth: my first session did hurt more than I was expecting (two years ago) but only on my left brow but this most recent session with Devon was significantly less painful. Now I know, there are all kinds of things that can affect how much or how little microblading hurts.
Here are some factors that can affect the discomfort level:
- Time of the month. Ladies, take it from me. Don’t go on your period! I made that mistake and there was a clear difference in pain from my first session (on my period) and my second (not).
- Thickness of your skin. I happen to have thick skin (not figuritively – actually) so the incisions needed more depth.
- Scar tissue. Remember I said my left-eye was more painful? Well, I’ve got a nasty scar (toothmark from a dog bite when I was young) in my left eyebrow.
It varies so much from person to person but most techs (hopefully all) are amazing. Devon checked in often and, if I needed more numbing, she would have given it to me.
“How long do they last?”
Up to 2 years but again, it varies. There are all kinds of factors that impact how long your brows will last. Age, sun exposure, how quickly your cells regenerate and slough off, etc will all impact how soon you’ll need to be re-touched.
“How much does microblading cost?”
You should expect to pay in the neighborhood of $500 (with Devon) for your microblading and touch-up. I’ve seen them advertised for less and more but typcially if someone is offering a price below average it means they’re new – so that’s your choice. Likewise, someone with a lot of experience can command a higher price. In my opinion, pay for someone with proven results that you feel comfortable with.
“Will they look fake or made-up or be super dark?”
Totally up to you! Some people want that painted-on look but others (like me) are looking for a more natural brow. Mine look totally real (pics below of the finished product). I’ve actually had people tell me they hate the look of microbladed brows and when I say “mine are done” they’re shocked! It’s all about the look you want.
“How is the healing process?”
Totally fine. Mine were tender for about the first 24 hours and then it was easy peasy. I had a small amount of flaking (nothing noticeable) at about the 10 day mark but the itching was minimal. If I was going to pick between wet and dry healing, I think I’d go with dry. It was just easier and didn’t require me to do anything.
“Would you do it again?”
Still a HELL YES for me. I love them but I’d also like to have my brows tinted to match my microblading and try lamination. Devon does all of this so stay tuned for an update on other services she offers!
THE FINISHED PRODUCT
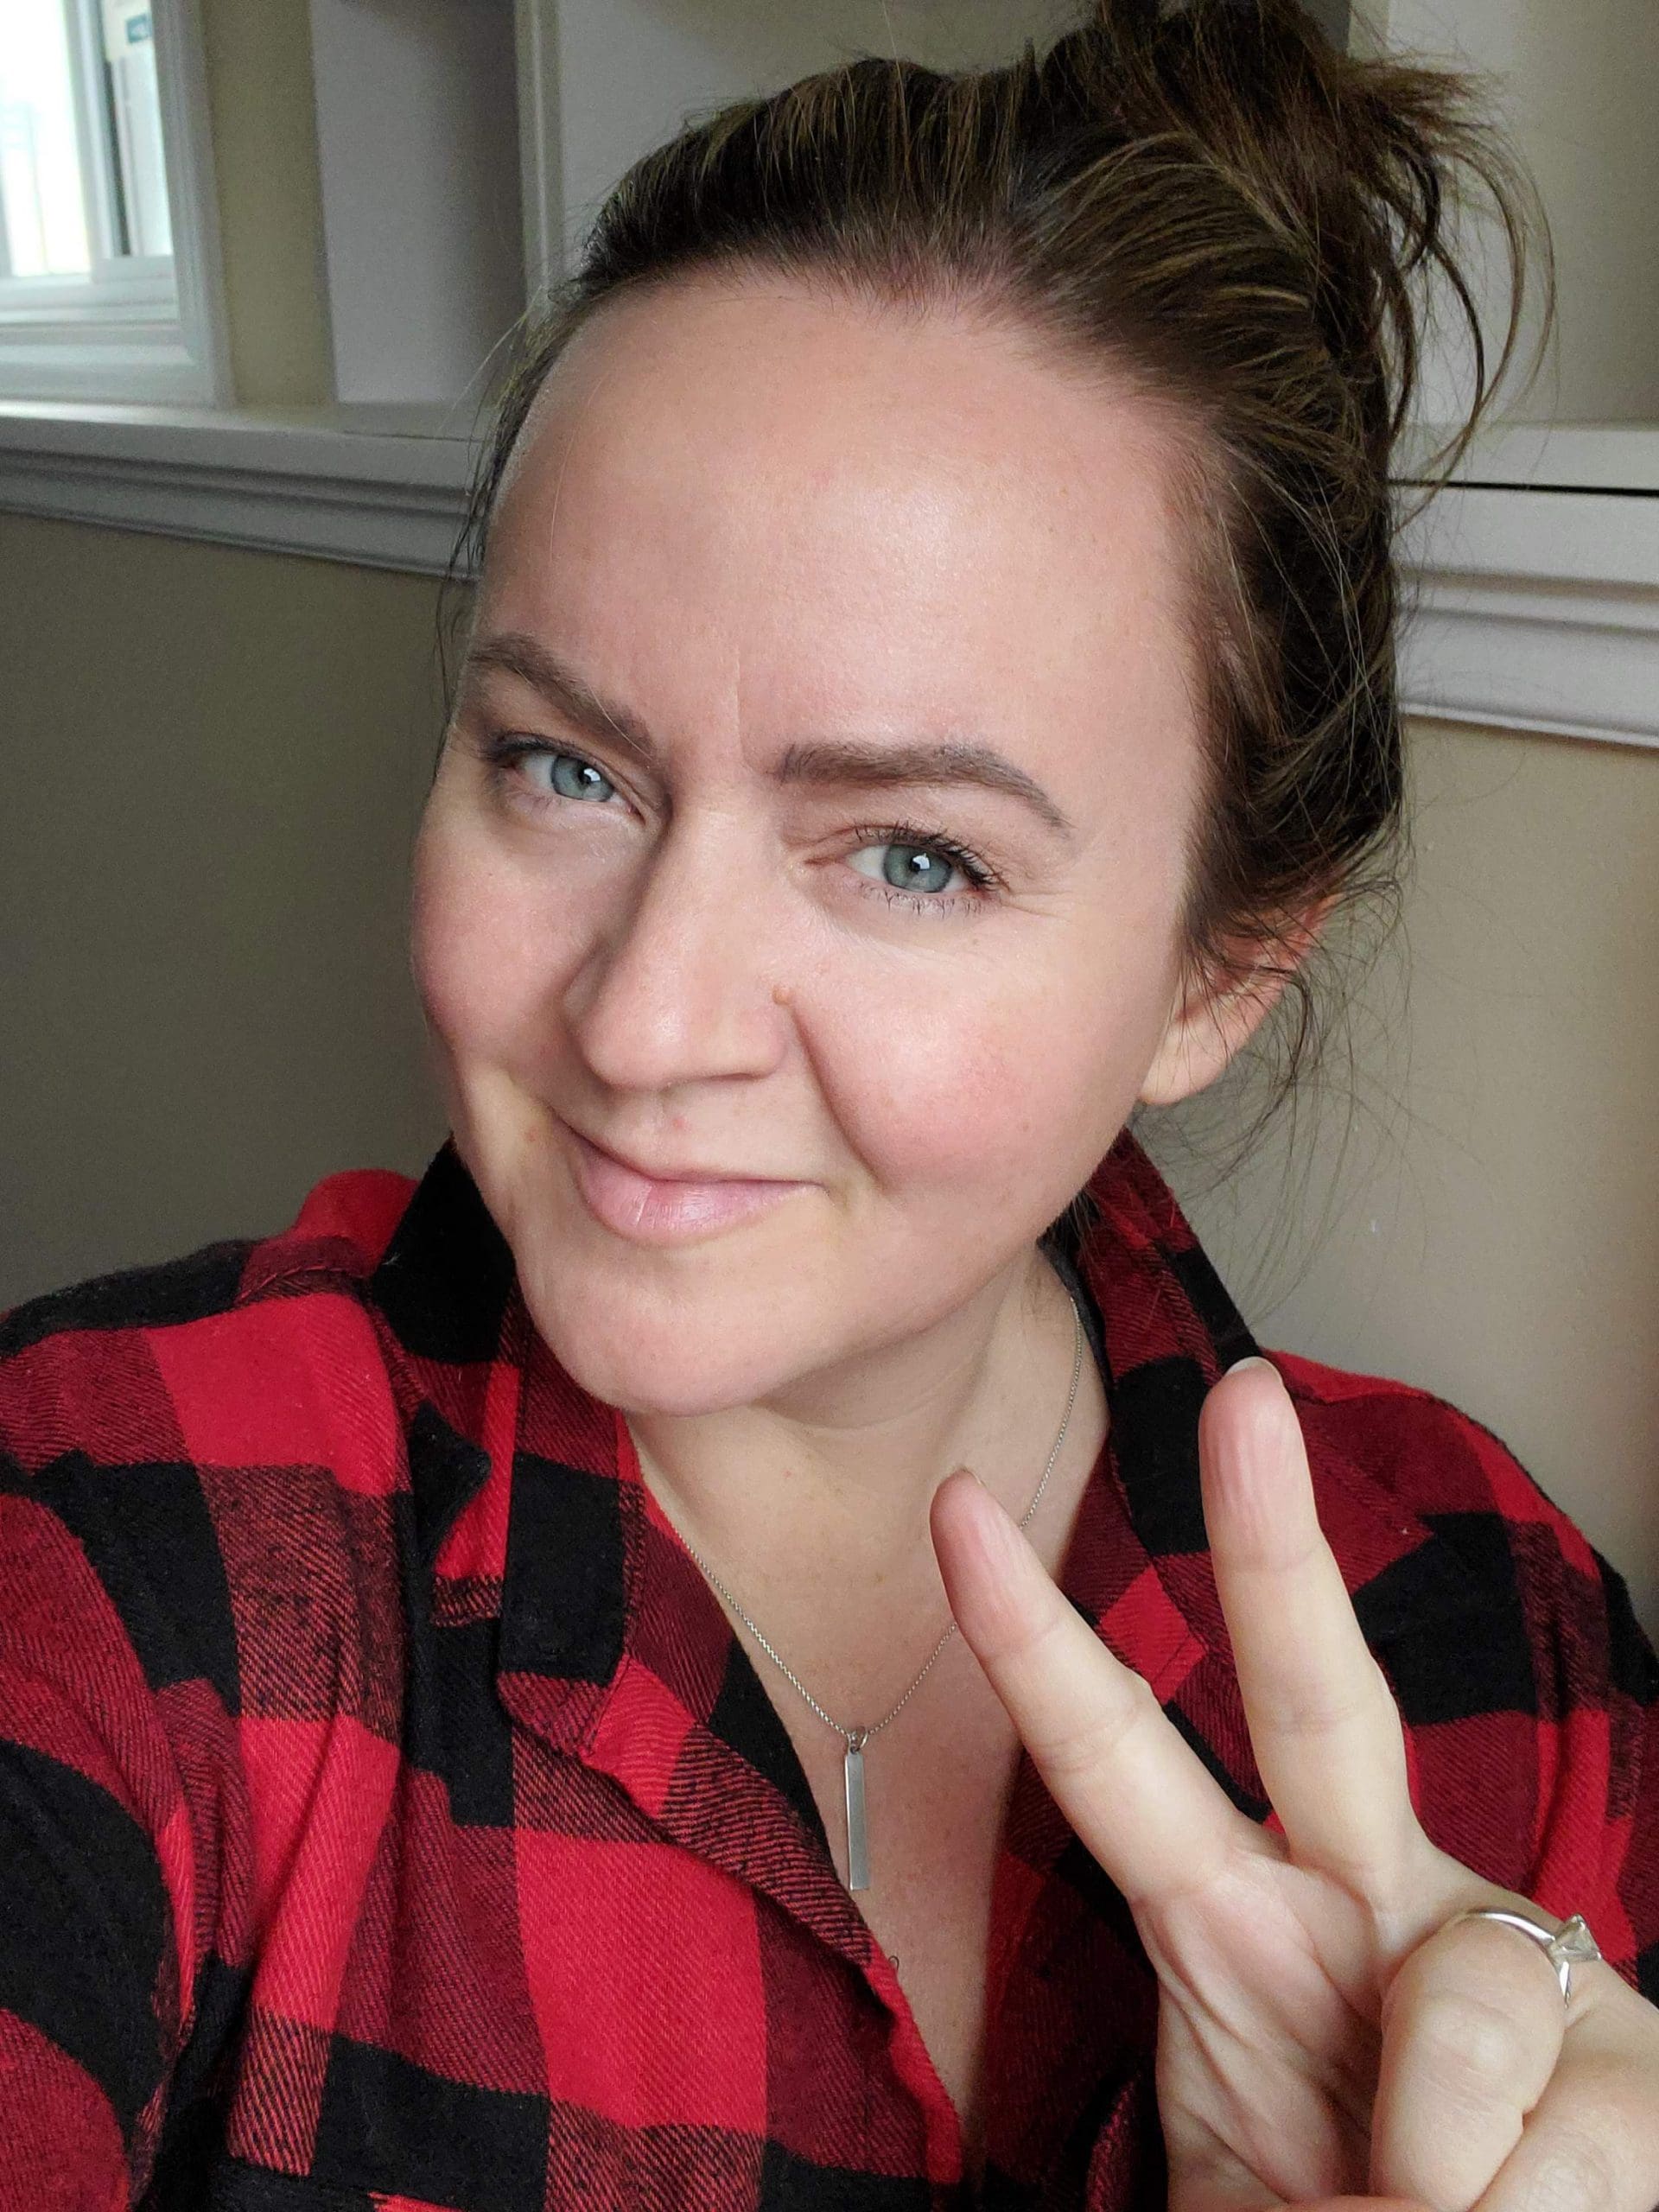
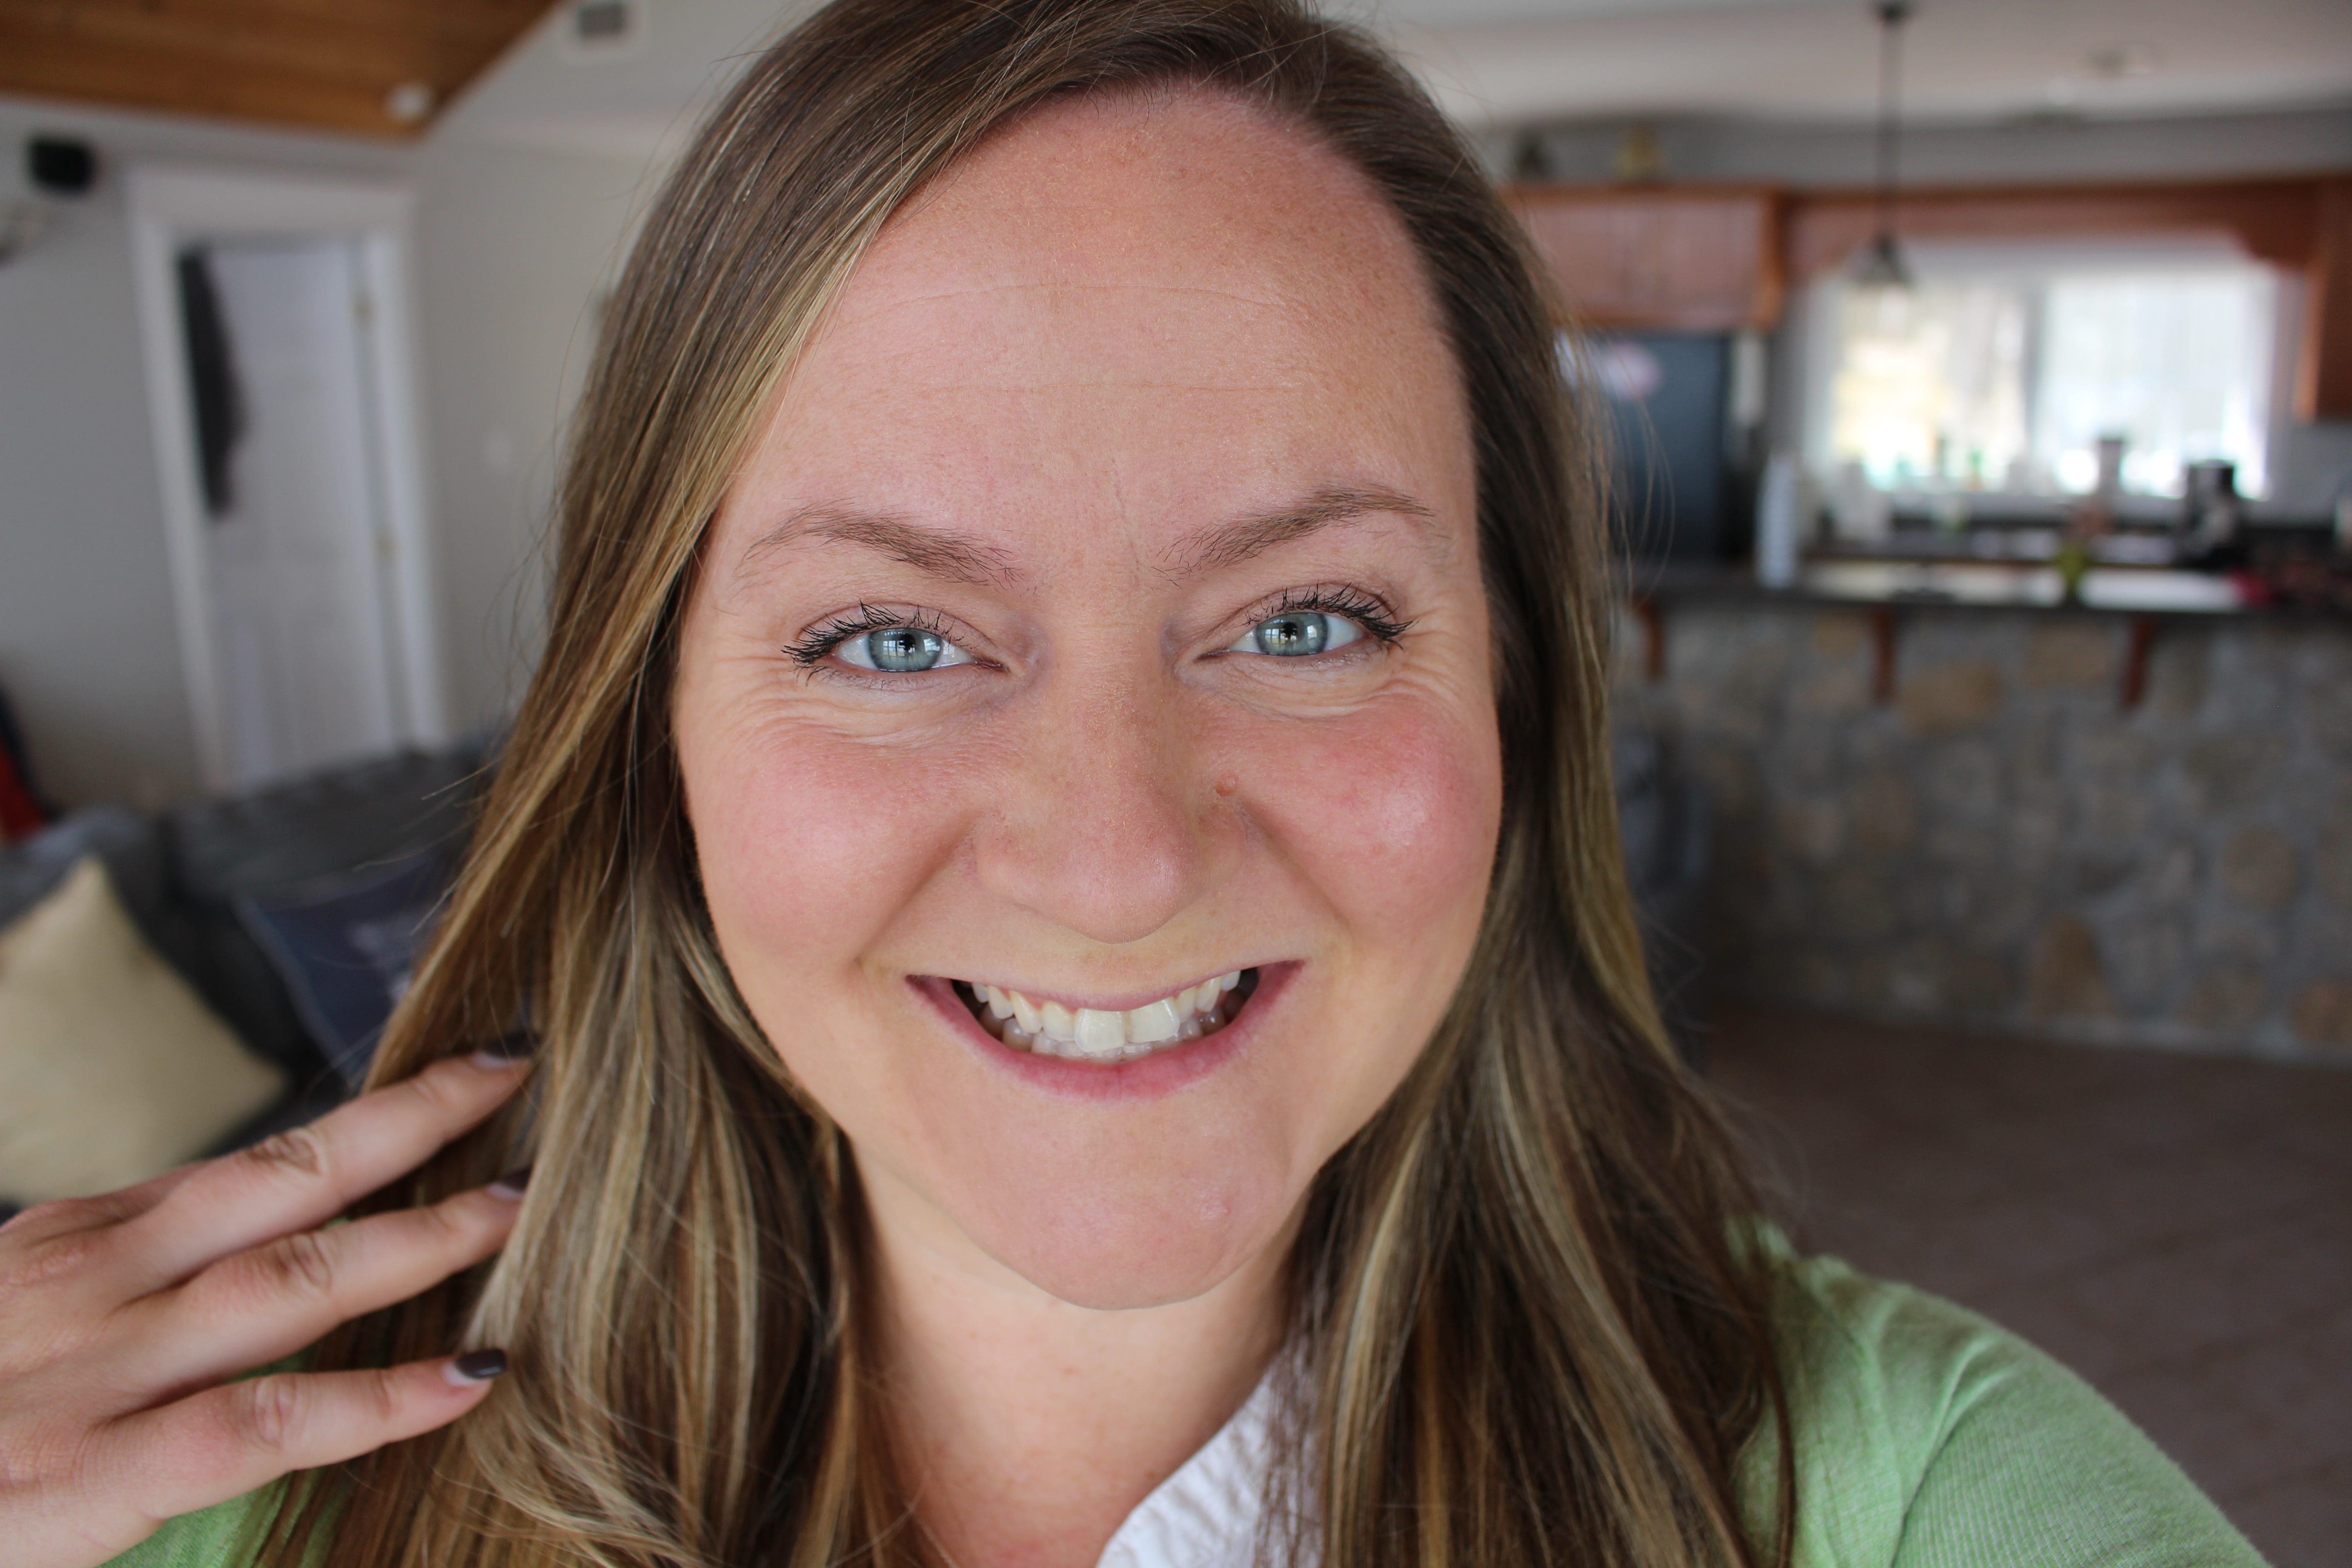
I hate traditional microblading before and after pics, don’t you? I think it’s much better to see what someone looks like in their day to day. So here are a few pics I’ve taken over the last few weeks. You’d never know I had my brows microbladed, right?
Something to note: when you see microblading before and afters, they’re often (usually) taken directly after microblading has been done. That means you’re looking at unhealed brows which doesn’t give you a true representation. Another reason I think these pics make more sense to show!
When the incisions are open (for the days following the microblading) they appear much larger and darker. These images will give you a much more realistic idea of what to expect. These were all taken at least a full 4 weeks after my touch-up session.

Are you considering microblading? Did I miss anything you want to know? Lay it on me in the comments!
*I received my microblading in exchange for my honest review on the blog. As always, all opinions are my own and are 100% honest. I never agree to post only positive reviews – our sponsors all know that we will tell the truth, the whole truth and nothing but the truth. I would 10/10 recommend Devon from Brow Justice!



What does this mean? I read it all very interesting.
till a HELL YES for me. I “love them but I’d also like to have my brows tinted to match my microblading “
Hey Faye,
I’m not quite sure what your questions is…but happy to answer if you clarify!