THRILL OF THE GRILL | Episode 4
Garlicky Grilled Shrimp Skewers
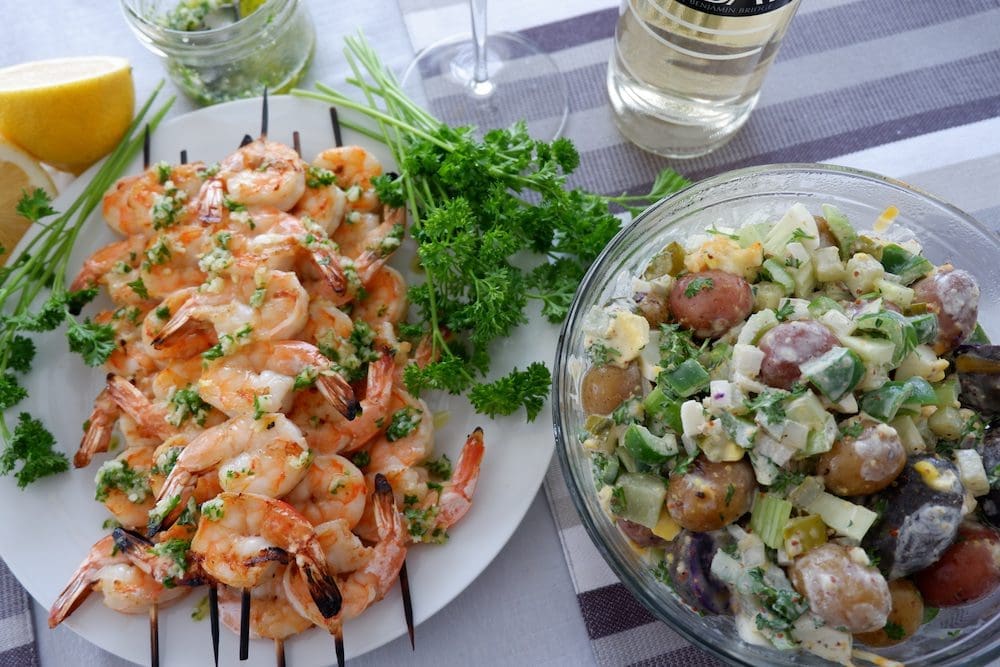 Confession. Brent does most of the grilling around here…OK, he does all of it. But this week, we had more places to be than hours in the day so I was flying solo on this garlicky grilled shrimp skewers recipe. I remember times in my life watching my parents or my brothers or friends battle their grills so I’ve always been a little hesitant. And, since we move so often, we’ve never invested in one ourselves and I just assumed they were always tricky to start.
BBQ Beginner
I thought you had to turn on the propane, do a little fire dance, use a lighter to ignite the burners then jump back and hope that you don’t singe your eyebrows off! Turns out, I’m not the only one. I posted this very confession on our instagram stories thinking a ton of you would come back and poke fun at me for being a grill newbie but instead, the opposite happened.
In fact, a lot of you were in the same boat as me.
New to grilling…
Unsure of the big bad contraption on your decks…
Nervous of using propane…
Well, I’m all about taking one for the team and so I did. Good news! Nice grills are super simple to use and I literally just turned it on and went. No lighter required, no starter, no adjusting the propane – this gem turns on just like an oven.
So all of that to say, if you’re somoene who’s been hesitant to take on the grill, give it a shot! Now I totally see what people have been raving about all these years. It’s pretty fun! And, it’s safe to say that after just one use I’ve developed my very own thrill of the grill.
Wondering how the garlicky grilled shrimp skewers turned out? Ah-Freaking-Mazing!
Shrimp Skewers Prep
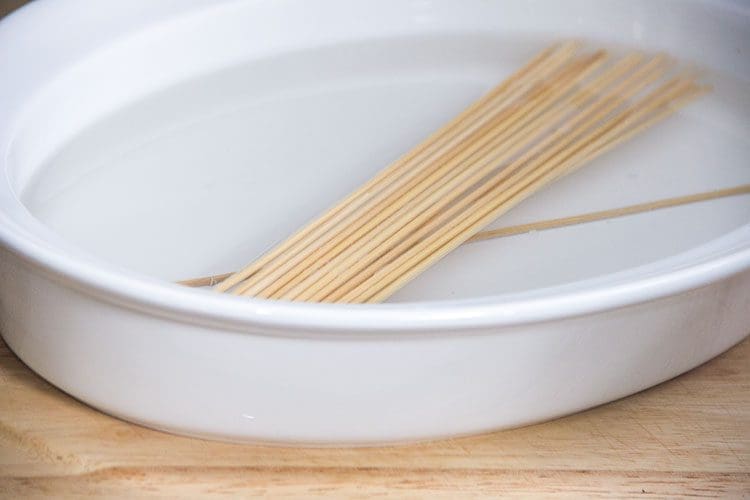
I may not be a grilling expert, but I do know that if you’re going to use skewers on the BBQ you’ve got to soak them first because wood + fire = …ya know. So pop your skewers into a shallow dish of water for about an hour before you’re ready to thread your shrimp. I weigh mine down with a ladle rest to keep them submerged.
Prepping Your Shrimp
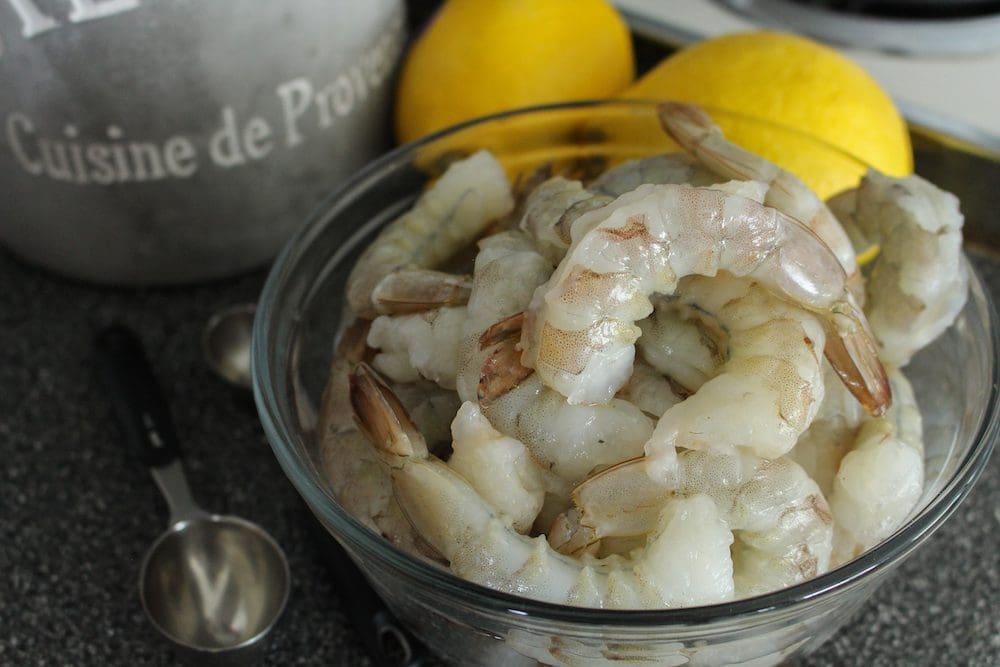
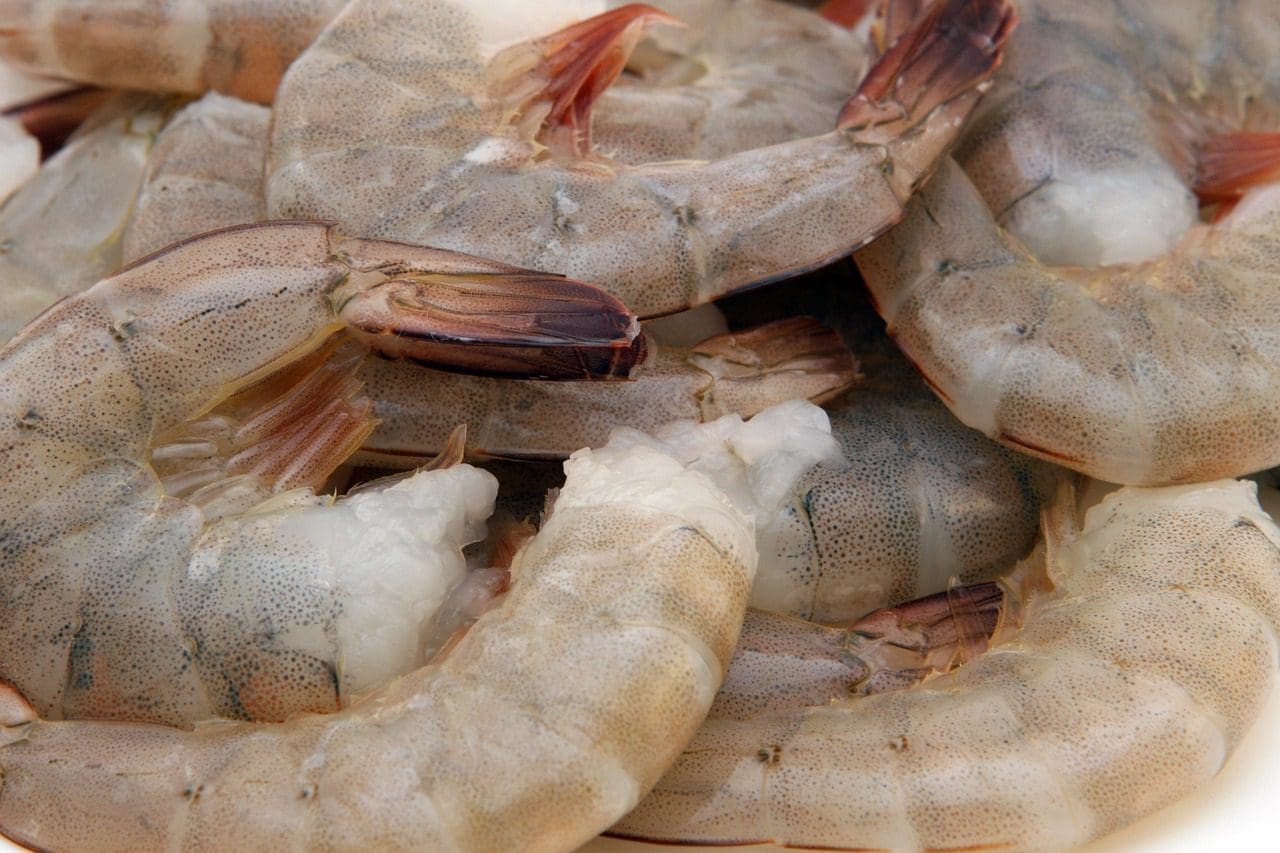
First, even finding good quality shrimp can be a challenge depending on where you live. We’re lucky where we are and have a seafood market just down the road. If I was shopping day of and had access to fresh shrimp, I might go that route, but a good quality raw frozen shrimp can become your best friend. For this recipe, we went with frozen, deviened, heads off. Let them thaw (don’t heat them to speed this process) and then shell them. I prefer to leave the tails on because it makes for easier eating and it looks prettier on the skewer!
Brining Your Shrimp
This might be new information for you if you’re not well versed in cooking with shrimp but it’s a critical step. A simple brine of baking soda, salt and sugar will change your shrimp game. The salt helps keep the shrimp nice and moist during cooking and the baking soda help give it some crisp. You just shell your shrimp, add the brine, give them a quick toss and then skewer.
Assembling Your Shrimp Skewers
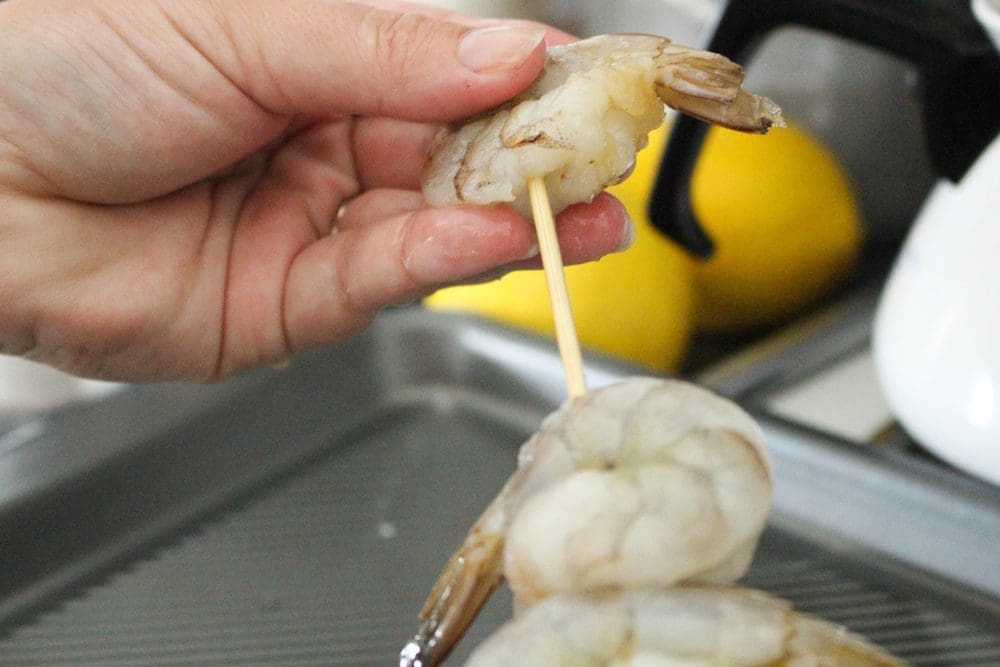
This is where seafood is very different. If I were grilling chicken or pork, I’d likely leave some space on the skewer so they cook evenly and through but with shrimp, you’ll want them nice and cozy. Thread them onto your skewers head to tail then tail to head; about 6 shrimp per skewer. If you leave space, they’ll overcook and the last thing you need are dried out shimp bricks!
Once you’ve assembled them, lay the skewers over a baking dish so they’re suspended and let them rest in the fridge for about an hour to give the brine time to work it’s magic.
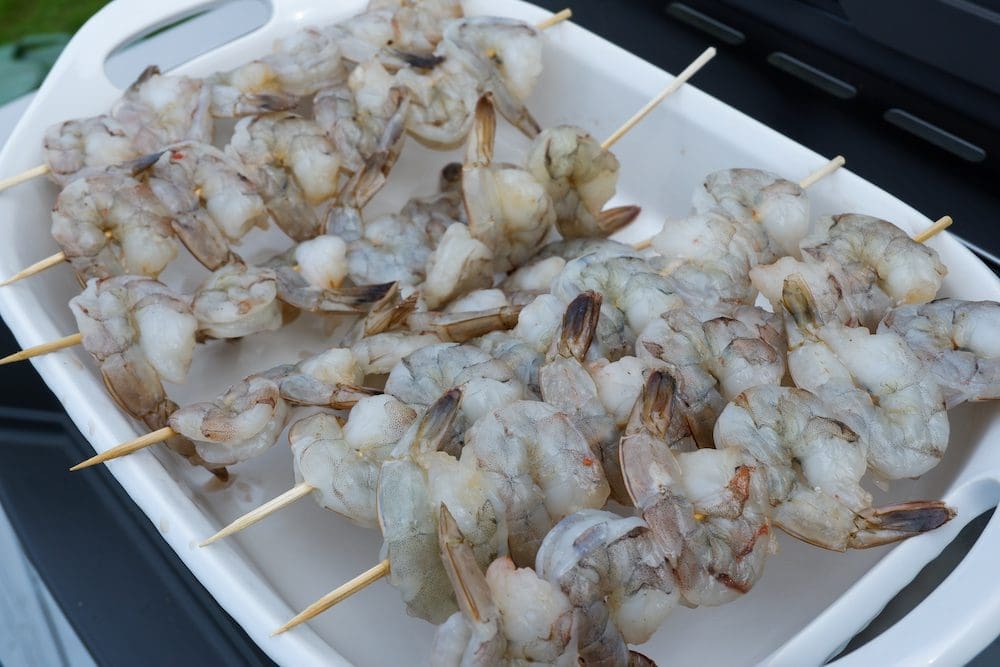
Grilling Your Shrimp
Those first few steps basically take all of your time while the actual cooking is quick. Make sure you heat your grill to high. The goal is to sear the shrimp quickly, just a minute or two on each side and then get them off the grill. You’ll know they’re done because they turn that beautiful pink color that we all know and love.
For this recipe, we’re brushing the skewers with a garlic and oil mixture as they’re grilling. I really loved the simplicity of the flavor. Like my steak, I prefer my seafood nearly naked with only simple additions (if any).
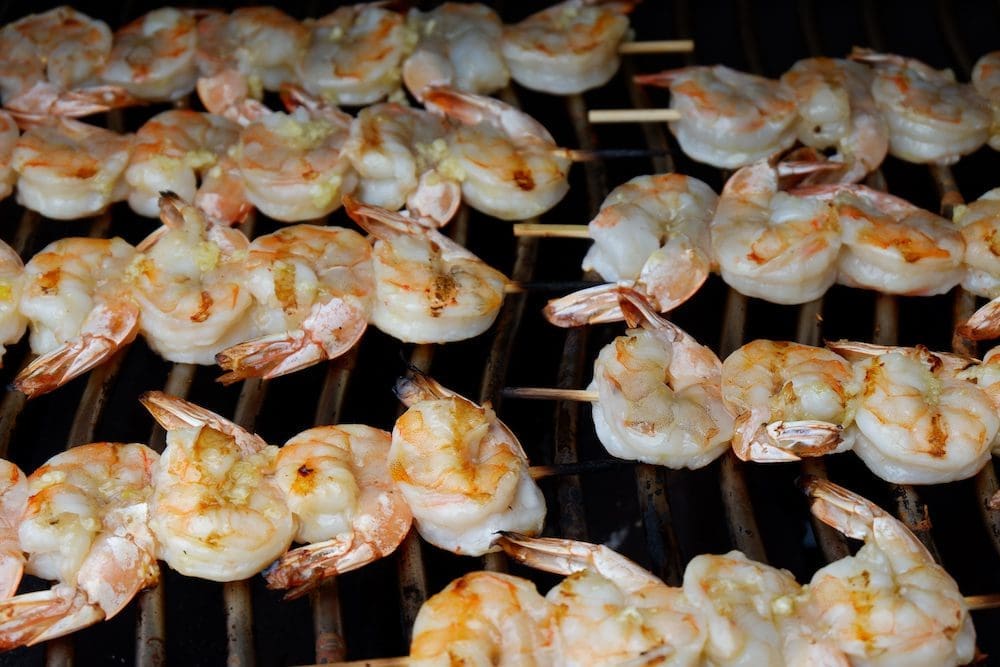
Herb Drizzle & Shrimp Sides
Once the skewers are done, you can either garnish them yourself with the garlic and herb drizze outlined below or simply pile them on a place and let your guests add as much or as little extra flavor as they like. In my case, I was generous with the drizzle because…photos. Obviously. I also LOVE garlic so had no fear of over-doing it.
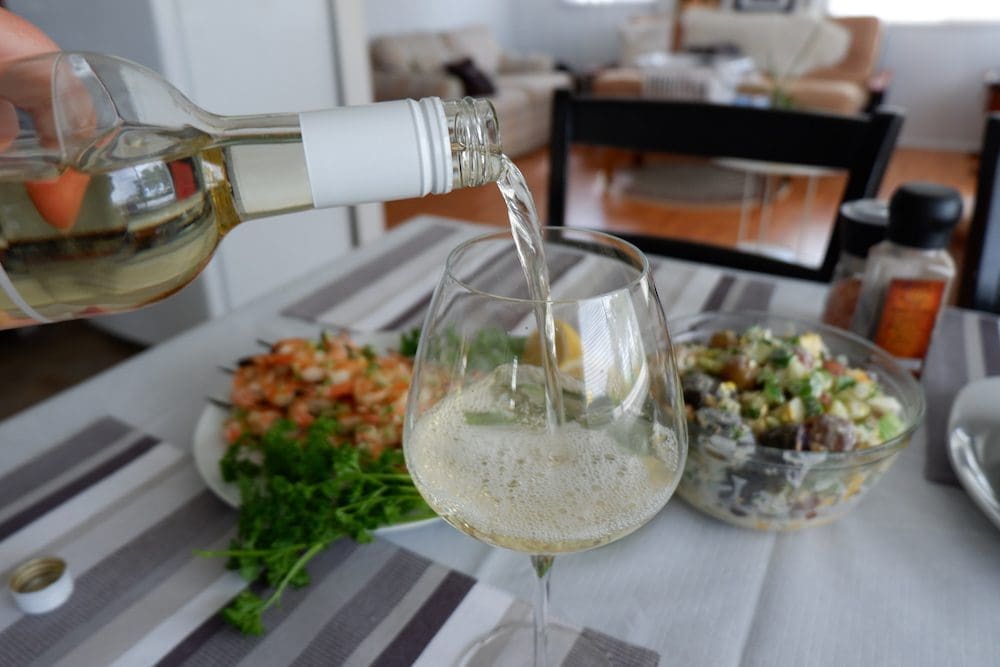
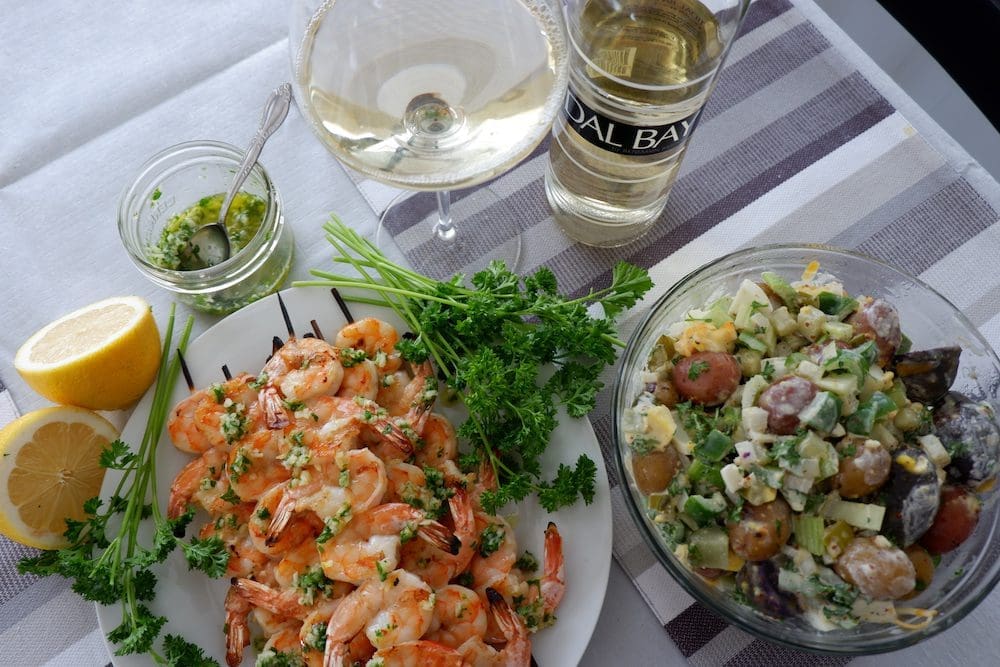
We paired the garlicky grilled shrimp skewers with a unique twist on traditional potato salad and a crisp Tidal Bay wine. Since we’re finally getting some heat here on the East Coast of Canada, this was a perfectly light, fresh meal that didn’t leave you feeling too full and heavy.
It’ll definately be a re-do and was really simple to execute (always a bonus). You could, quite easily, prep everything ahead of time and then throw these babies on the grill when your guests arrive for another impressive spread.
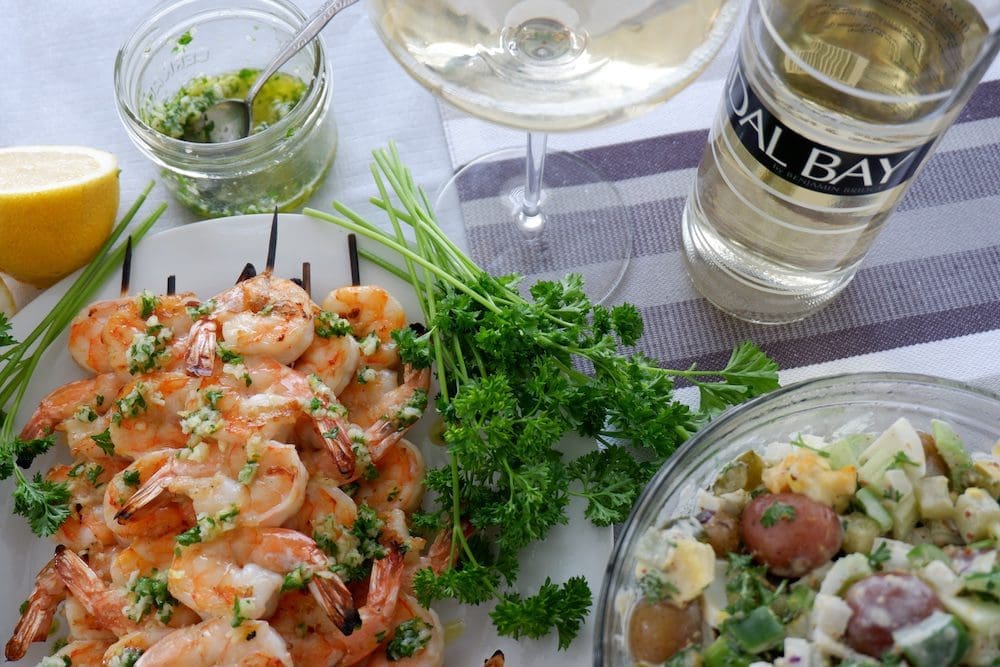
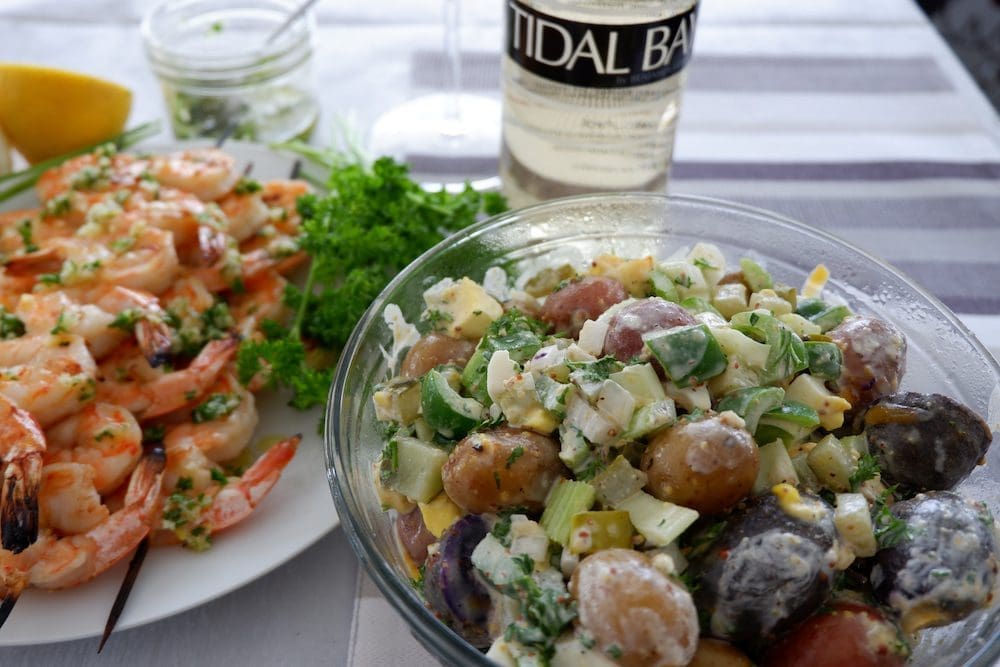
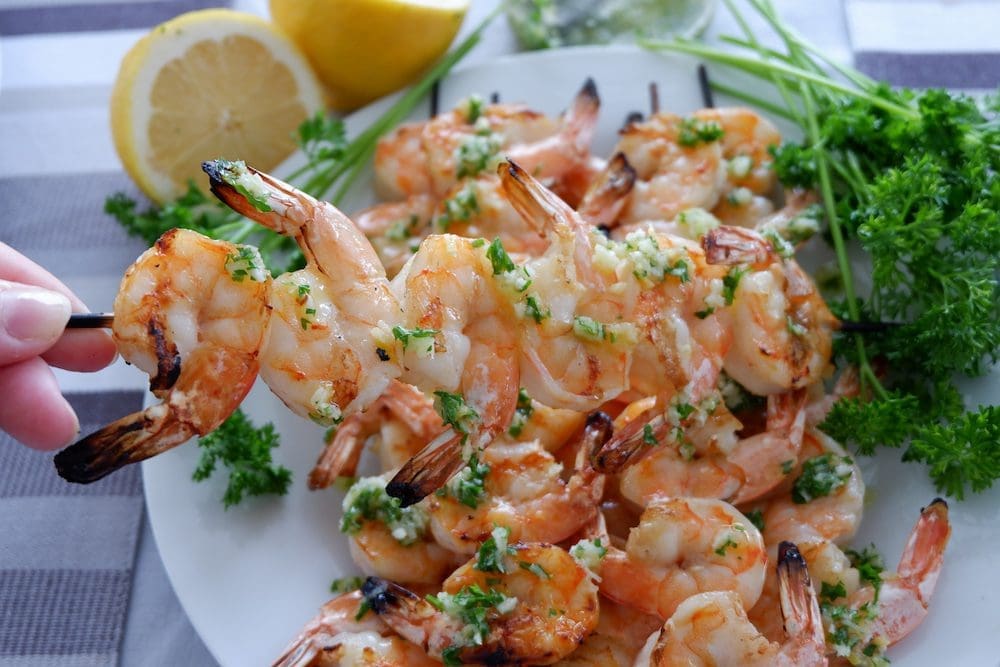
Garlicky Grilled Shrimp Skewers Recipe
Garlicky Grilled Shrimp Skewers
Light, fresh and simple. That's the theme behind this garlicky grilled shrimp dish. You can prep these skewers ahead of time and then put them on the grill when your guests arrive for a perfect summer appetizer or present them as the star of the show!
- 2 1/2 lbs Large Shrimp (peeled & deveined)
- 1/2 tsp Baking Soda
- 1 Tbsp Kosher Salt (plust more to taste)
- 1 tsp Sugar
- 4 cloves Garlic (minced, divided)
- 1/4 cup Olive Oil (divided)
- 1 tsp Lemon Zest
- 4 tsp Lemon Juice
- 2 Tbsp Fresh Parsley (minced)
- Black Pepper (fresh, ground)
-
Combine shrimp, baking soda, salt, and sugar in a medium bowl and toss to coat. Thread shrimp onto sets of 2 skewers, alternating heads to tails and pushing shrimp so that they are nestled snugly together; you should have about 6 shrimp on each set of skewers. Lay skewers on top of a baking dish so that shrimp are suspended above bottom of dish. Transfer to refrigerator and allow to rest for 1 hour.
-
Meanwhile, combine half of garlic and half of olive oil in a small bowl. Combine remaining garlic, olive oil, lemon zest and juice, and parsley leaves in a large bowl. Set aside.
-
When shrimp are ready to grill, brush both sides with first garlic/oil mixture.
-
Set half the burners on a gas grill to the highest heat setting, cover, and preheat for 10 minutes. Clean and oil grilling grate.
-
Place shrimp directly over hot side of grill and cook, turning occasionally, until shrimp are just cooked through and well charred, 4 to 5 minutes total.
-
Arrange skewers on a serving dish and generously drizzle with garlic, oil & lemon marinade.
Alternatively, carefully remove skewers from shrimp and transfer to bowl with garlic/oil/lemon mixture. Toss to coat. Season to taste with salt and pepper and serve immediately.
Drink Pairing
Here in Nova Scotia, there’s only one thing that pairs perfectly with seafood. Our award-winning Tidal Bay wines. Today we selected Benjamin Bridge’s Tidal Bay which is full of crisp, fresh flavors and provides a perfect complement to fresh seafood without overpowering it.
*This series is sponsored by Warmth by Design and Barbecue Heaven. We love partnering with local brands and sharing the awesomeness with you. The recipe was provided by the Kitchen Door Catering team.



That meal looks amazing!
I just got myself two brand new tanks of propane and I think I’m going to have to try out this recipe very soon – those shrimp look amazing.
How , how , how , have I not seen this until now? Hoping for nice weekend weather to try them out ! 🍤
One of the simplest recipes on the blog and SO good!
Gotta try this! Getting tired of the same old stuff on the grill