
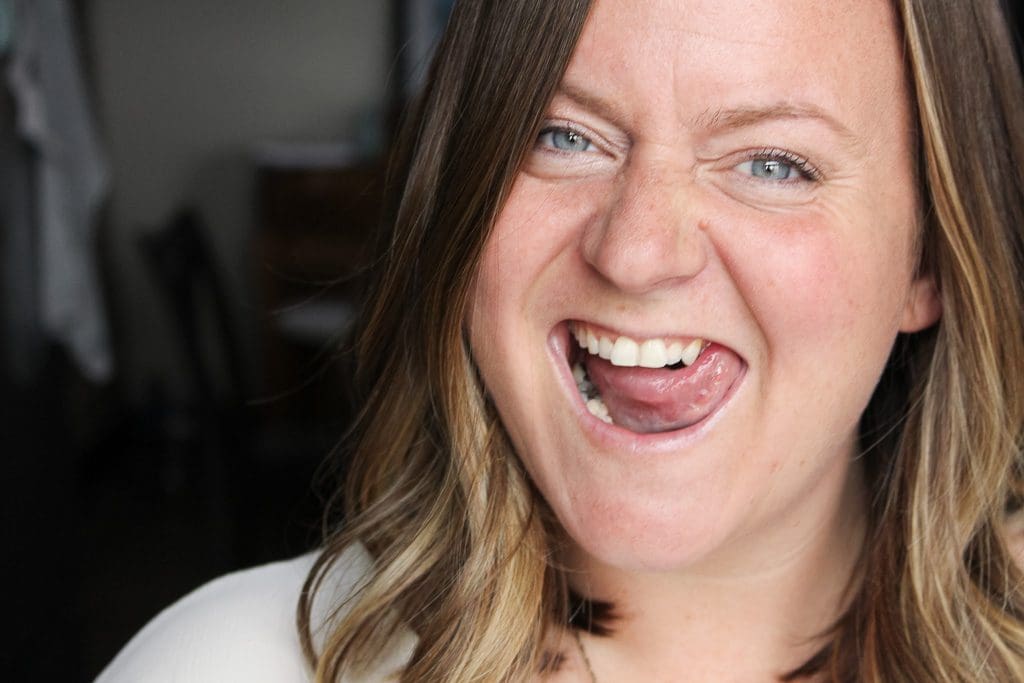
Ah, my teeth. To date, they’ve been a constant source of self-consciousness for me as far back as I can remember. You see, they’re hard as nails (which is great) but they’ve also got their quirks. First, they’re not crooked enough for braces but they’re most certainly not straight either. Second, they’re not super yellow but they’re just stained enough to make me aware of them in all of my photos. And finally, they’re crazy sensitive (imagine little microscopic knives in your nerves at the first sign of cold) which means despite my best attempts with at-home whitening kits, I could never handle the pain.
So imagine my delight when my Dentist, Carolyn, told me about the SpaDent teeth whitening system (which is supposed to be sensitivity free)! Today, I’m sharing with you dearest blog reader, everything you need to know about the SpaDent system and what you can expect from the treatment.
Recently I’ve partnered with my Truro based Dentist, Carolyn De Amicis, of Alliance Dental which conveniently has locations all across Nova Scotia now. I honestly can’t say enough about Carolyn (and the whole team) and I’m constantly raving about my “amazing Dentist” to everyone who will listen. She has truly turned what use to be a source of anxiety for me (and so many others I know) into something that I not only don’t mind doing but…dare I say… enjoy?! I know right? I actually enjoy going to the Dentist now and feel totally safe in her chair!
What Is SpaDent?
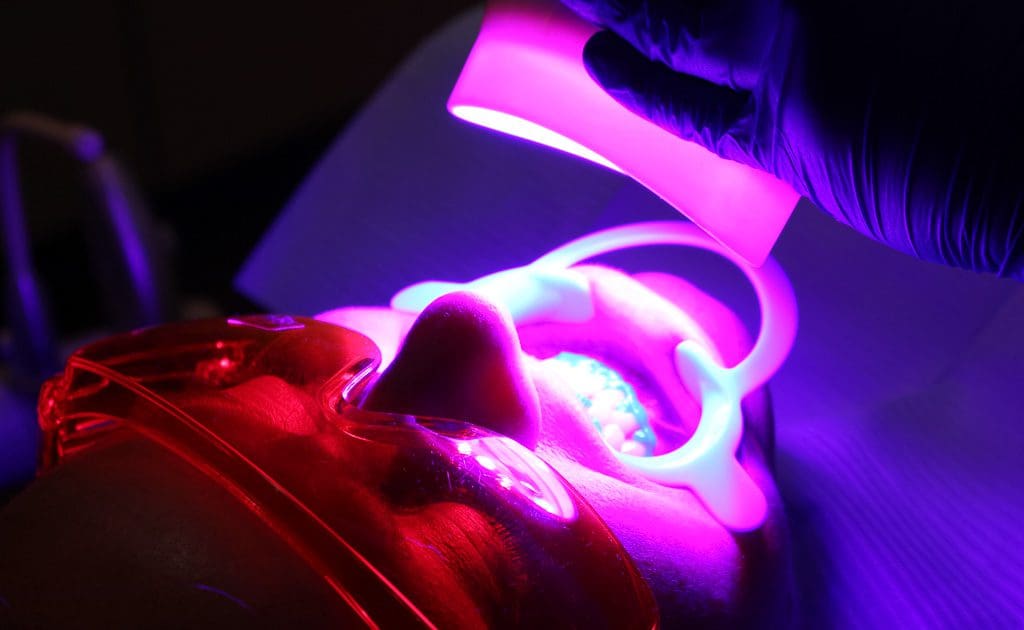
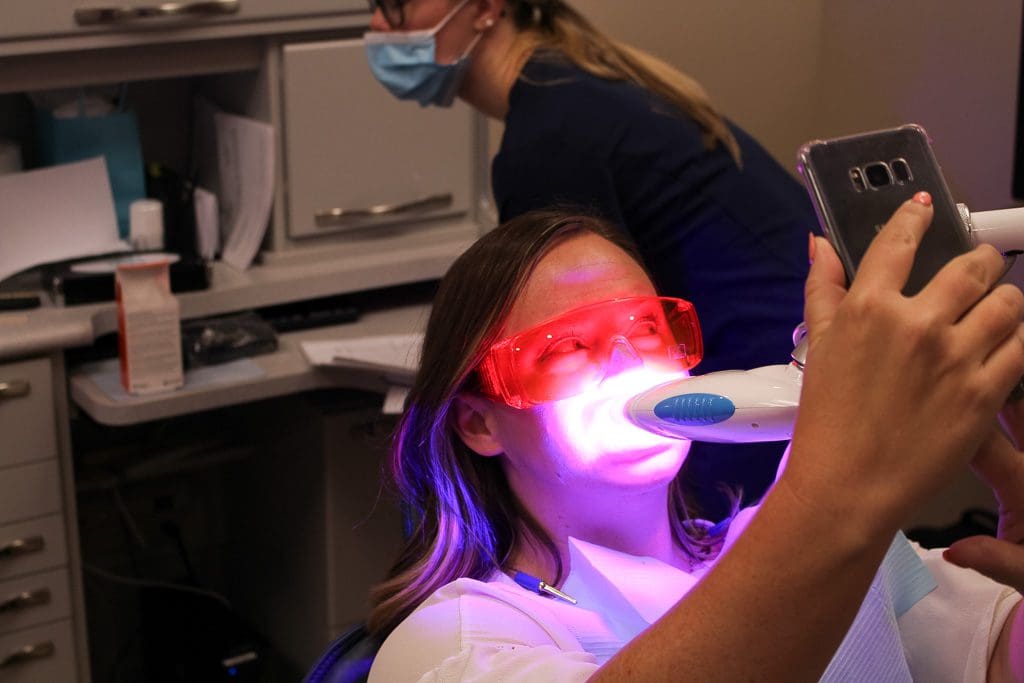
It’s a light activated, in-office, teeth whitening system that uses state of the art light technology (red and blue light) that not only promises 2-8 shades lighter but also stimulates cellular regeneration to heal minor mouth irritations and minimize sensitivity. Here are the claims:
- 2-8 shades whiter teeth
- 15 – 20 minute sessions (you do two in office)
- Sensitivity free
The Treatment at Alliance Dental
It’s an interesting thing, the Dentist’s office. More often than not you hear people complaining about having to go. In fact, even when someone is going in for an elective treatment (like teeth whitening) you’ll often see the nerves creep in. If we’re honest, I actually know more than a couple of people who are letting their teeth rot because they’re so afraid to go!
Well blog readers, trust me when I tell you; Alliance Dental isn’t like that. Long before I was considered an “influencer” I switched over to Alliance (and Carolyn) and it was the best thing I ever did for my oral health. They were then, and continue to be, the most friendly, kind, and thoughtful group of dental professionals I’ve ever encountered. There is nothing intimidating about this office or any of the folks who work there. They do everything in their power to make you feel comfortable and are incredible communicators (which I think is crucial in a dental office).
I tell you all of this (which might seem like overkill) because I know what you’re thinking. “Easy for you to say, they knew you were going to be writing about this so they treated you like gold”… am I close? Wrong! They treat everyone like this. Every. Single. Person.
OK, now we can get down to business. Here’s how it went:
Introductions & Explanations
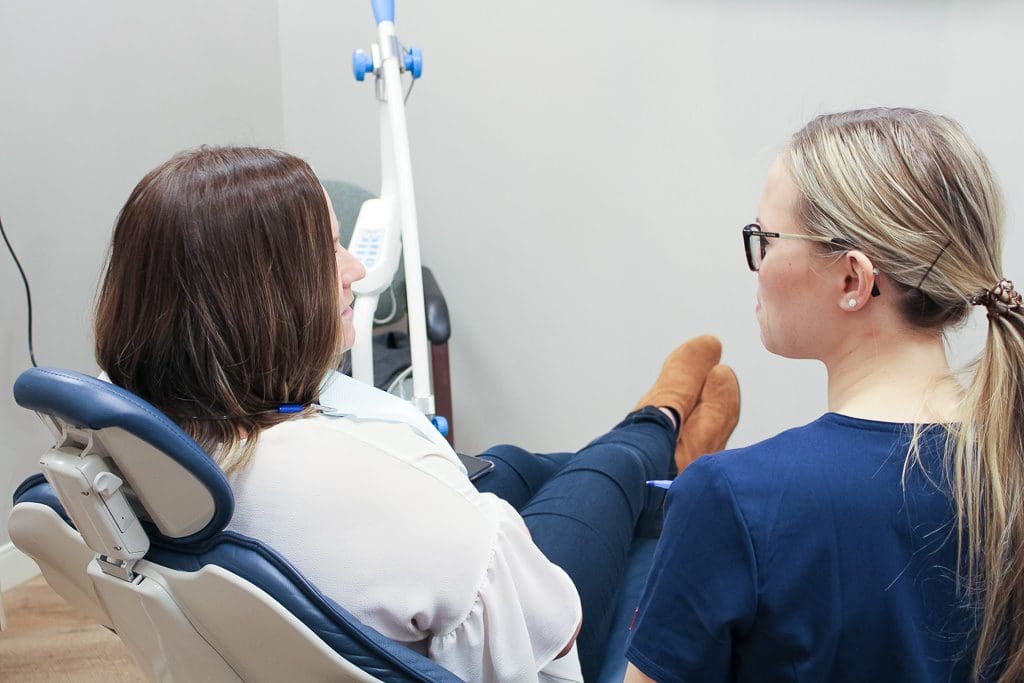
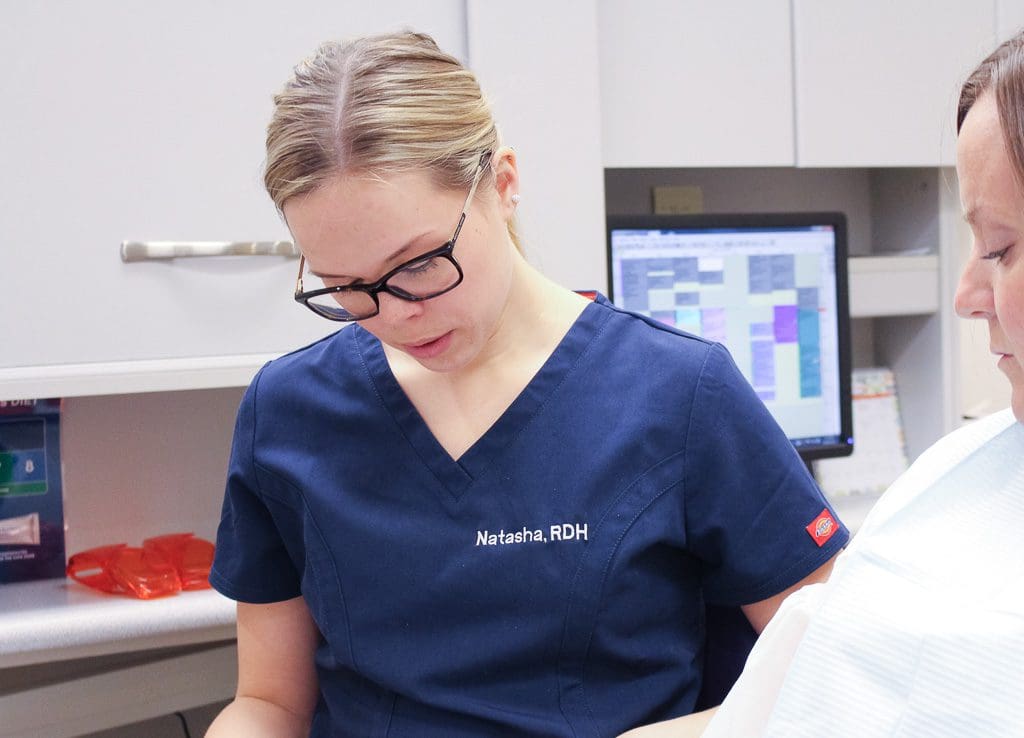
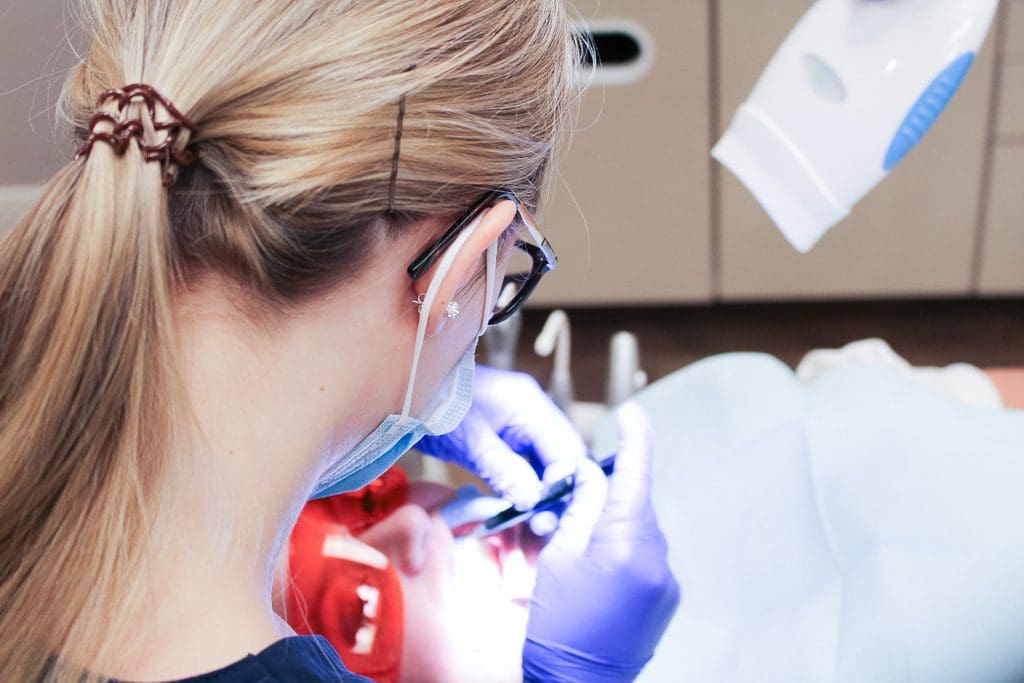
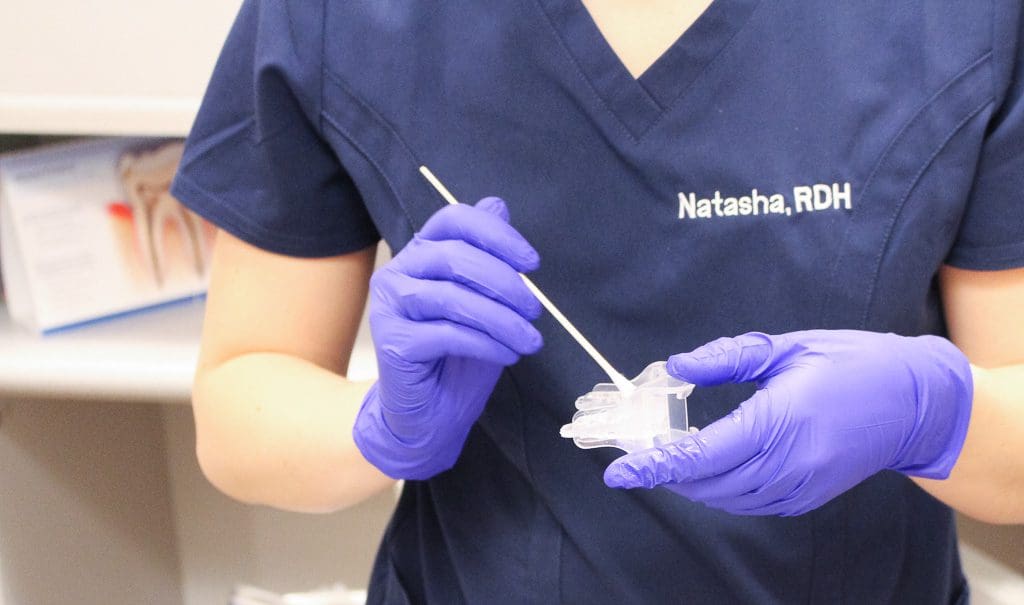
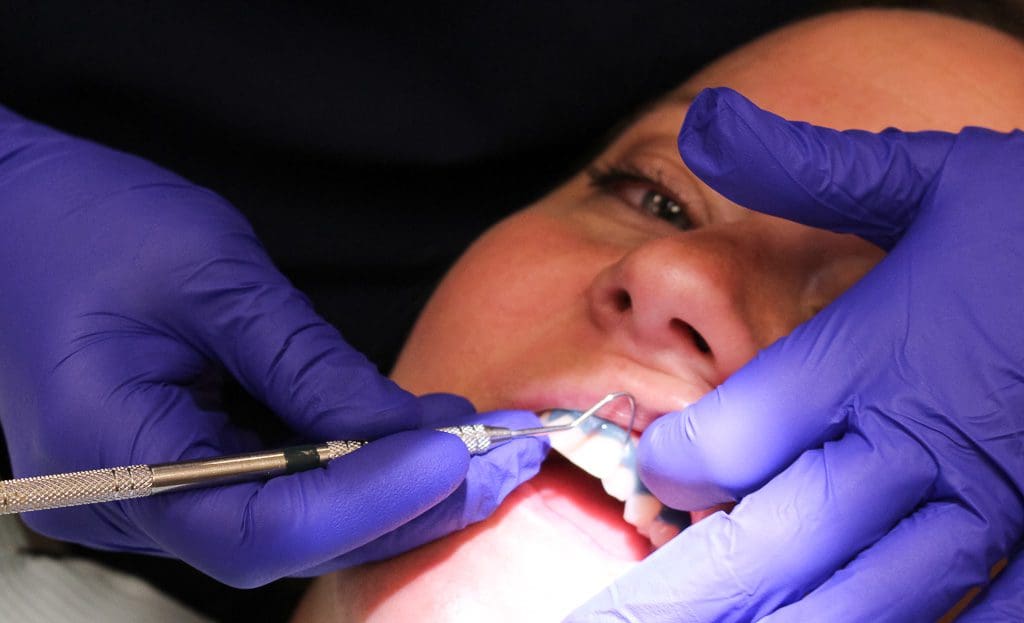
Natasha, the Registered Dental Hygienist who was handling my whitening, greeted us on time (as they always do at Alliance) and showed us to our room. Remember what I said about communication? This is what I mean: She explained every step of the process that was about to happen, exactly what I could expect, everything that would happen and how I could communicate with her while I had a mouth full of gear. She answered any questions I had and even made sure the TV was set to a show that I enjoyed before we started the treatment.

 STEP ONE
 STEP ONE
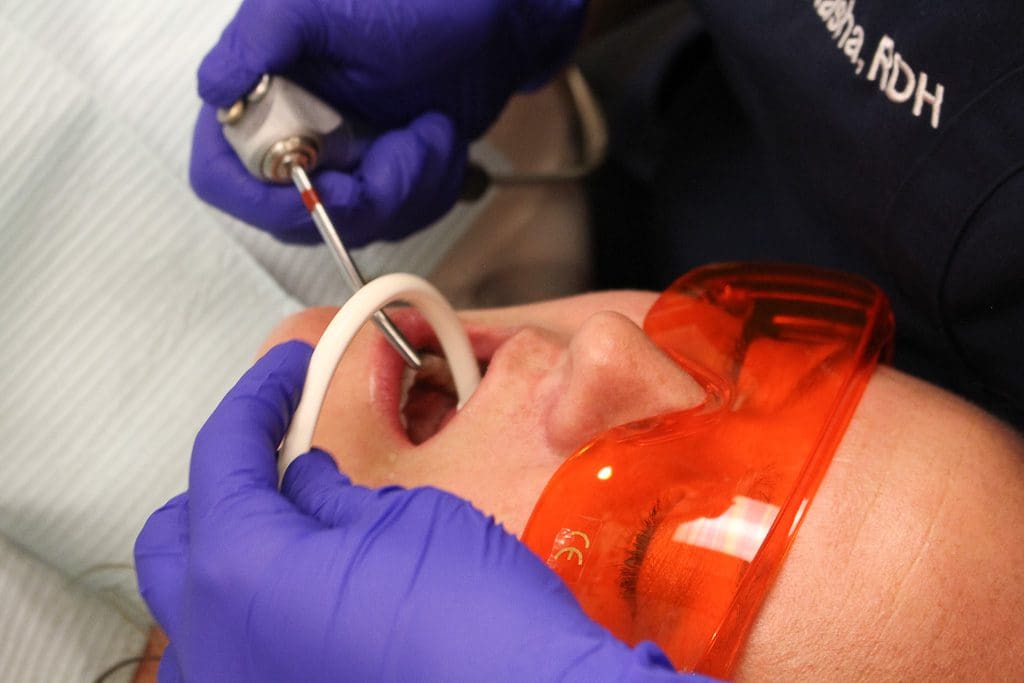
Gum Protection & “Before” Shade Matching
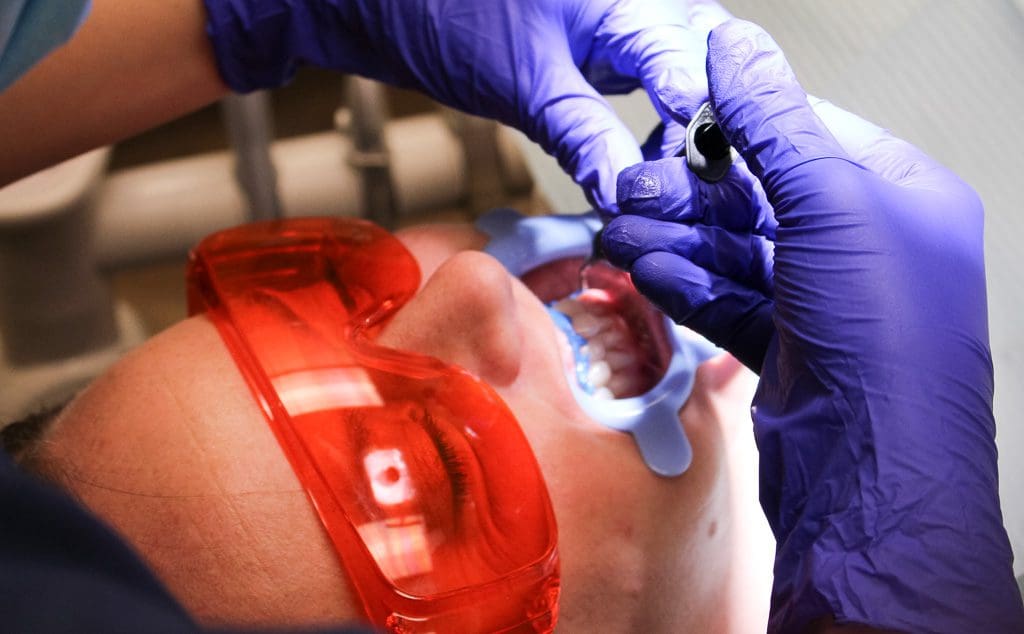
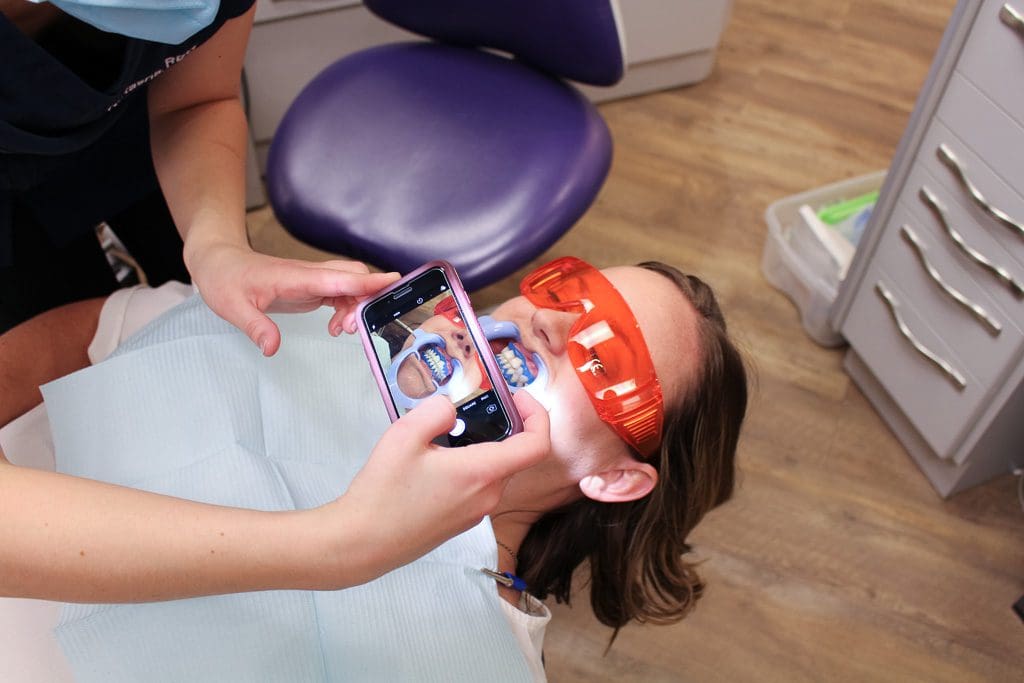
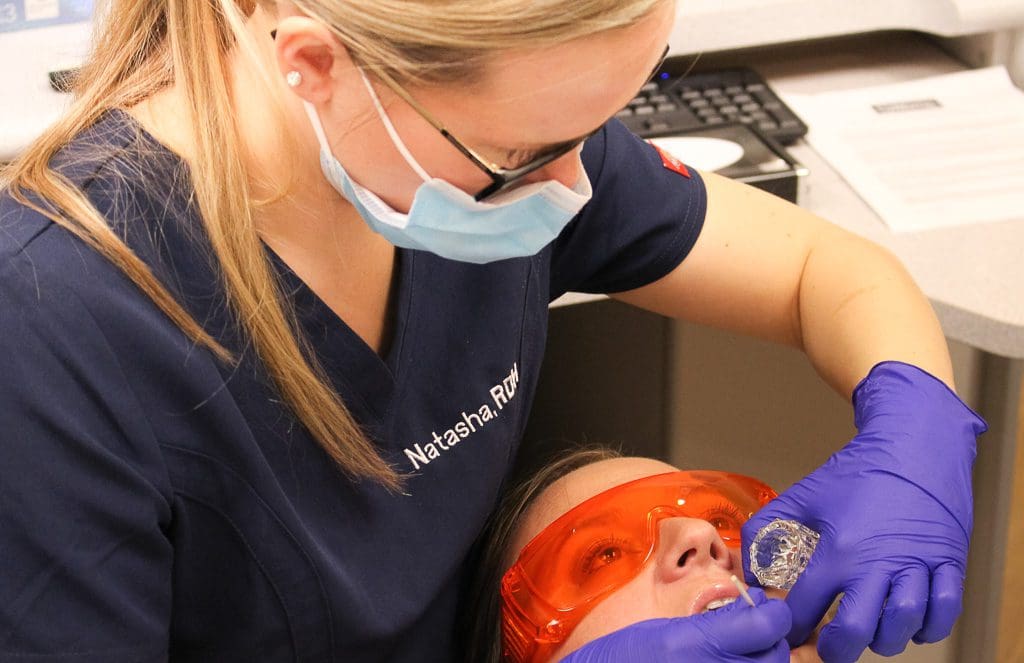
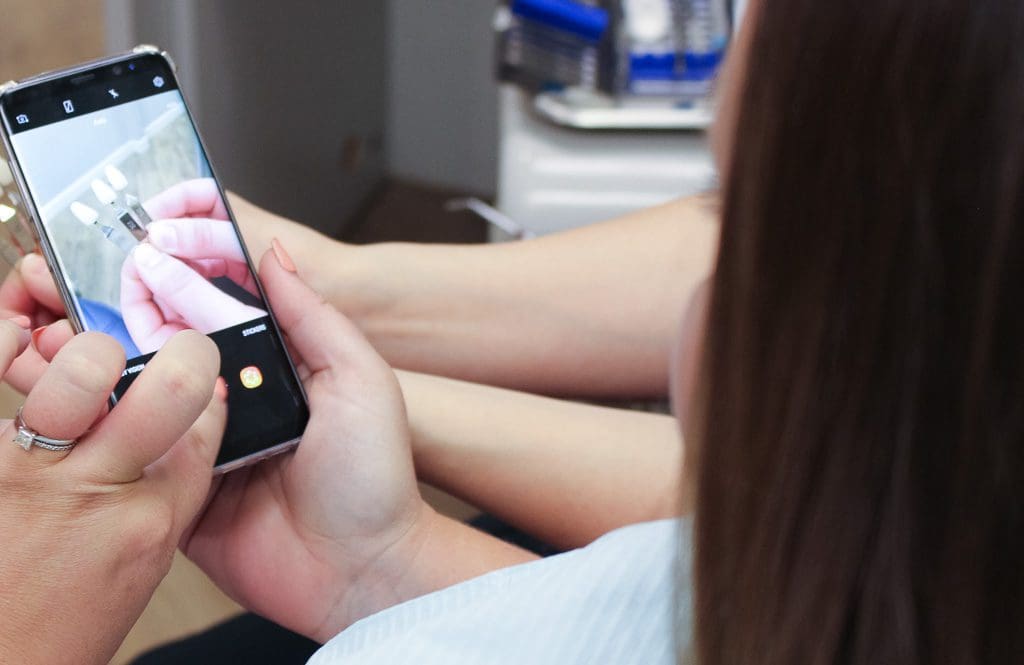
Before any whitening began, Natasha applied a protective blue gel to my gums. The process was easy and I really appreciated that the whitening gel wouldn’t be coming into contact with my delicate gums! The lip retractors were placed (only for this step), the gel was applied and then it was set with a light. We also took this opportunity to match my current teeth colour so that we had a “before” shade.
STEP TWO
Vitamin E Barrier
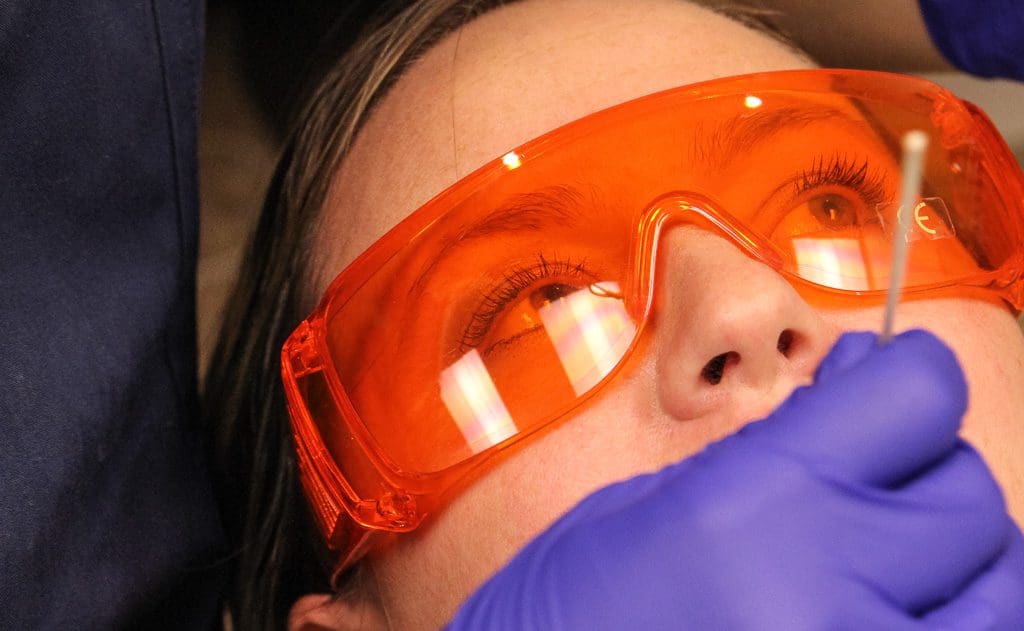
Once the gum barrier was set and the lip retractors removed (you don’t keep those in – yay), Natasha applied a generous coating of Vitamin E to my lips, gums, and the roof of my mouth to further protect any tissues that aren’t the target of the whitening. I was worried this part would be gross but it was flavourless and totally comfortable.

 STEP THREE
 STEP THREE
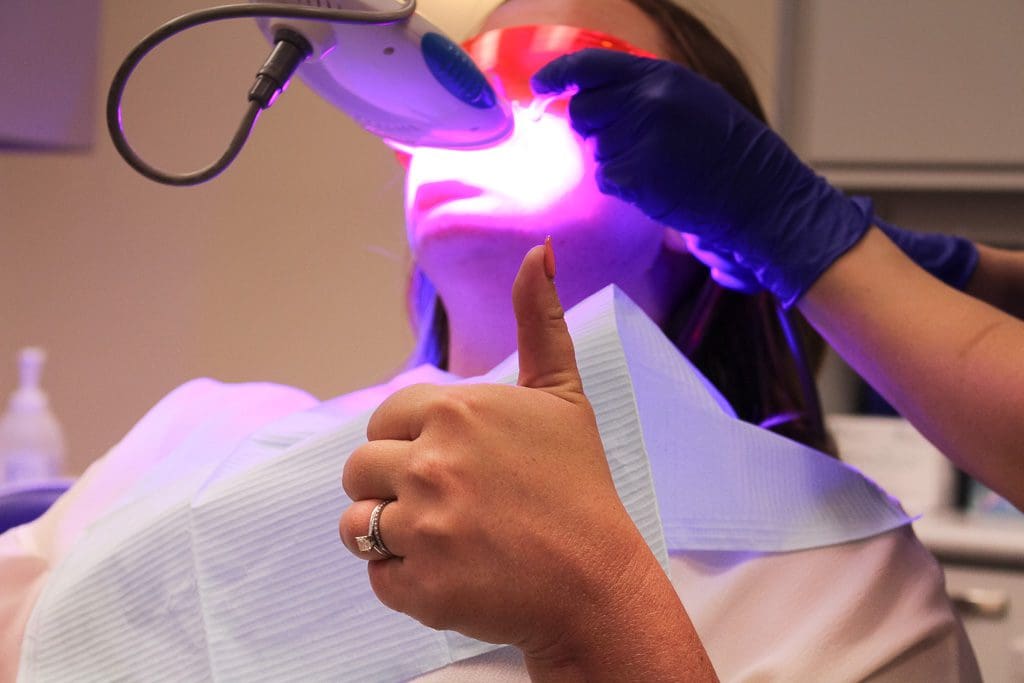
Whitening Session
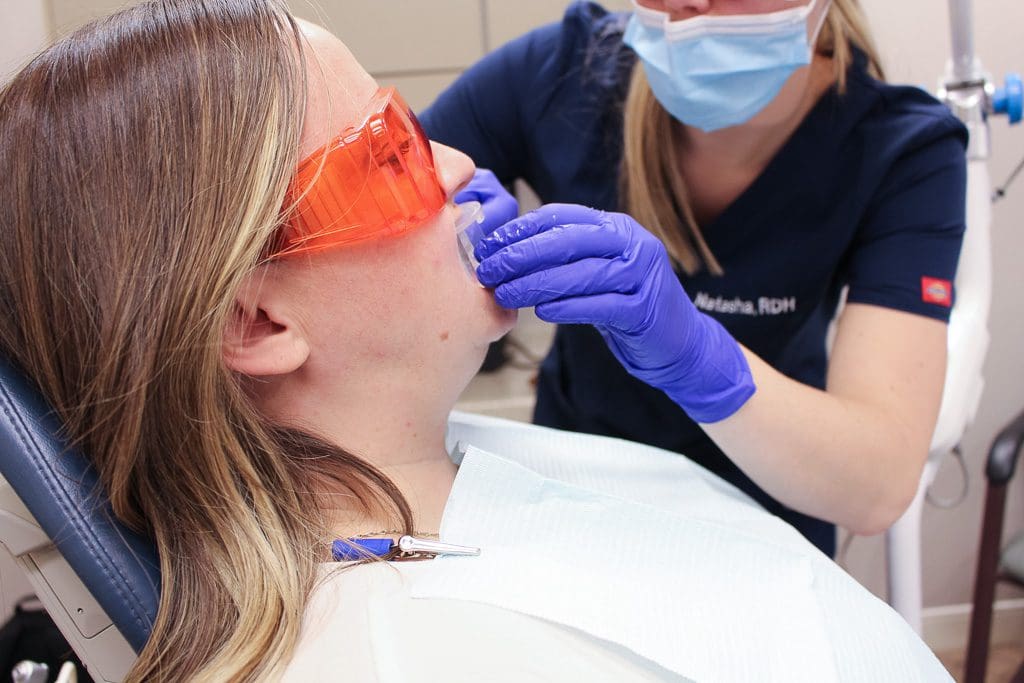
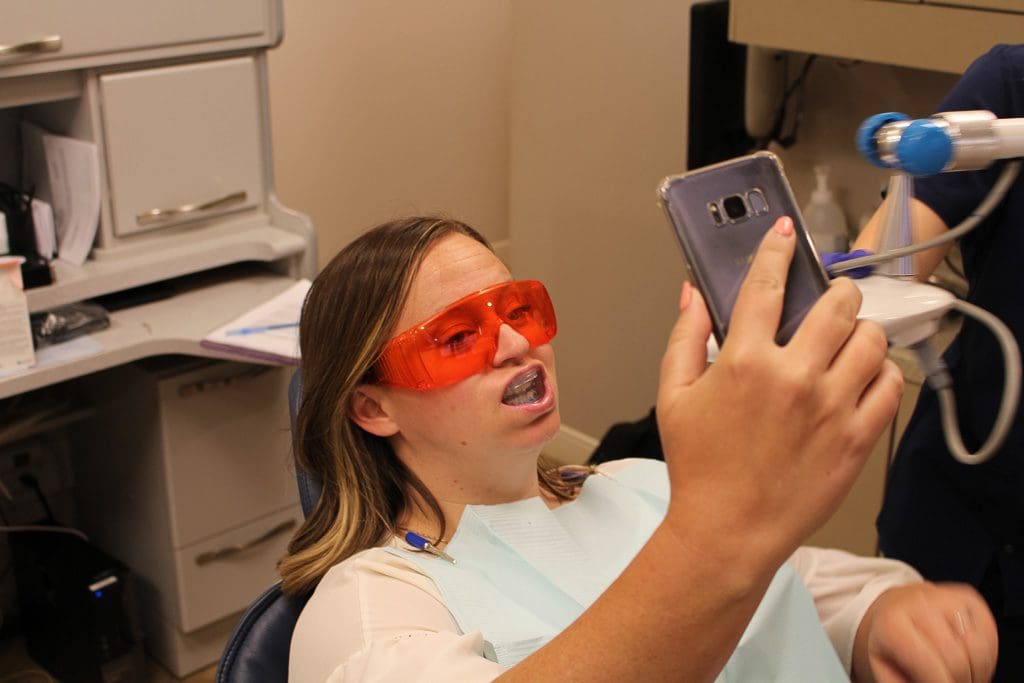
The whitening session would last 20 minutes. Natasha filled the tray with gel, asked me to bite down and then positioned the light. This part was easier than I thought it would be – the only issue I had was not being able to talk for 20 minutes! Brent happened to find that part wonderful and Natasha did a great job interpreting my gestures throughout! She stayed with me the entire time, checking in every couple of minutes, suctioning my mouth when needed, and keeping me company while I waited.
STEP FOUR
 STEP FOUR
Rinse & Repeat
Once the first session was finished, my mouth was rinsed, the Vitamin E was reapplied and the second tray went in for a repeat of the process. I could have taken a look at the results at this point but opted to wait to see the final shade difference!
 STEP FIVE
 STEP FIVE
A Brighter, Whiter Smile
Once the second session was complete and my mouth was rinsed, the gum barrier was popped off (it actually felt really good) and I got to take a look at my new, whiter teeth. We did a final comparison and I was stoked to find out that I had achieved 10 shades whiter in less than hour in the office!
Post Treatment: The First 48 Hours
After treatment, you’re told to avoid staining food & drinks (coffee, wine, berries, ketchup, curries, etc) which was the hardest part of the whole thing for me! The most discomfort I felt during this process was the headache from not having my daily coffee for a couple of days – well worth is for a whiter smile. Natasha also sent me home with a touch-up kit I can use in a few months to maintain and refresh my results.
Overall, I was really pleased with the results and didn’t expect to get 10 shades whiter. I also loved how detailed Natasha was in her explanation as well as her attention to my comfort level throughout. Since the treatment I’ve been getting questions from many of you so here are some of those answers.
What about sensitivity?
In truth, during the treatment I had no sensitivity at all but that night (about 6 hours) later I did experience just a little. I brushed with a sensitivity toothpaste (as recommended by Natasha) and it was completely resolved by morning. The sensitivity was very minor (nothing like what I’ve experienced with at-home kits) and totally tolerable. As someone with VERY sensitive teeth, I was pleasantly surprised!
How much does it cost?
The full treatment that includes 2 in-office sessions and the take home kit cost $350 at the time of this post.
Is there any prep required?
They recommend you have your teeth professionally cleaned prior to treatment (which I did).
Final Thoughts
Admittedly, my teeth weren’t that bad to begin with but as I mentioned, they were “not white” enough that I ALWAYS fell the need to edit them in photos. Since my whitening, I haven’t edited my teeth in a single photo and am so happy with the natural looking result! I can’t thank the team at Alliance Dental enough for helping me feel better about my smile and I’d highly recommend this treatment to anyone thinking of brightening up their teeth!
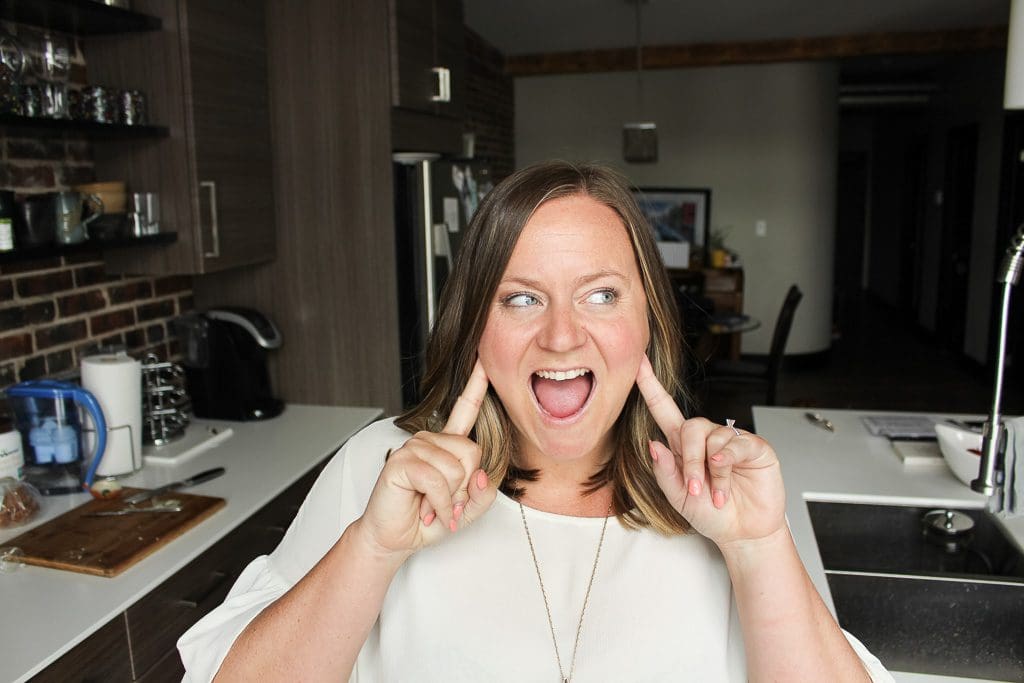
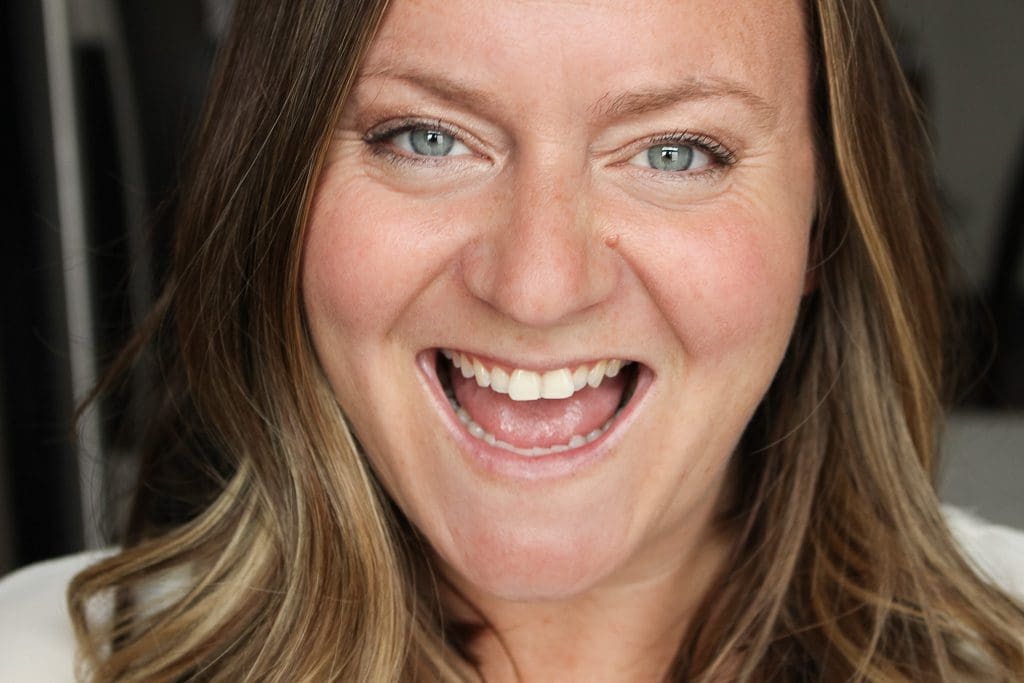
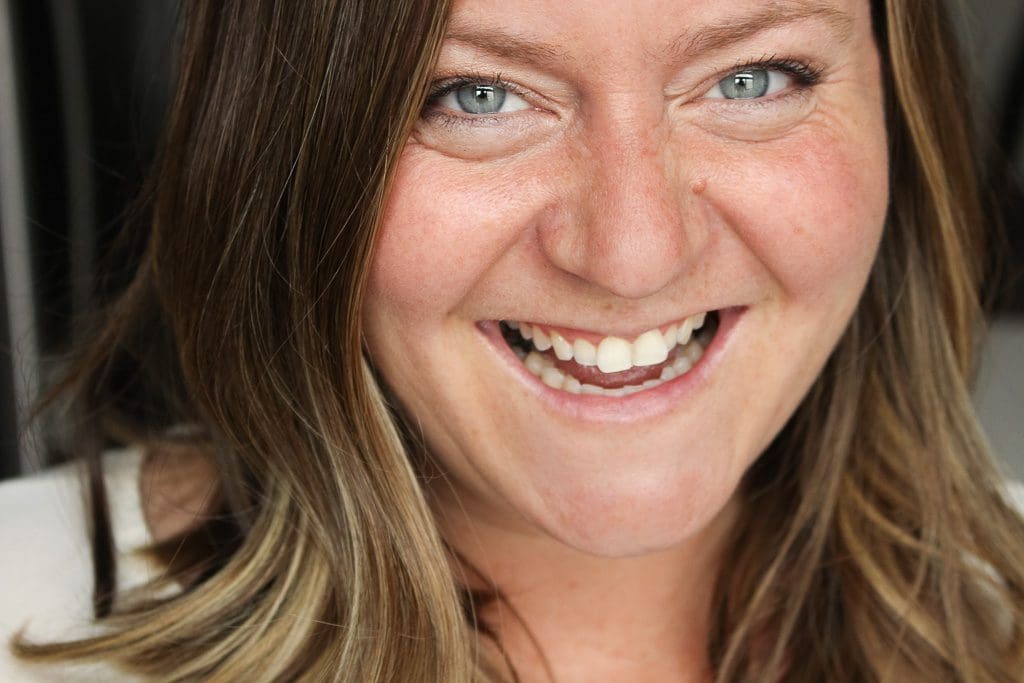
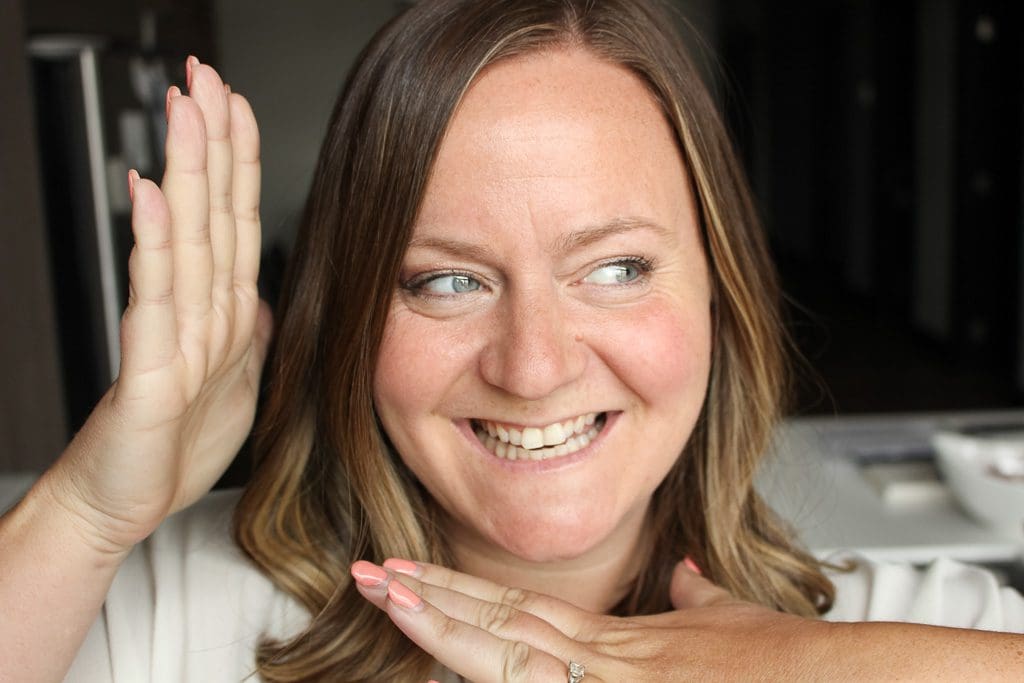 (Before Spa Dent Whitening – I know, they’re not that bad… but look!)
 (After Spa Dent – 10 shades whiter!)
This post was sponsored by Alliance Dental through their partner program but, as you well know, all opinions and oodles of photos remain my own.


Loved this recap! I went 10 shades whiter with SpaDent, too! It’s an amazing process.
Ooh this looks interesting, I may have to give this a try myself! Looking good Sara!
this is totally something I would love to do!
Thanks for the info!
Looks good!!