
It’s week 5 of the One Room Challenge – can you believe that?!?
Let’s just say it. If you’re a newbie in the decorating world, hanging a gallery wall can be daunting if you’ve never attempted it before. We’ve been living in our loft apartment for over 2 years now and we don’t have a single picture displayed in our home aside from 4 art pieces in our entryway that we inherited when Brent moved out of his house and in with moi. I might add, we take pictures for a living…ahem…and we STILL don’t display any of them in our own space!
WHY? Because we had no idea where to start – so we enlisted some help from the experts and are happy to report we have a gallery wall, it’s stunning (we think) and it was actually a really enjoyable process. So, without further adieu here it is.
HOW TO HANG A GALLERY WALL:
A step by step guide for beginners

Supplies For This Project:
- Frames: All of ours came from Carsand Photo Imaging here in Truro
- Kraft or tissue paper
- Painters Tape
- Nails
- Hammer & Level
How To Guide:
STEP 1: Find Inspiration
I had no idea what my gallery wall style was until I really started delving into the images I found on pinterest. Do you like symmetrical? Black & white? Country? Modern? Our original plan was to go with a symmetrical pyramid shape (which I loved the idea of) but once I started playing around with my cut outs (that’s the next step) I realized that I was really drawn to an asymmetrical pattern.
STEP 2: Mock Ups before you buy your frames
Most guides will tell you to lay out your frames and decide what pattern you like but hello!!!! Why the heck would you buy your frames before deciding on your layout. I measured out the square footage of my wall and taped it off on the floor, then used my paper cut outs to figure out what really clicked with me.
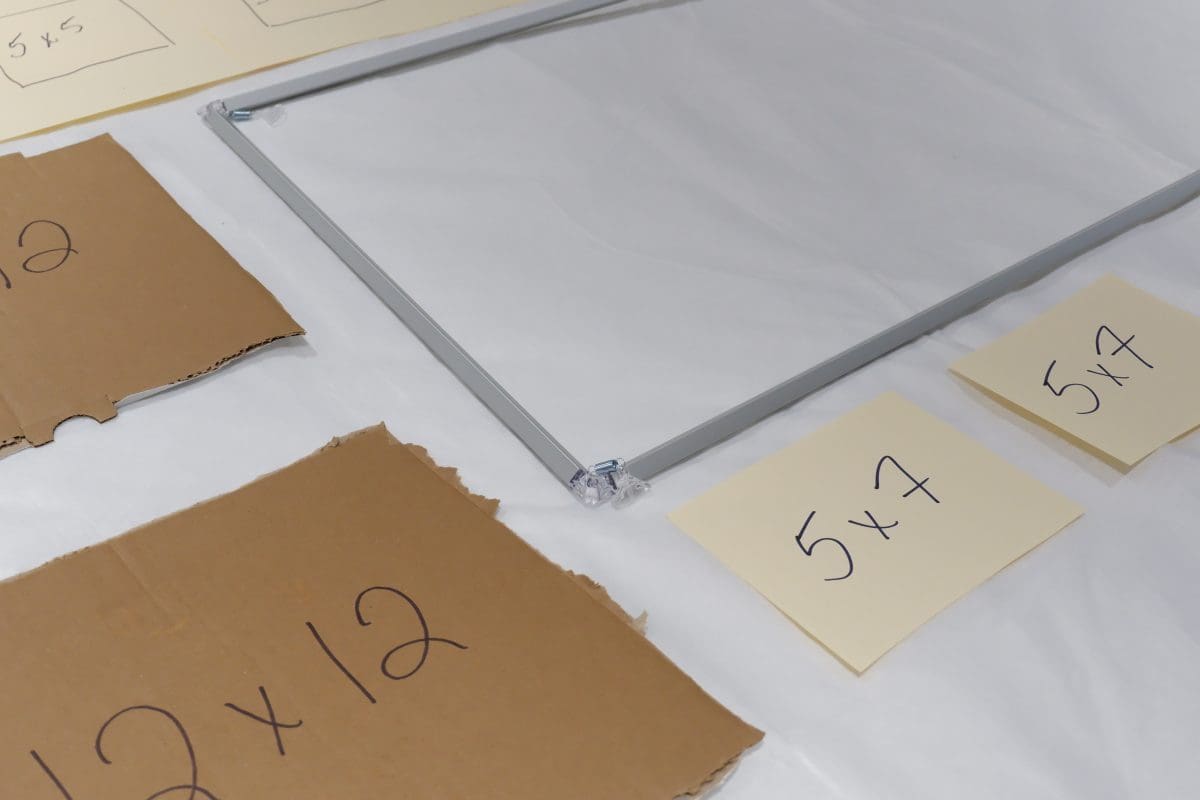
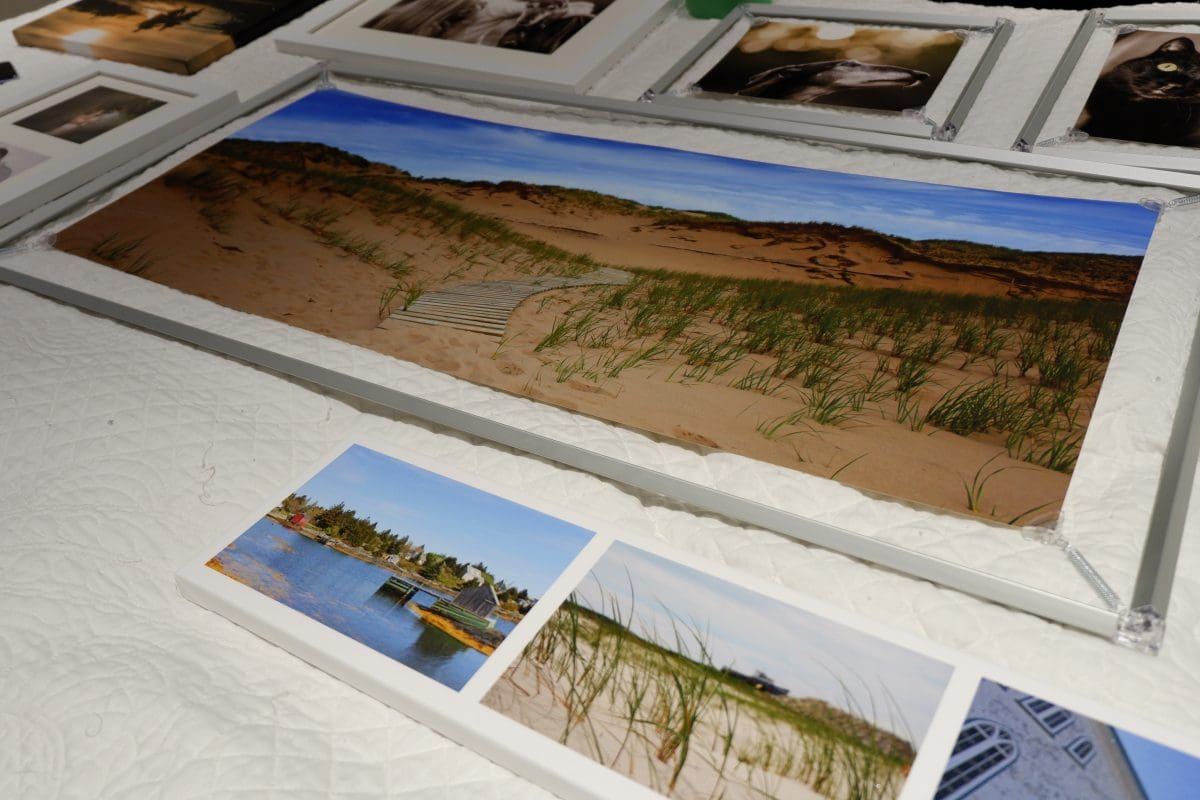
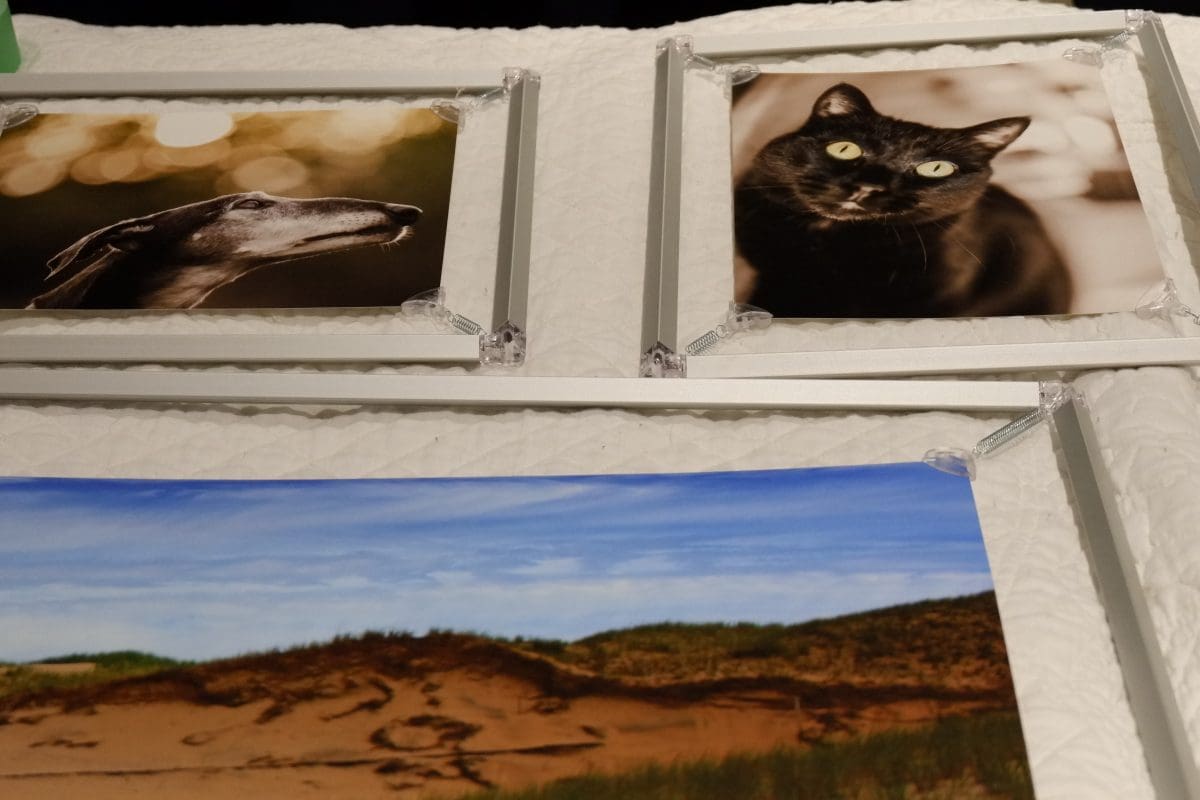
STEP 3: Find Your Frames & Choose Your Art
Do you like a consistent look or do you prefer a mixture of frame types? Do you want all frames or would you like to add in some canvas prints, mirror or objects. Once you have your artwork picked out, head out and get the frames that will compliment your design and bring it to life.
We had the pleasure of working closely with a local photo imaging shop and what we loved most was the personal service they offered and the quality of work they produce. Rather than trying to make our art and design “fit the frame”, we were able to choose exactly what we wanted and Carsand Photo Imaging made that happen. They also do photo restoration and some really unique colour techniques that add another dimension to the project that we just wouldn’t have been able to get by sourcing standard frames from a big box store.
STEP 4: Hang It!
This is the fun part. If you didn’t have the floor space to layout your design to scale before hanging I would highly recommend taping your cutouts to the wall before you get started just to make sure everything looks the way you want it to. Is the height right? Is there enough space between each piece? Once you’ve got that figured out, get out that level (very important) and start nailing!
If you’re using paper cutouts, you can actually nail right through the paper and then just tear it away making it super simple to find the perfect location for your nails.
We’re not revealing the finished project just yet – we feel like it really pulls the room together and we want to save that for the final reveal in two weeks!
Thanks to Carsand Photo Imaging for supplying all the frames and printing for this project along with their invaluable advice along the way! We adore being able to work with local businesses and are so excited to share this one with you. As always, all photos and opinions are our own.
![]()


1 Comment